
How to make Mini Whiteboard Wipers
I posted this social media series last week, but figured it would be useful as a “how to” blog as well (especially for all us more sequential folk who prefer things in writing vs video!).
If you haven’t seen the video series yet, you can find that HERE
While this blog will always be here (and remain free!), I know sometimes it’s easier to have an easy-to-print set of instructions handy when you’re creating a new project. If that’s something you’d gladly pay for, let me know HERE so I can see how much interest there is before putting together a PDF download that you can download, print, save, and pull out any time you need to reference it. 💖
When making wipes, I will usually grab an old washcloth or cleaning cloth to upcycle into something CUTE. My spontaneous need to wipe down all my whiteboard last week (and absolute procrastination at doing anything on my to-do list…) was the catalyst for this project, and I can’t wait to see what y’all make too!
Step 1: gather your materials
You’ll need:
cute fabric for the outside (I prefer anything made of cotton to avoid stretching while I sew)
an old rag for the “wipey” side (cutting up some too-small flannel PJ pants works too! just try not to use anything stretchy since it’ll make it challenging to sew against the exterior fabric)
thread
clips or pins
small magnets (I think mine are maybe 1/2” circles, but don’t quote me…)
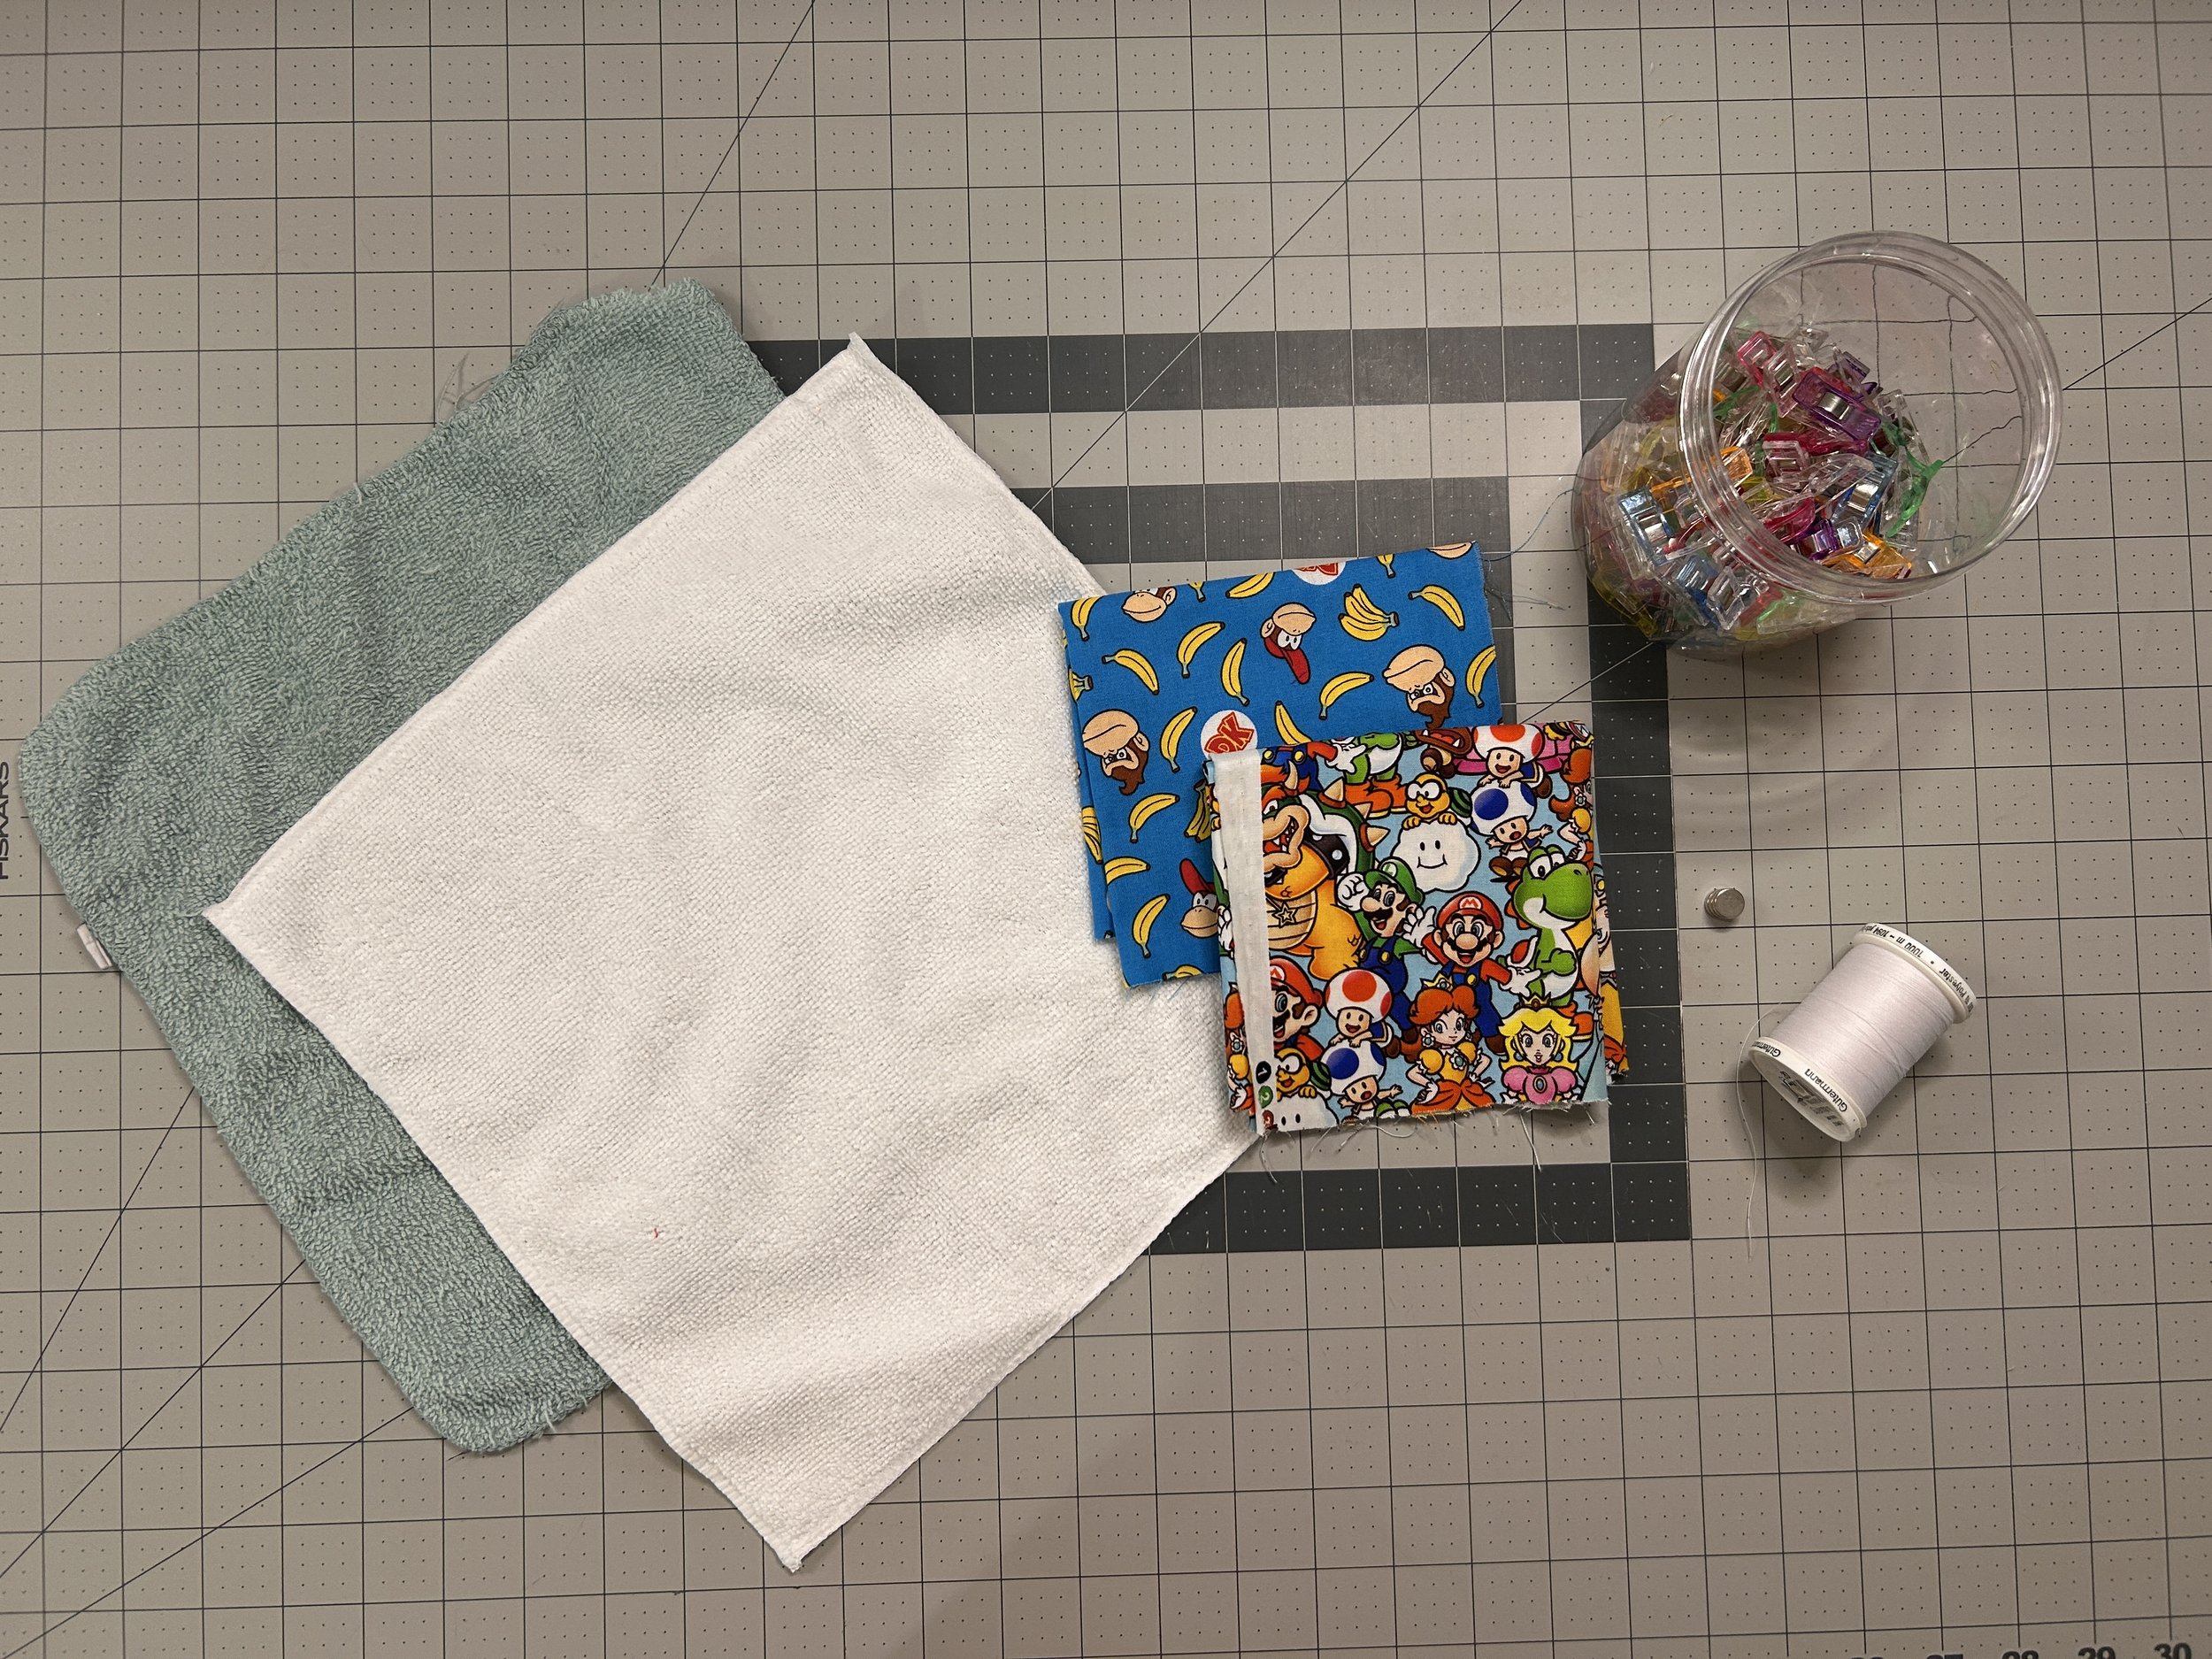
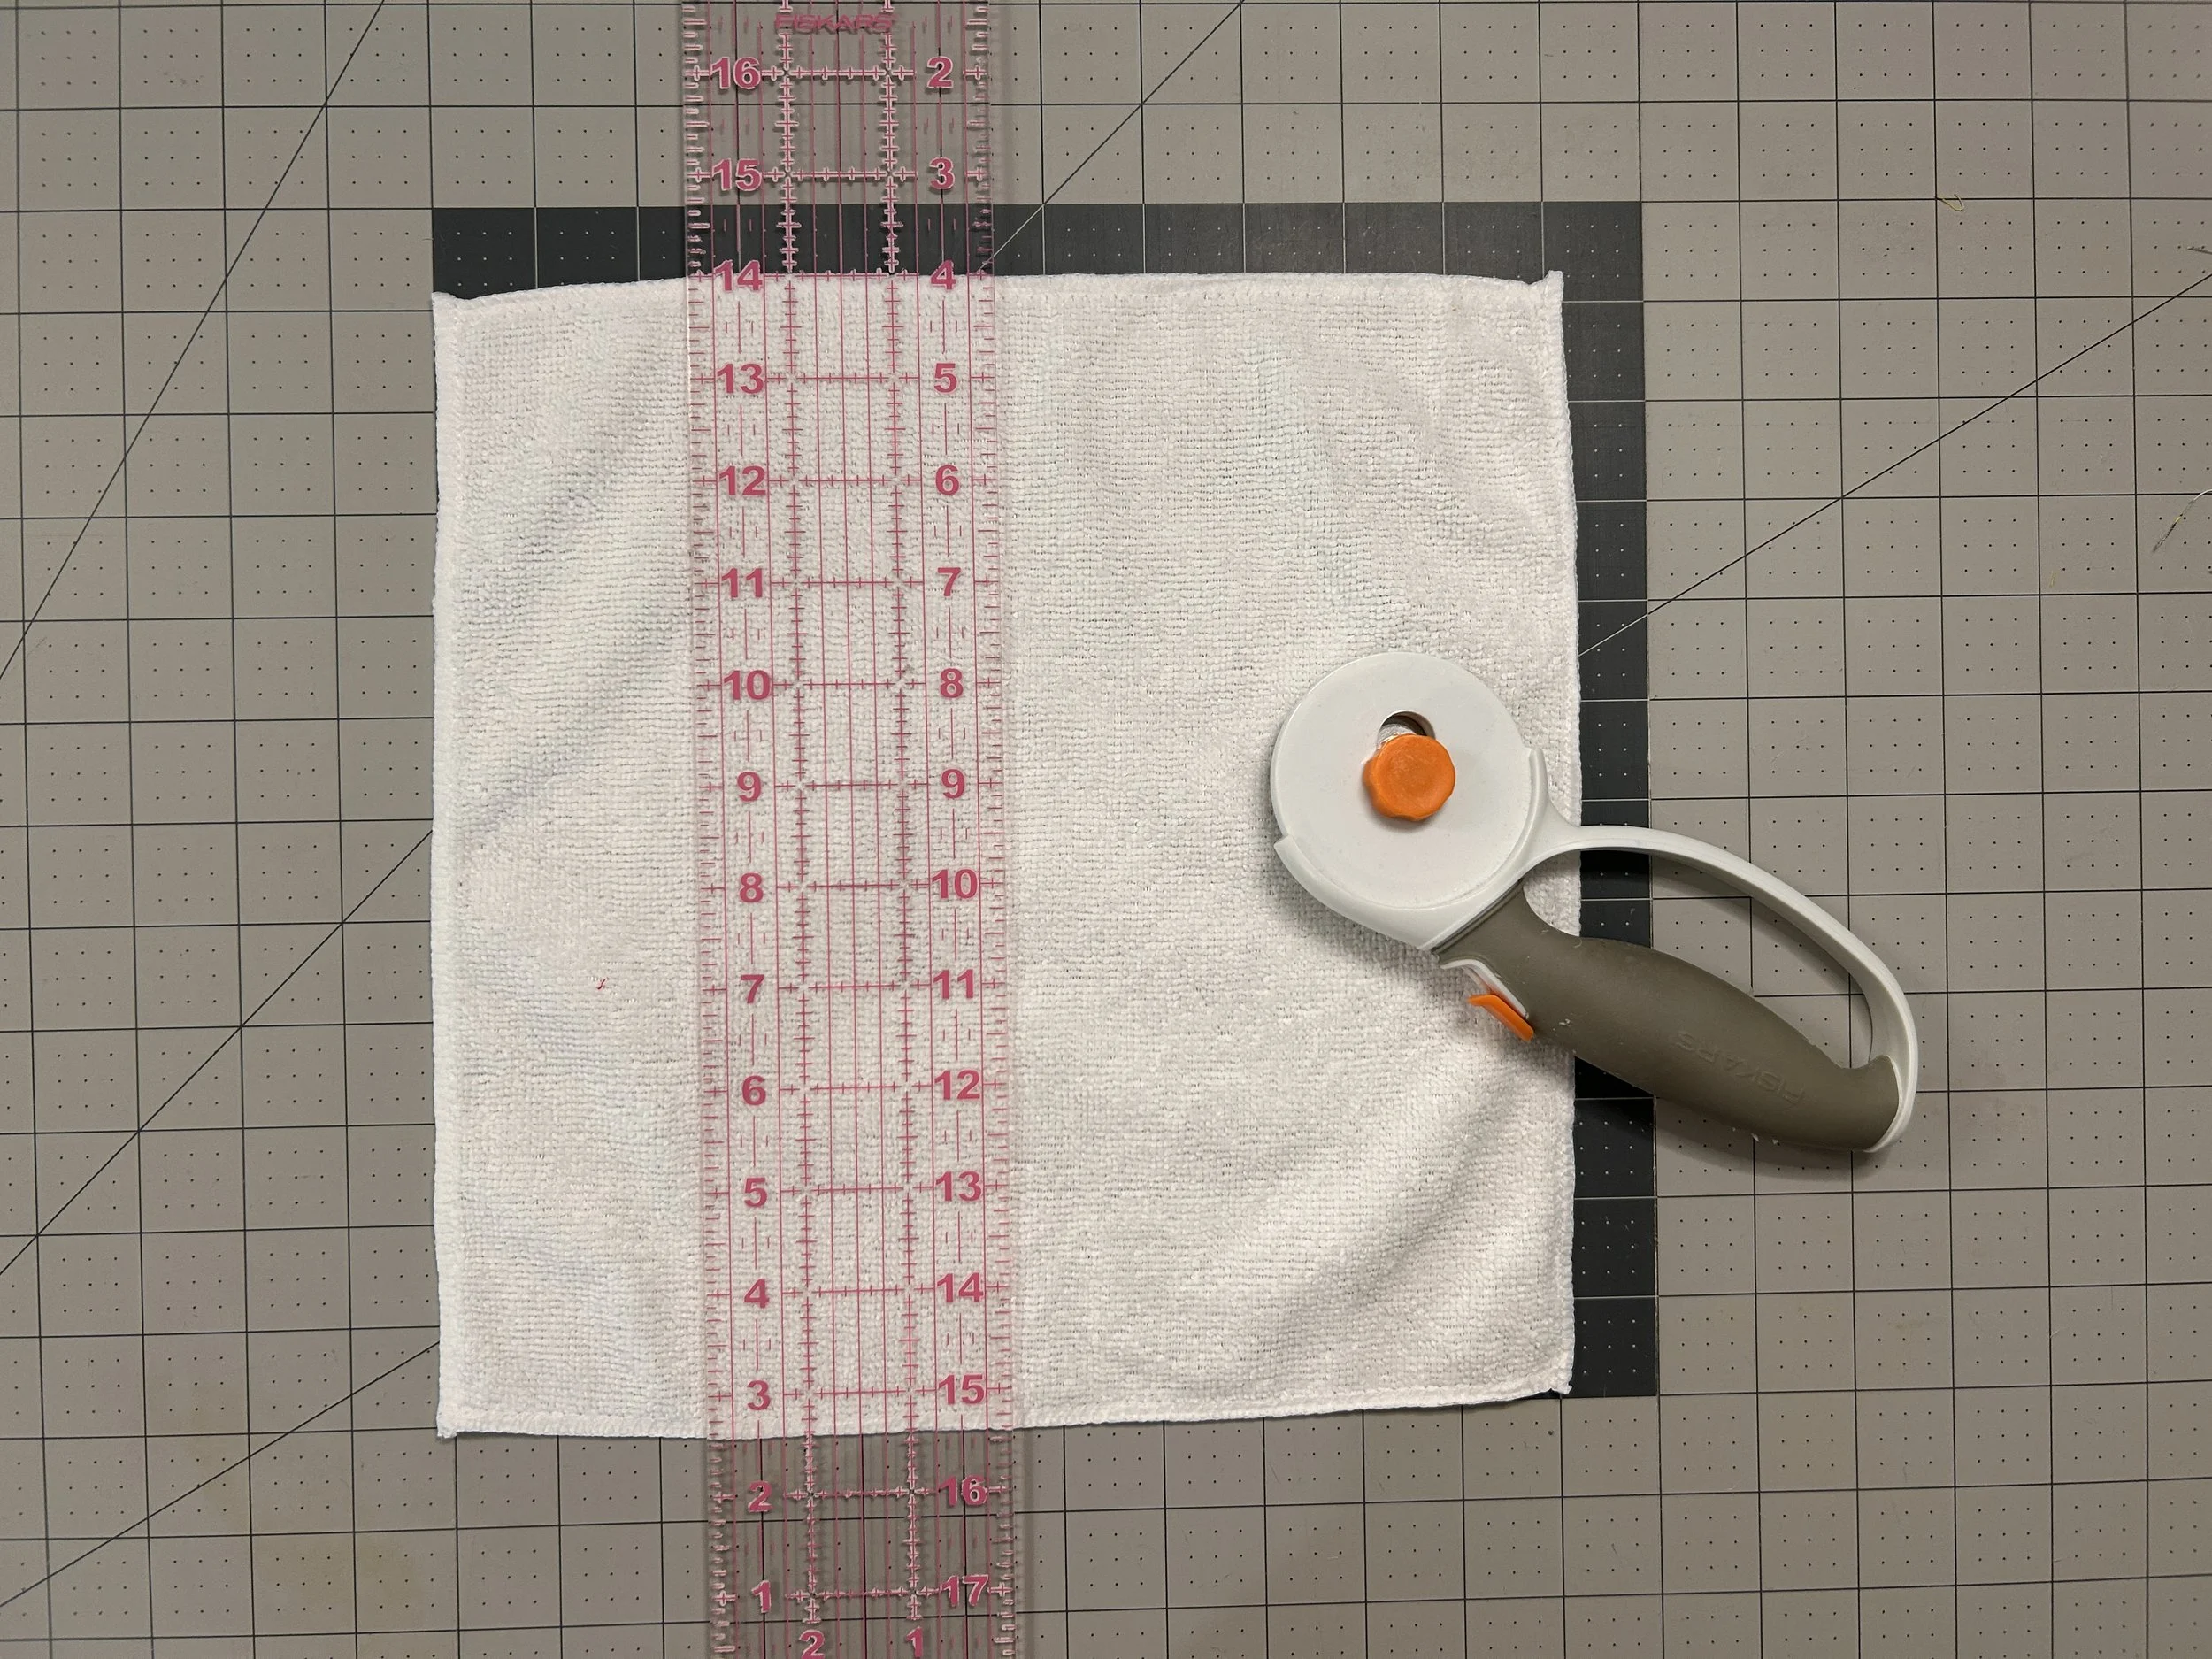
Step 2: measure your wipe layer
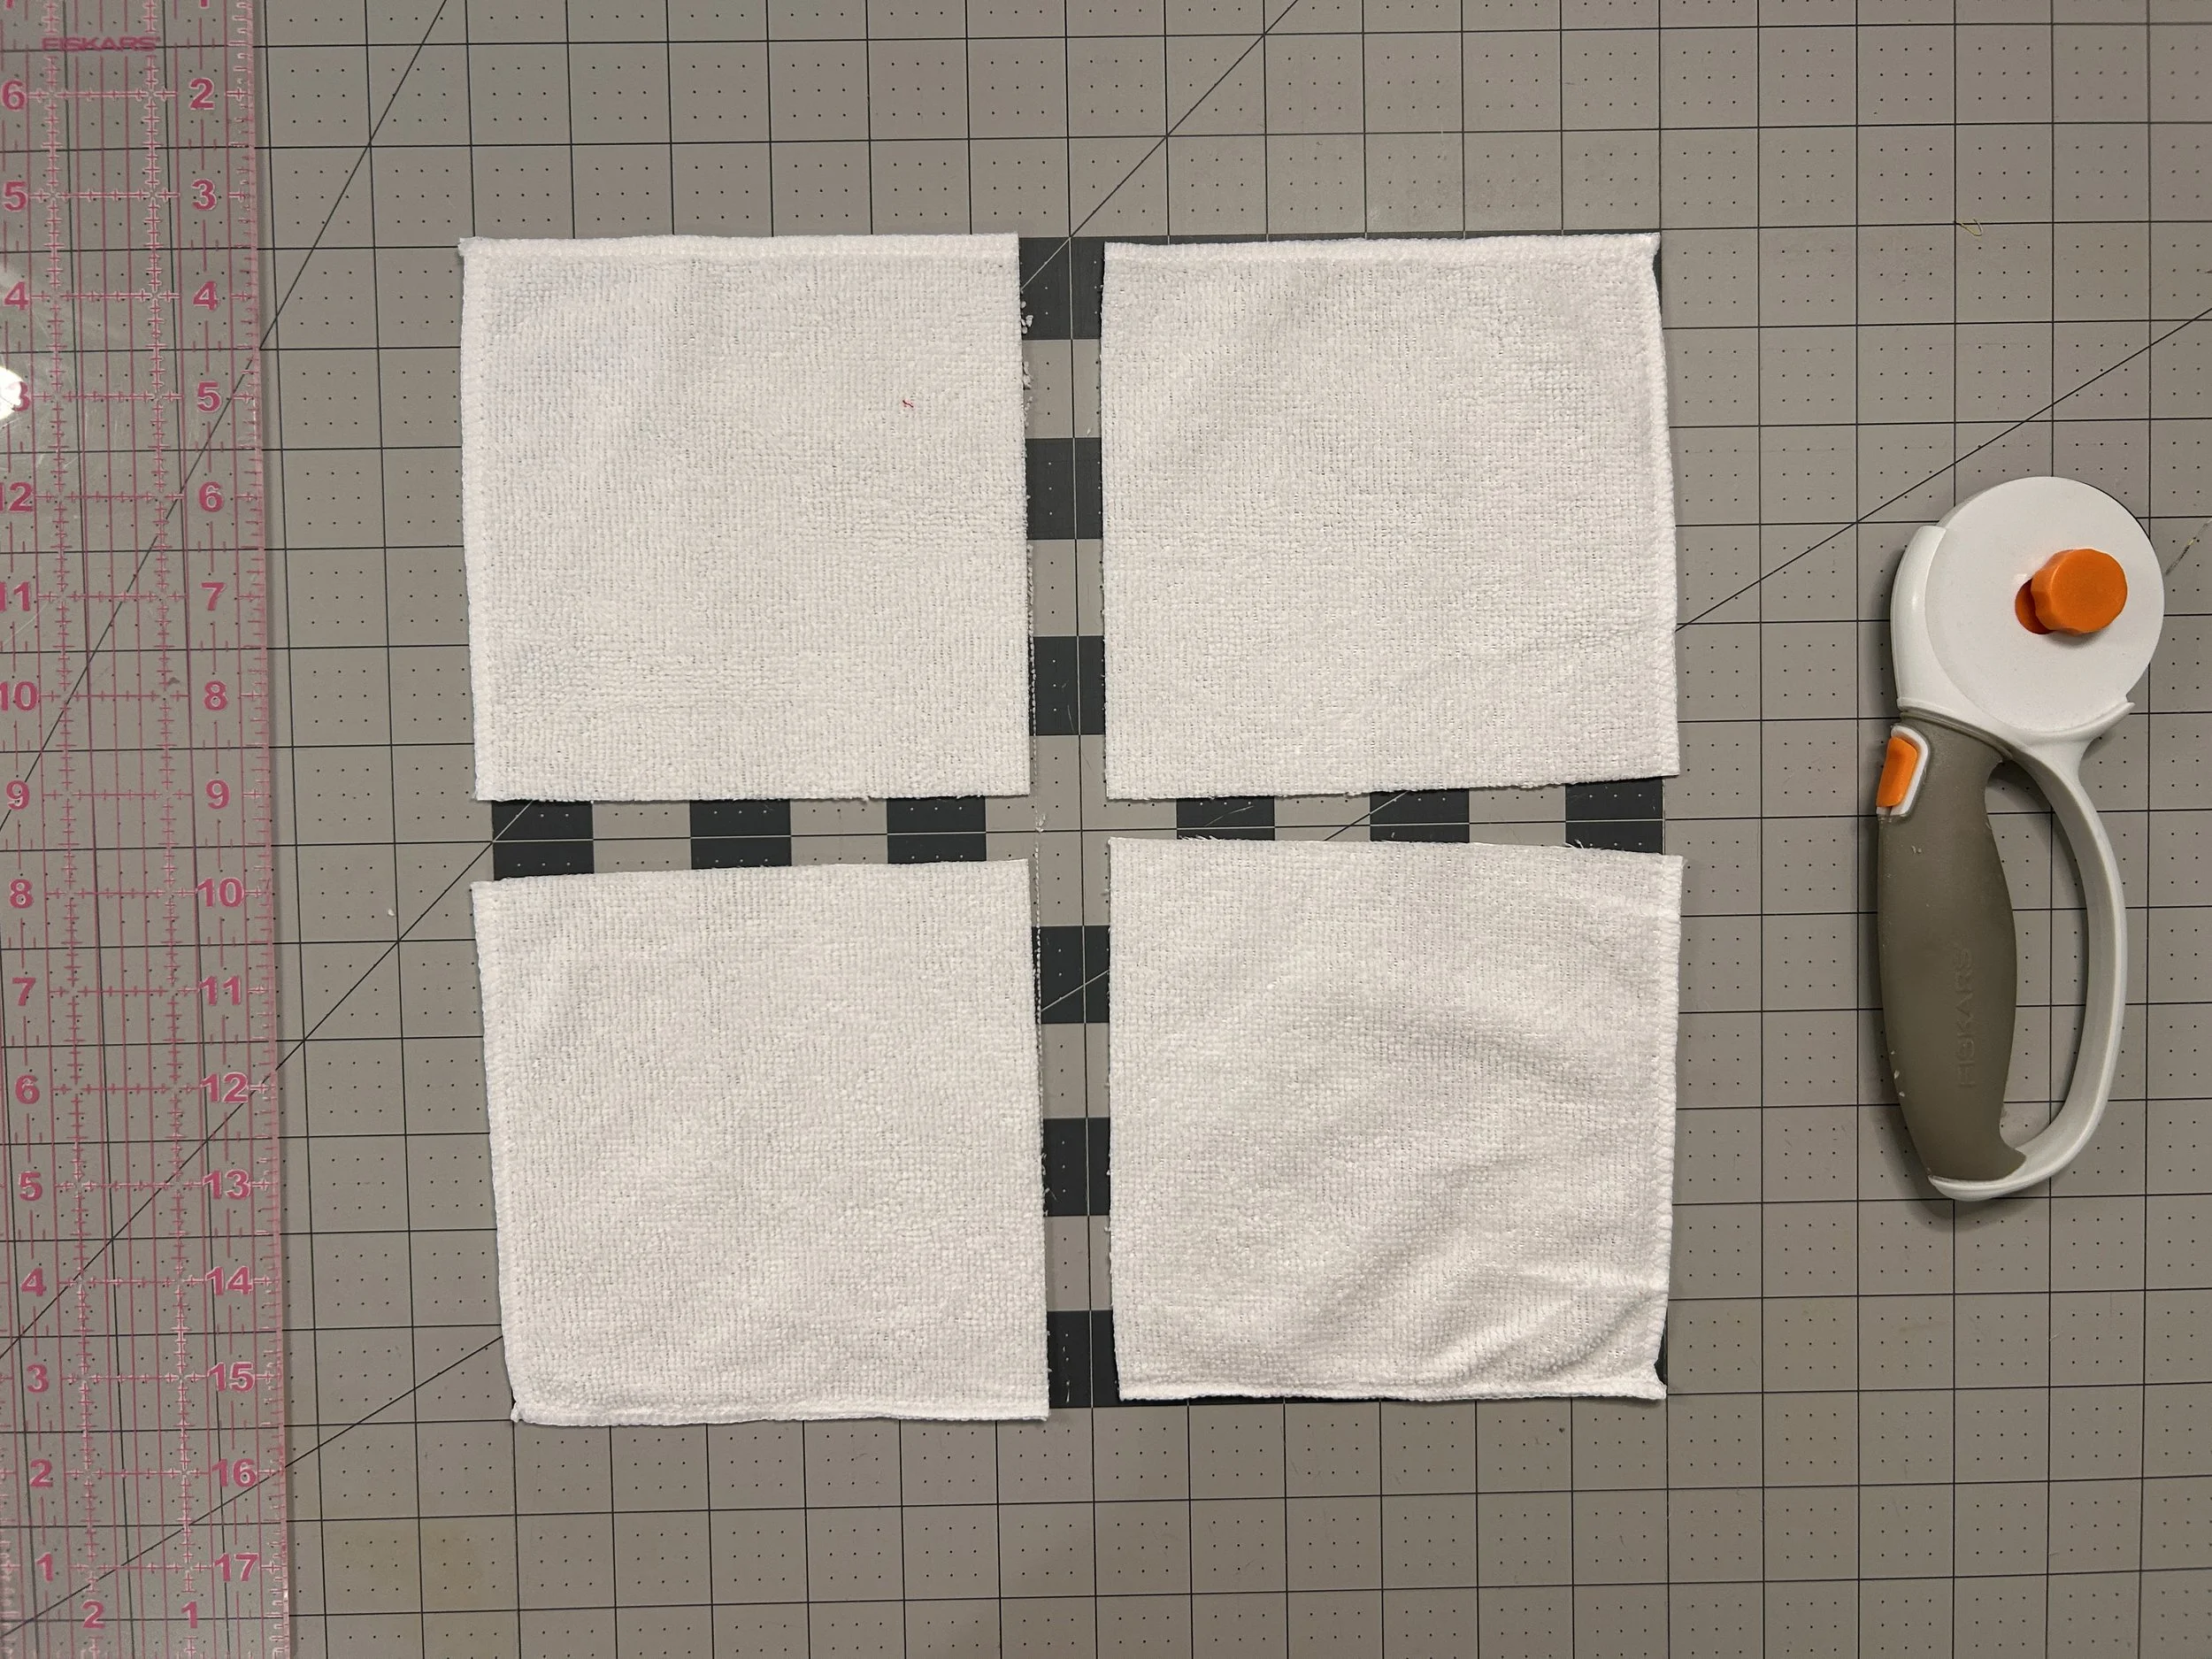
We will want to cut these into quarters, and the size of those quarters will determine how big we cut the cute fabric.
Step 3: cut into quarters
(ex: since my big wipe is 11×11”, my quarters end up as 5.5×5.5” each)
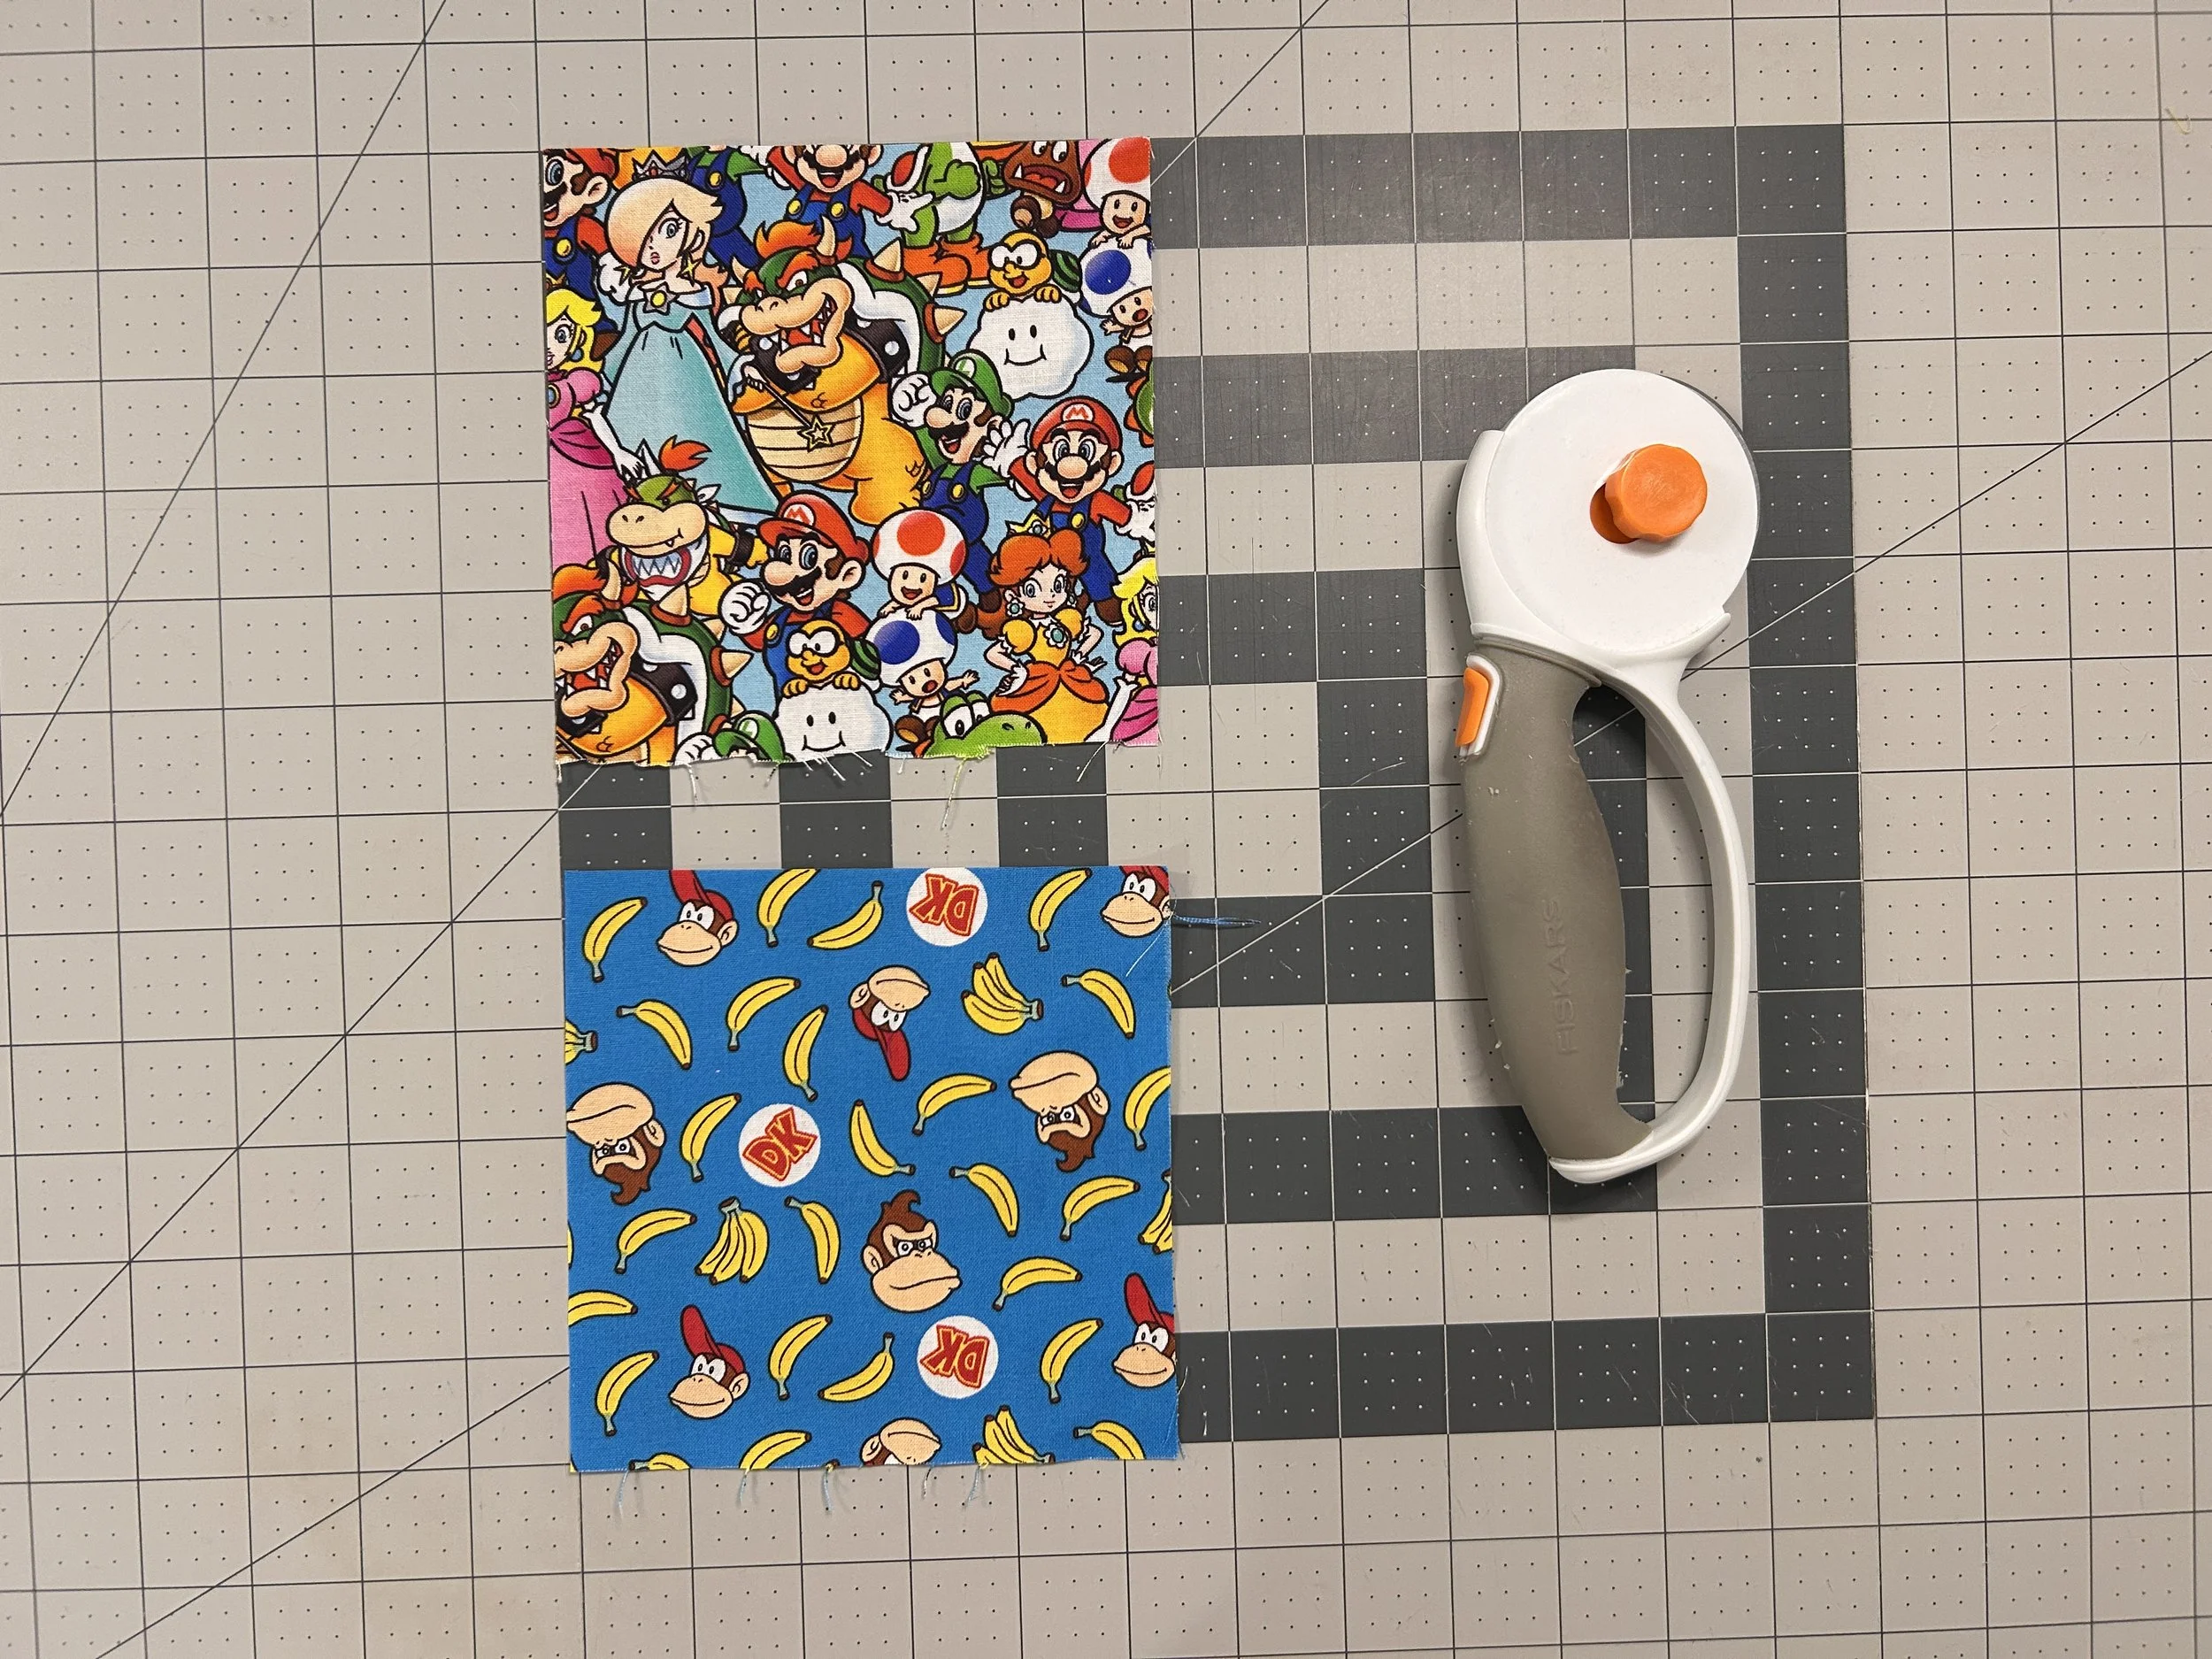
Step 4: cut the cute fabric in the same size as your wipe quarters
Step 5: pair your fabric layers
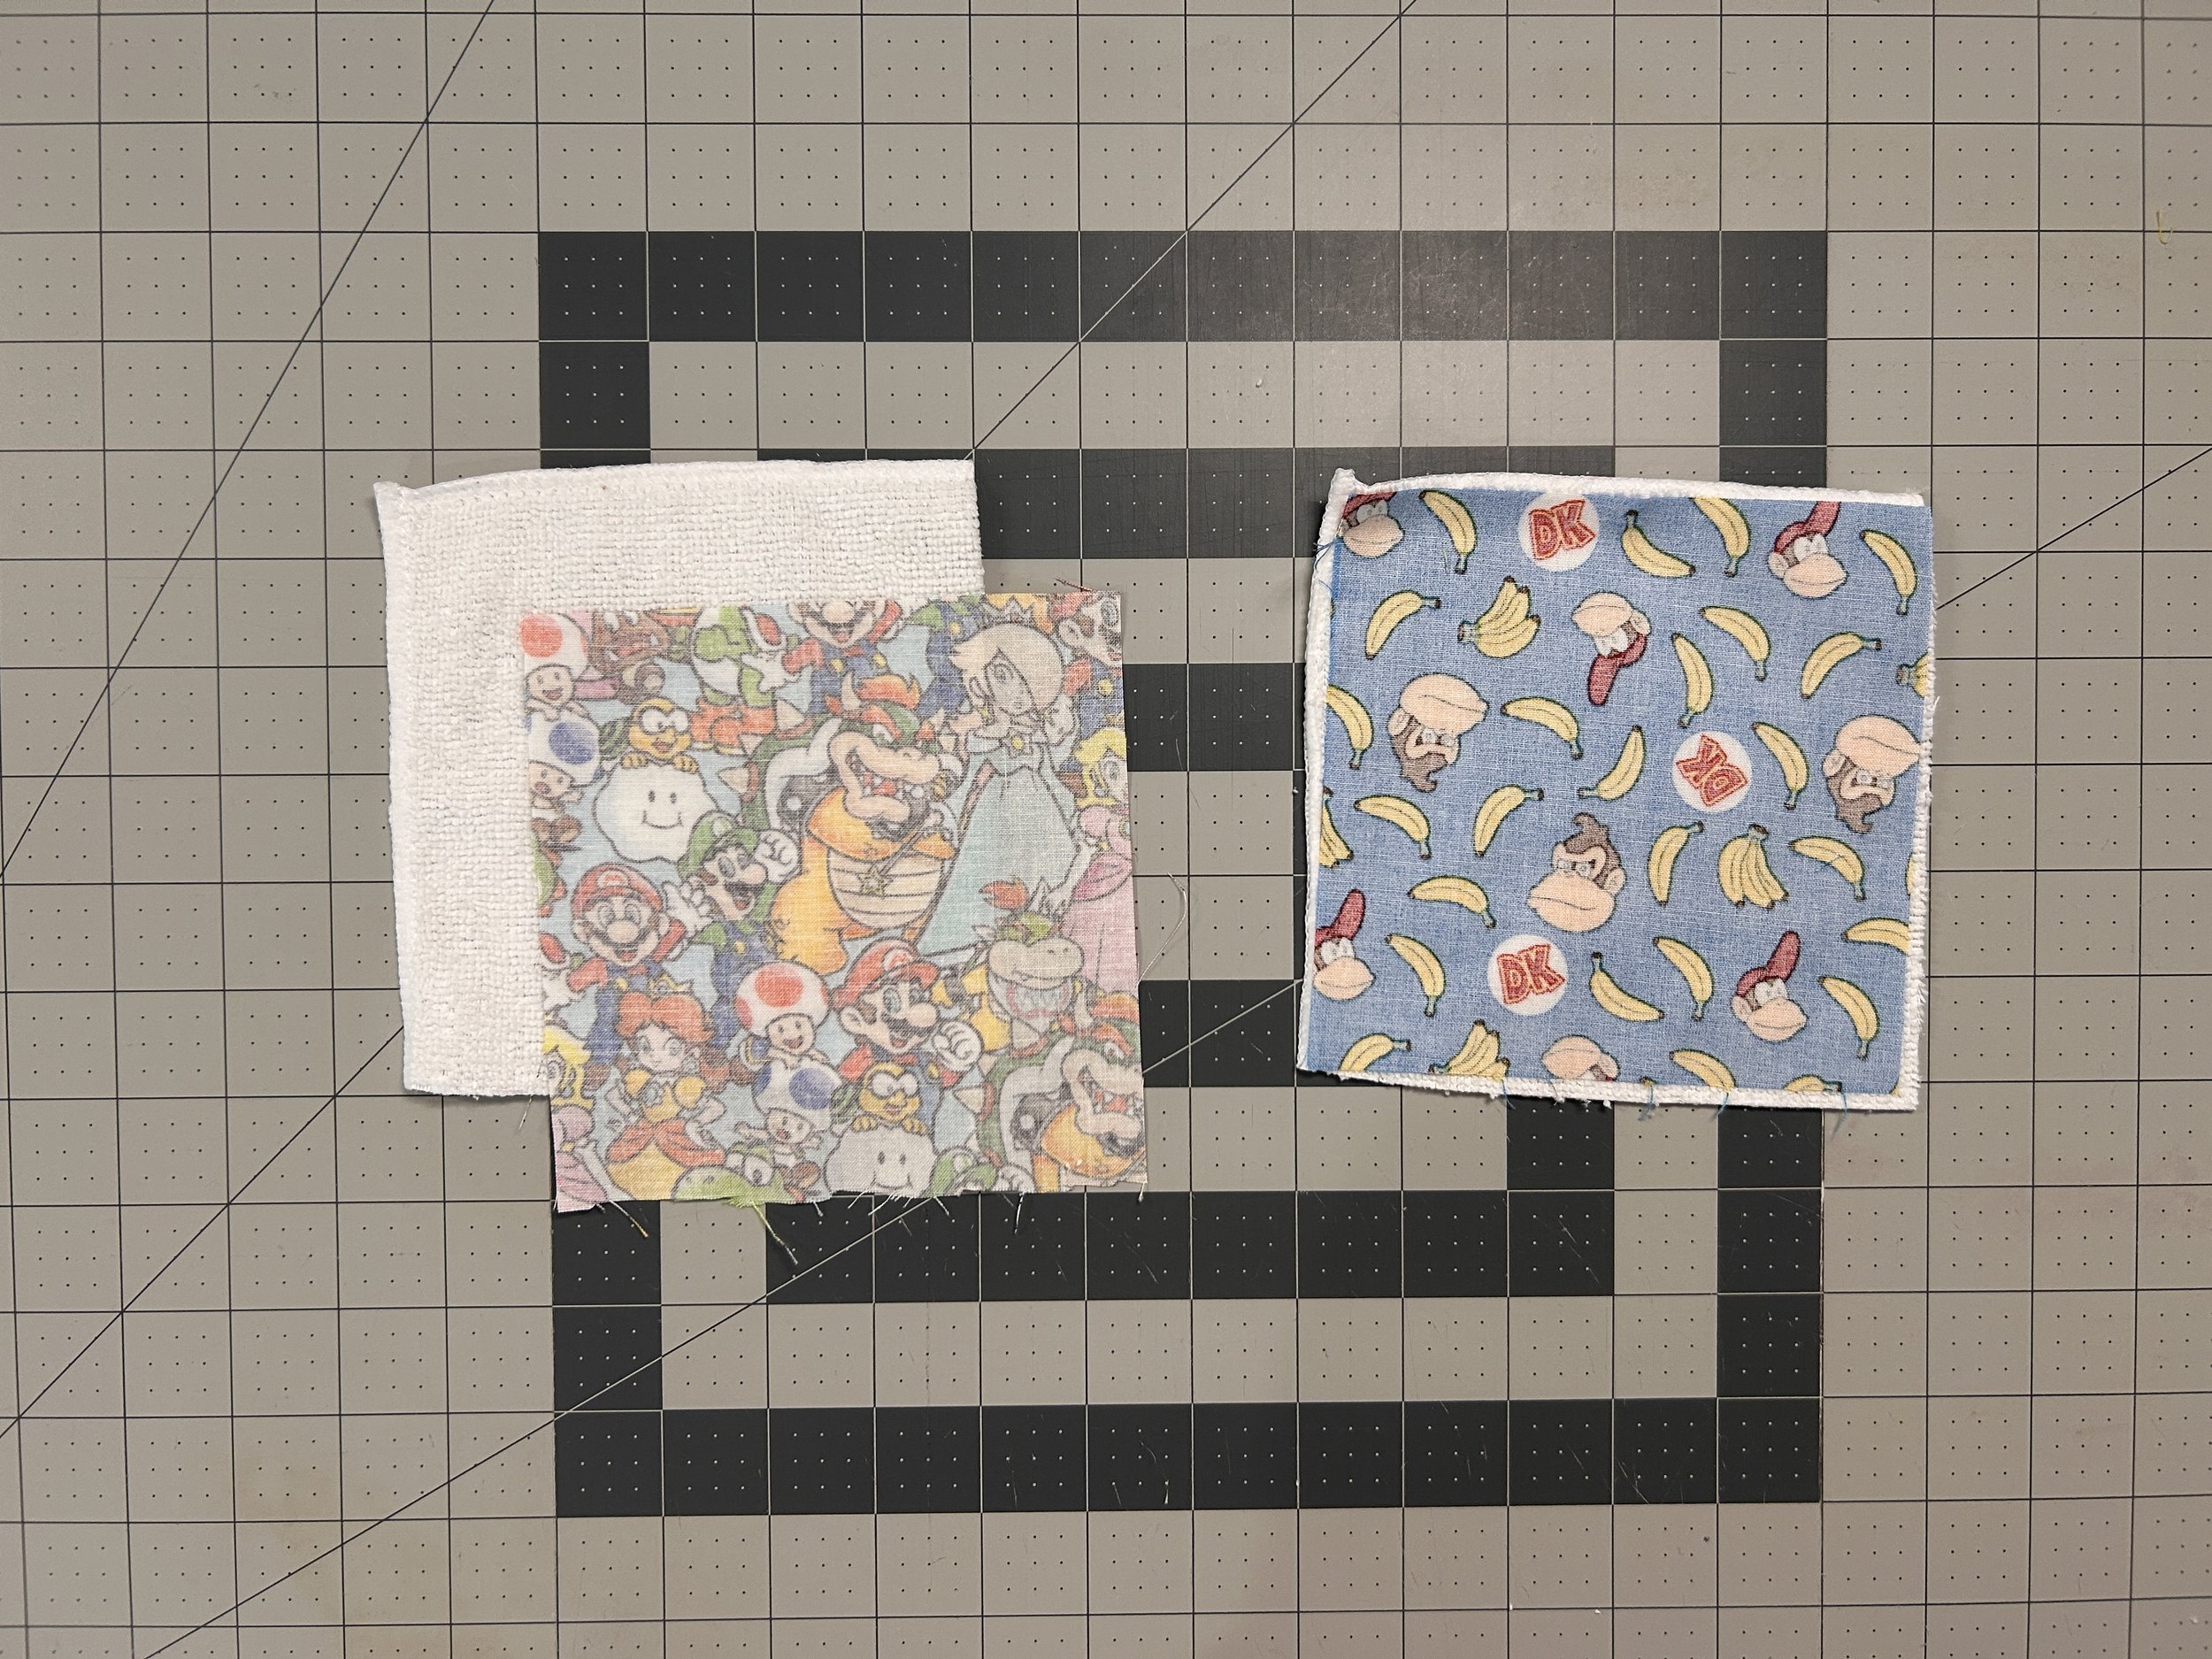
You can either “stick” them together (since microfiber is very staticky!) and leave them, or if you’re new to sewing, it would be helpful to clip or pin them to ensure they don’t slip around as you stitch
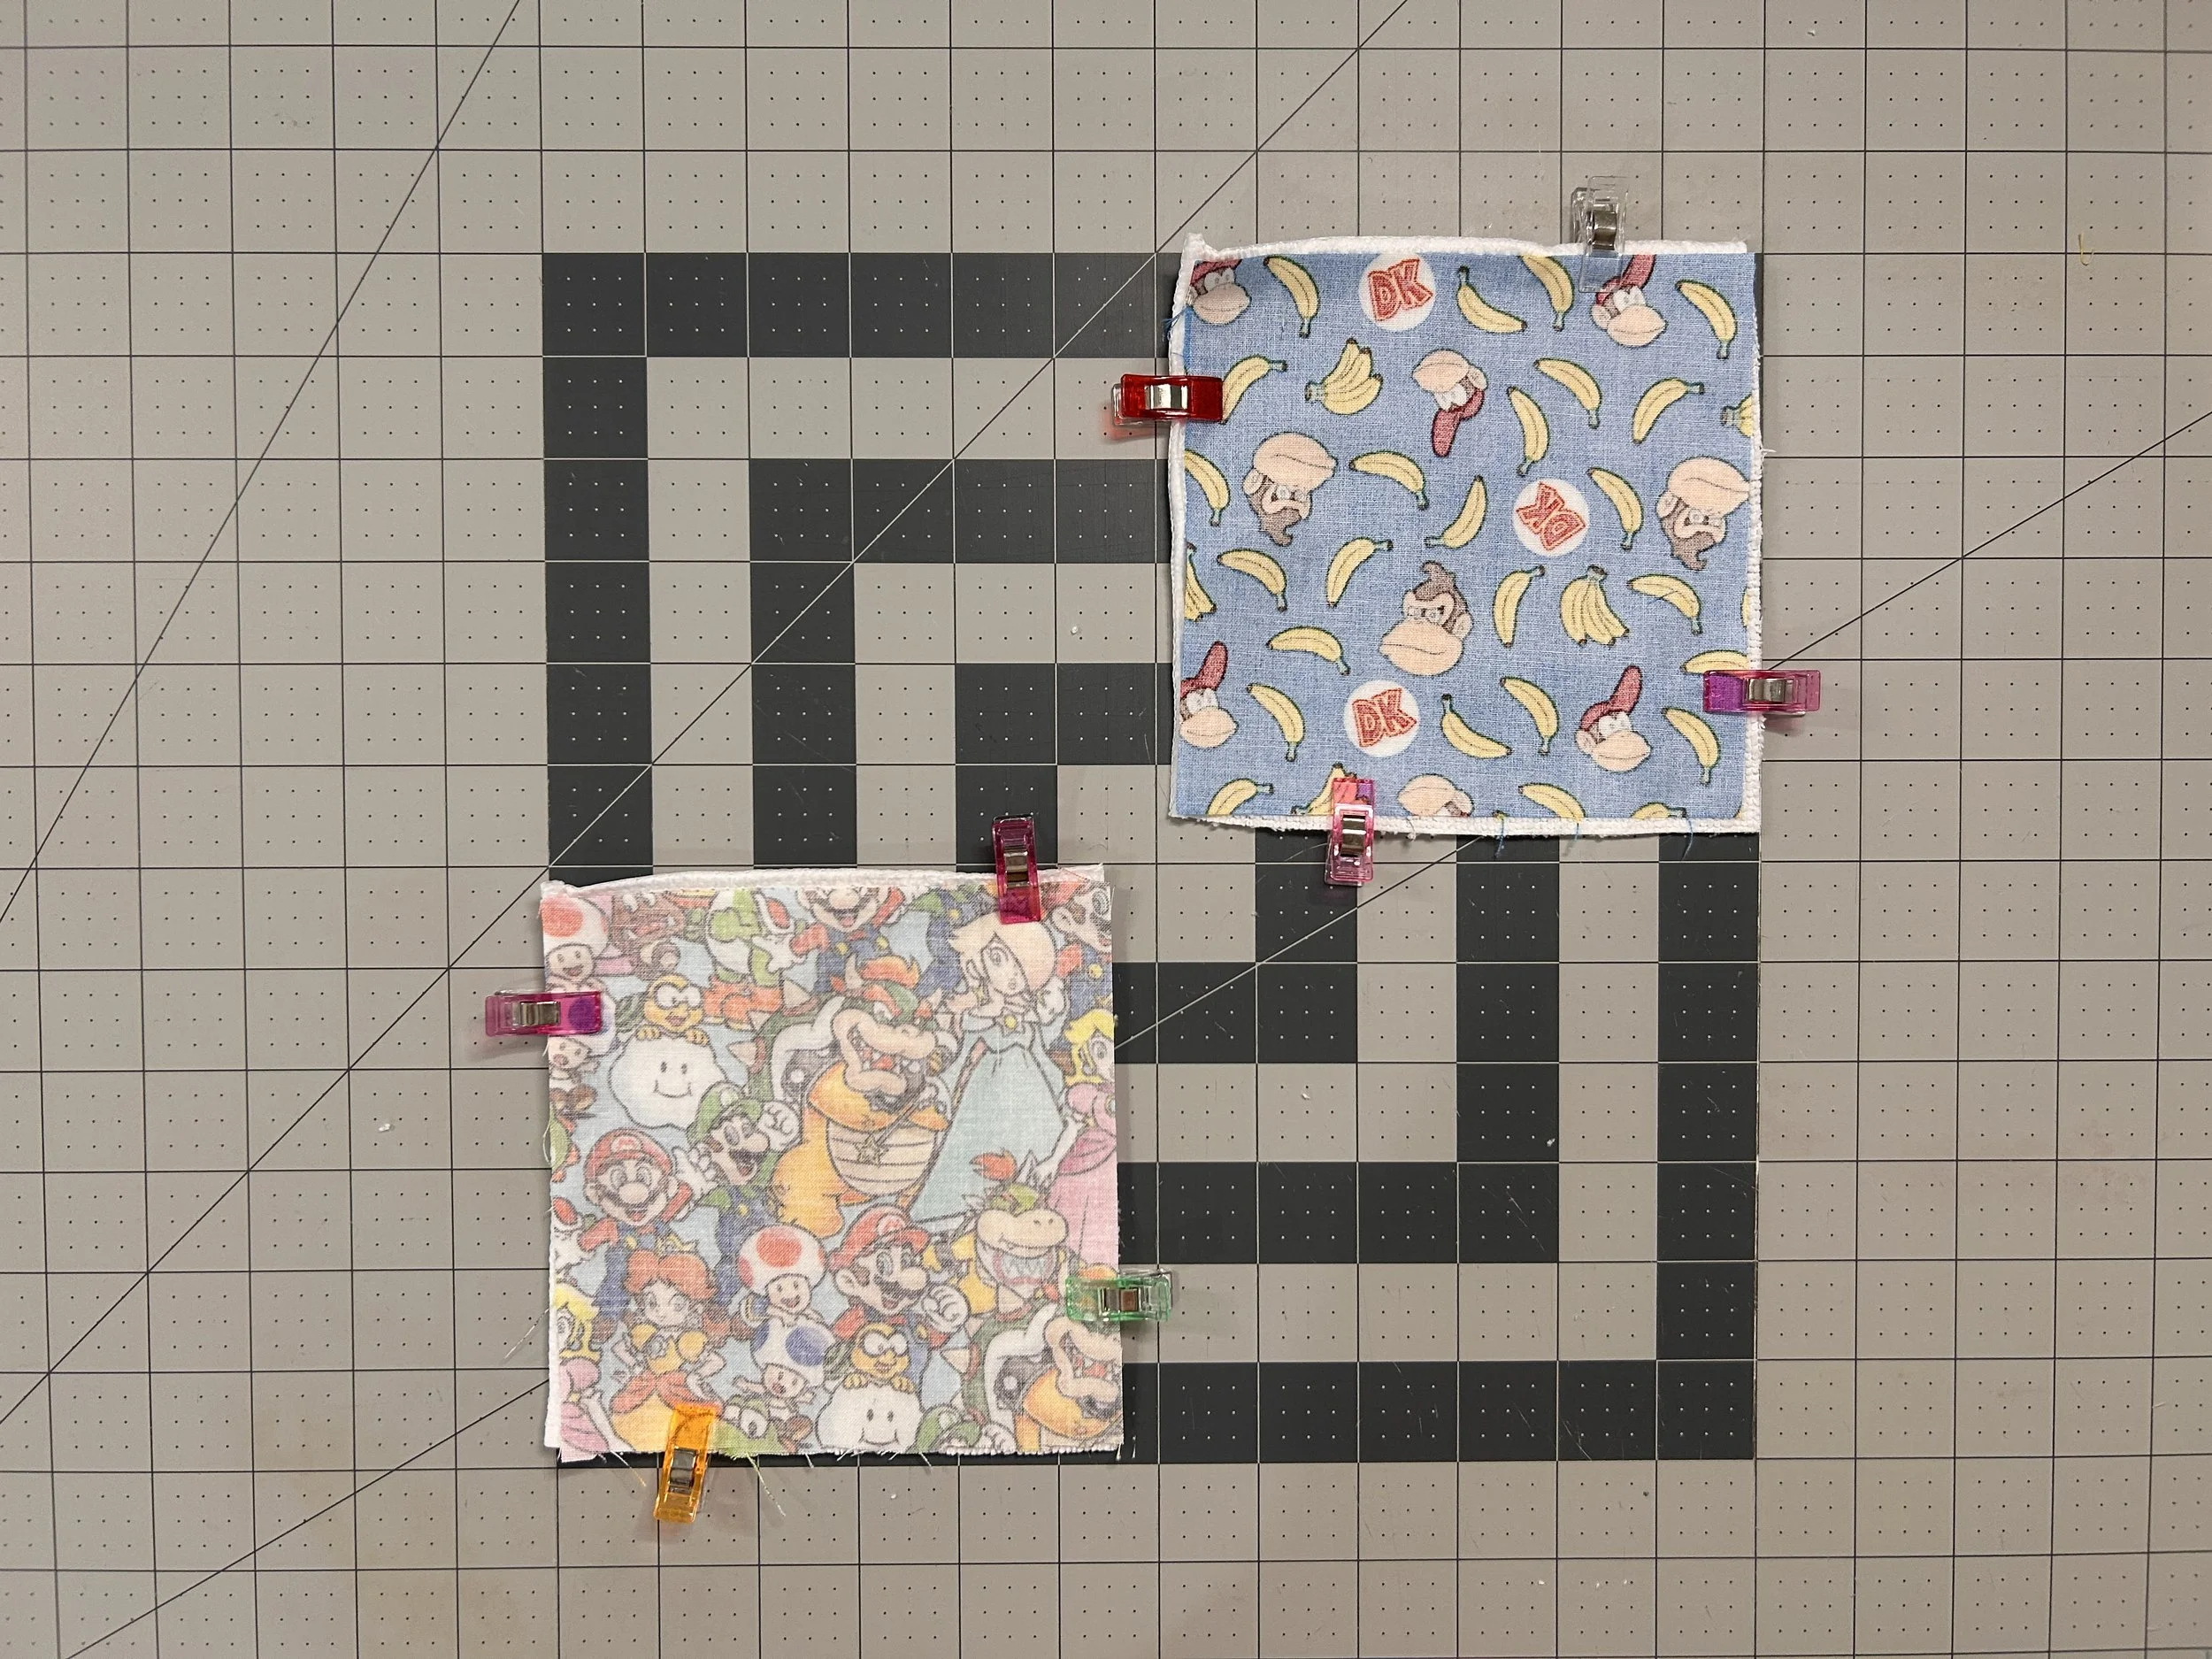
Step 6: start stitching on the far-right side, about an inch or so up from the bottom
We need to leave an opening, so this will help us start the “C” we will make as we stitch along the perimeter.
As for seam allowance: I am not strict about this since we are not making anything fancy. I simply use the edge of my presser foot as my guide.
(and backstitch to start - and finish! - so you don’t accidentally pull stitches during the turning stage)
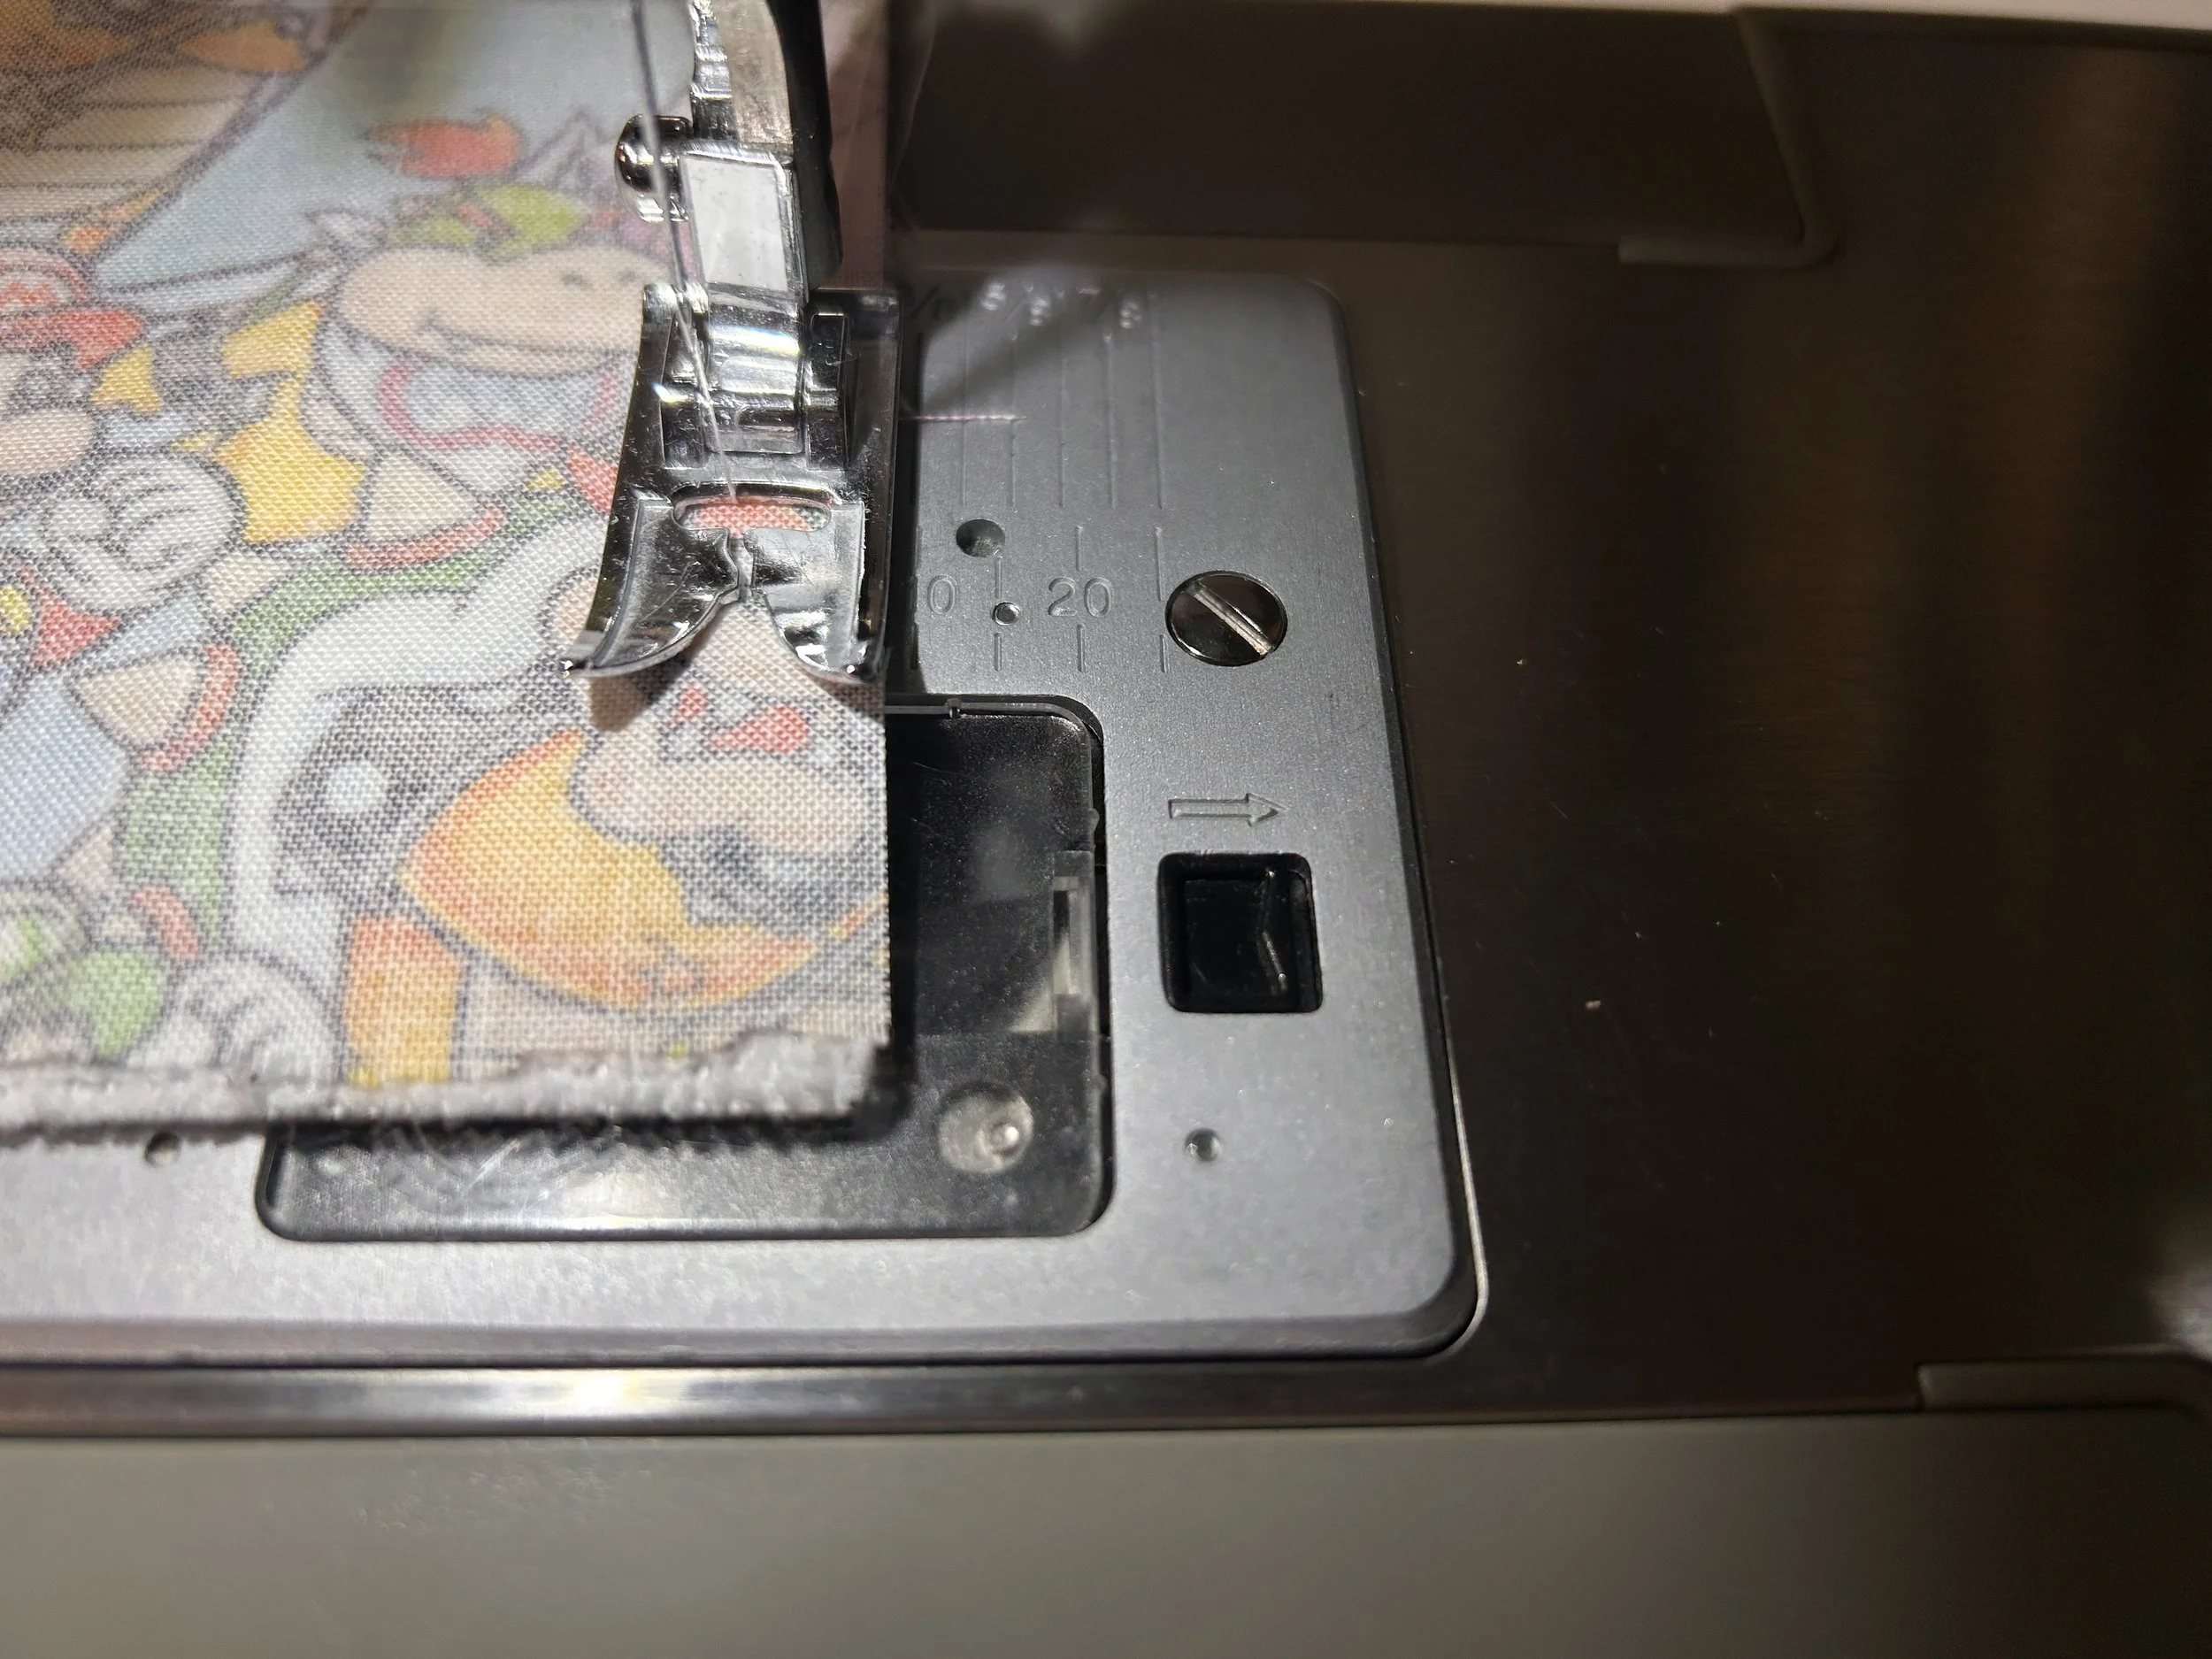
You’re going to want to stop about 1/2” from the bottom of this first side, drop your needle, lift your presser foot, then “pivot” the square 90 degrees so you can start sewing along the next edge.
Repeat as you get to the end of each side.
At the end, you’ll finish on the same side that you started, and will want to stitch about an inch or so down from the top. Again, we want to leave an opening with enough room for us to turn this right-side out.
The needle is where I ended. The white thread looping out is where I started:
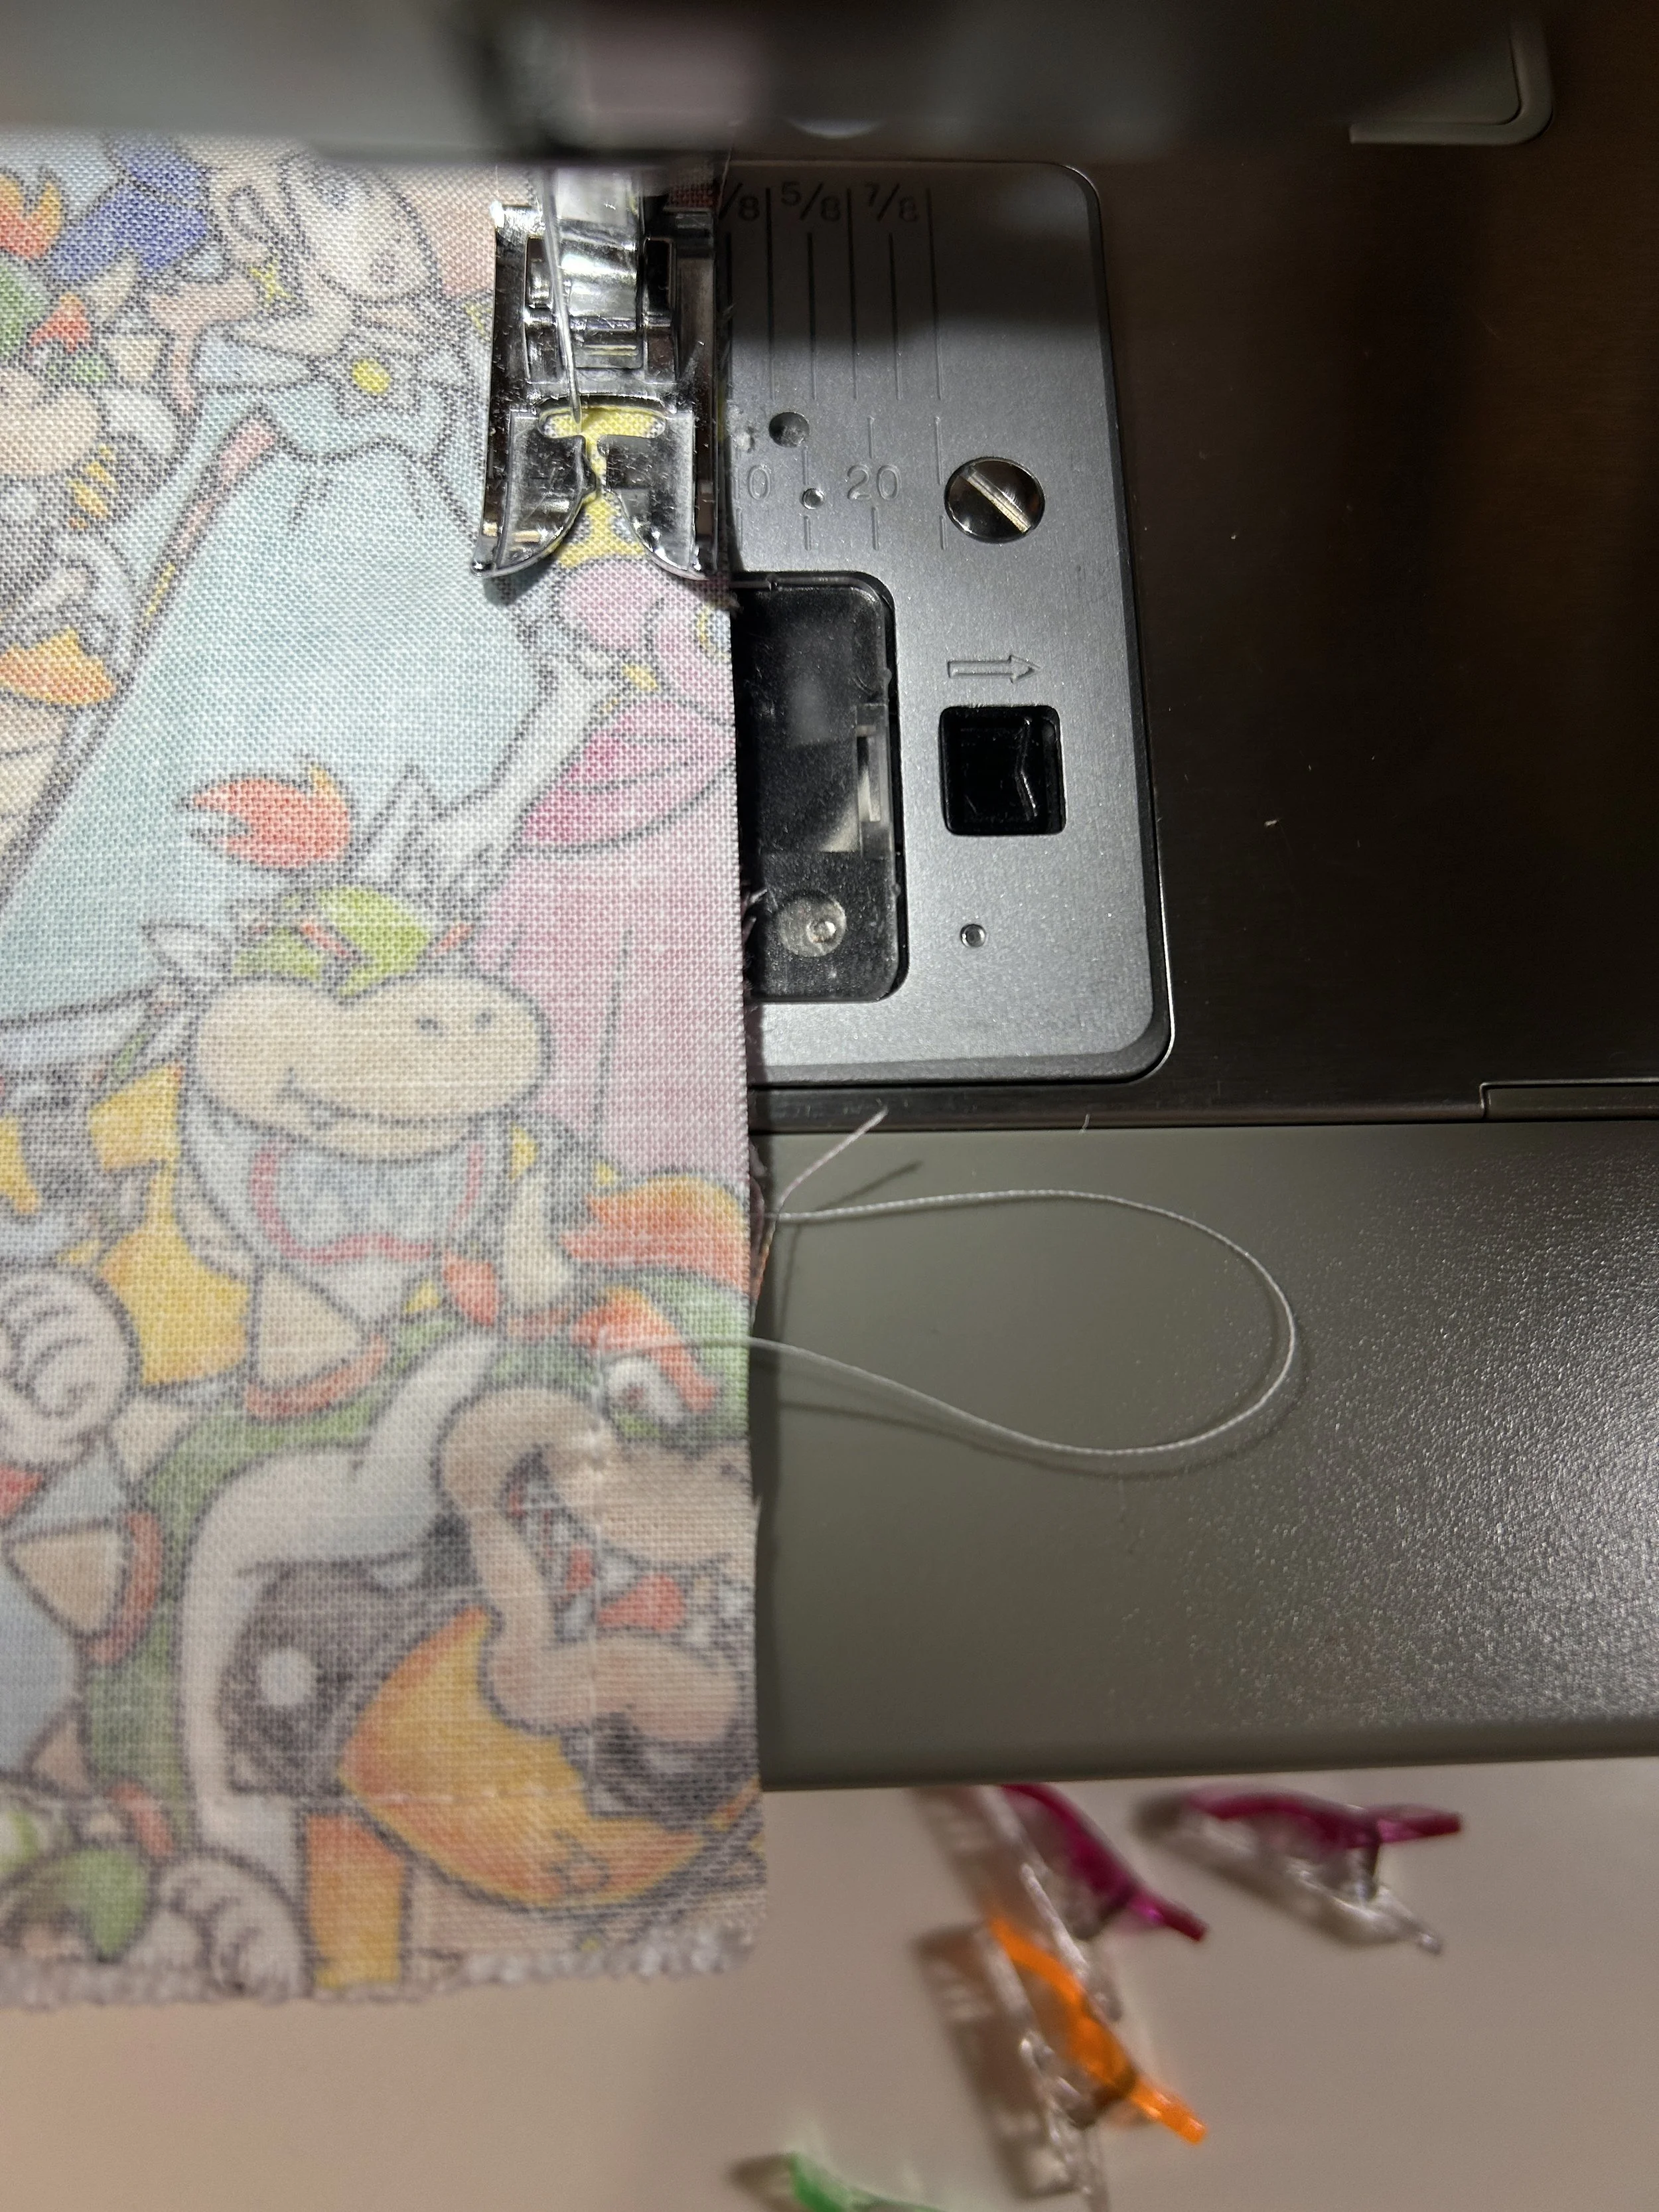
(if you are able to zoom in you will see the “C” perimeter we stitched along the edges, leaving a few inches unstitched for turning)
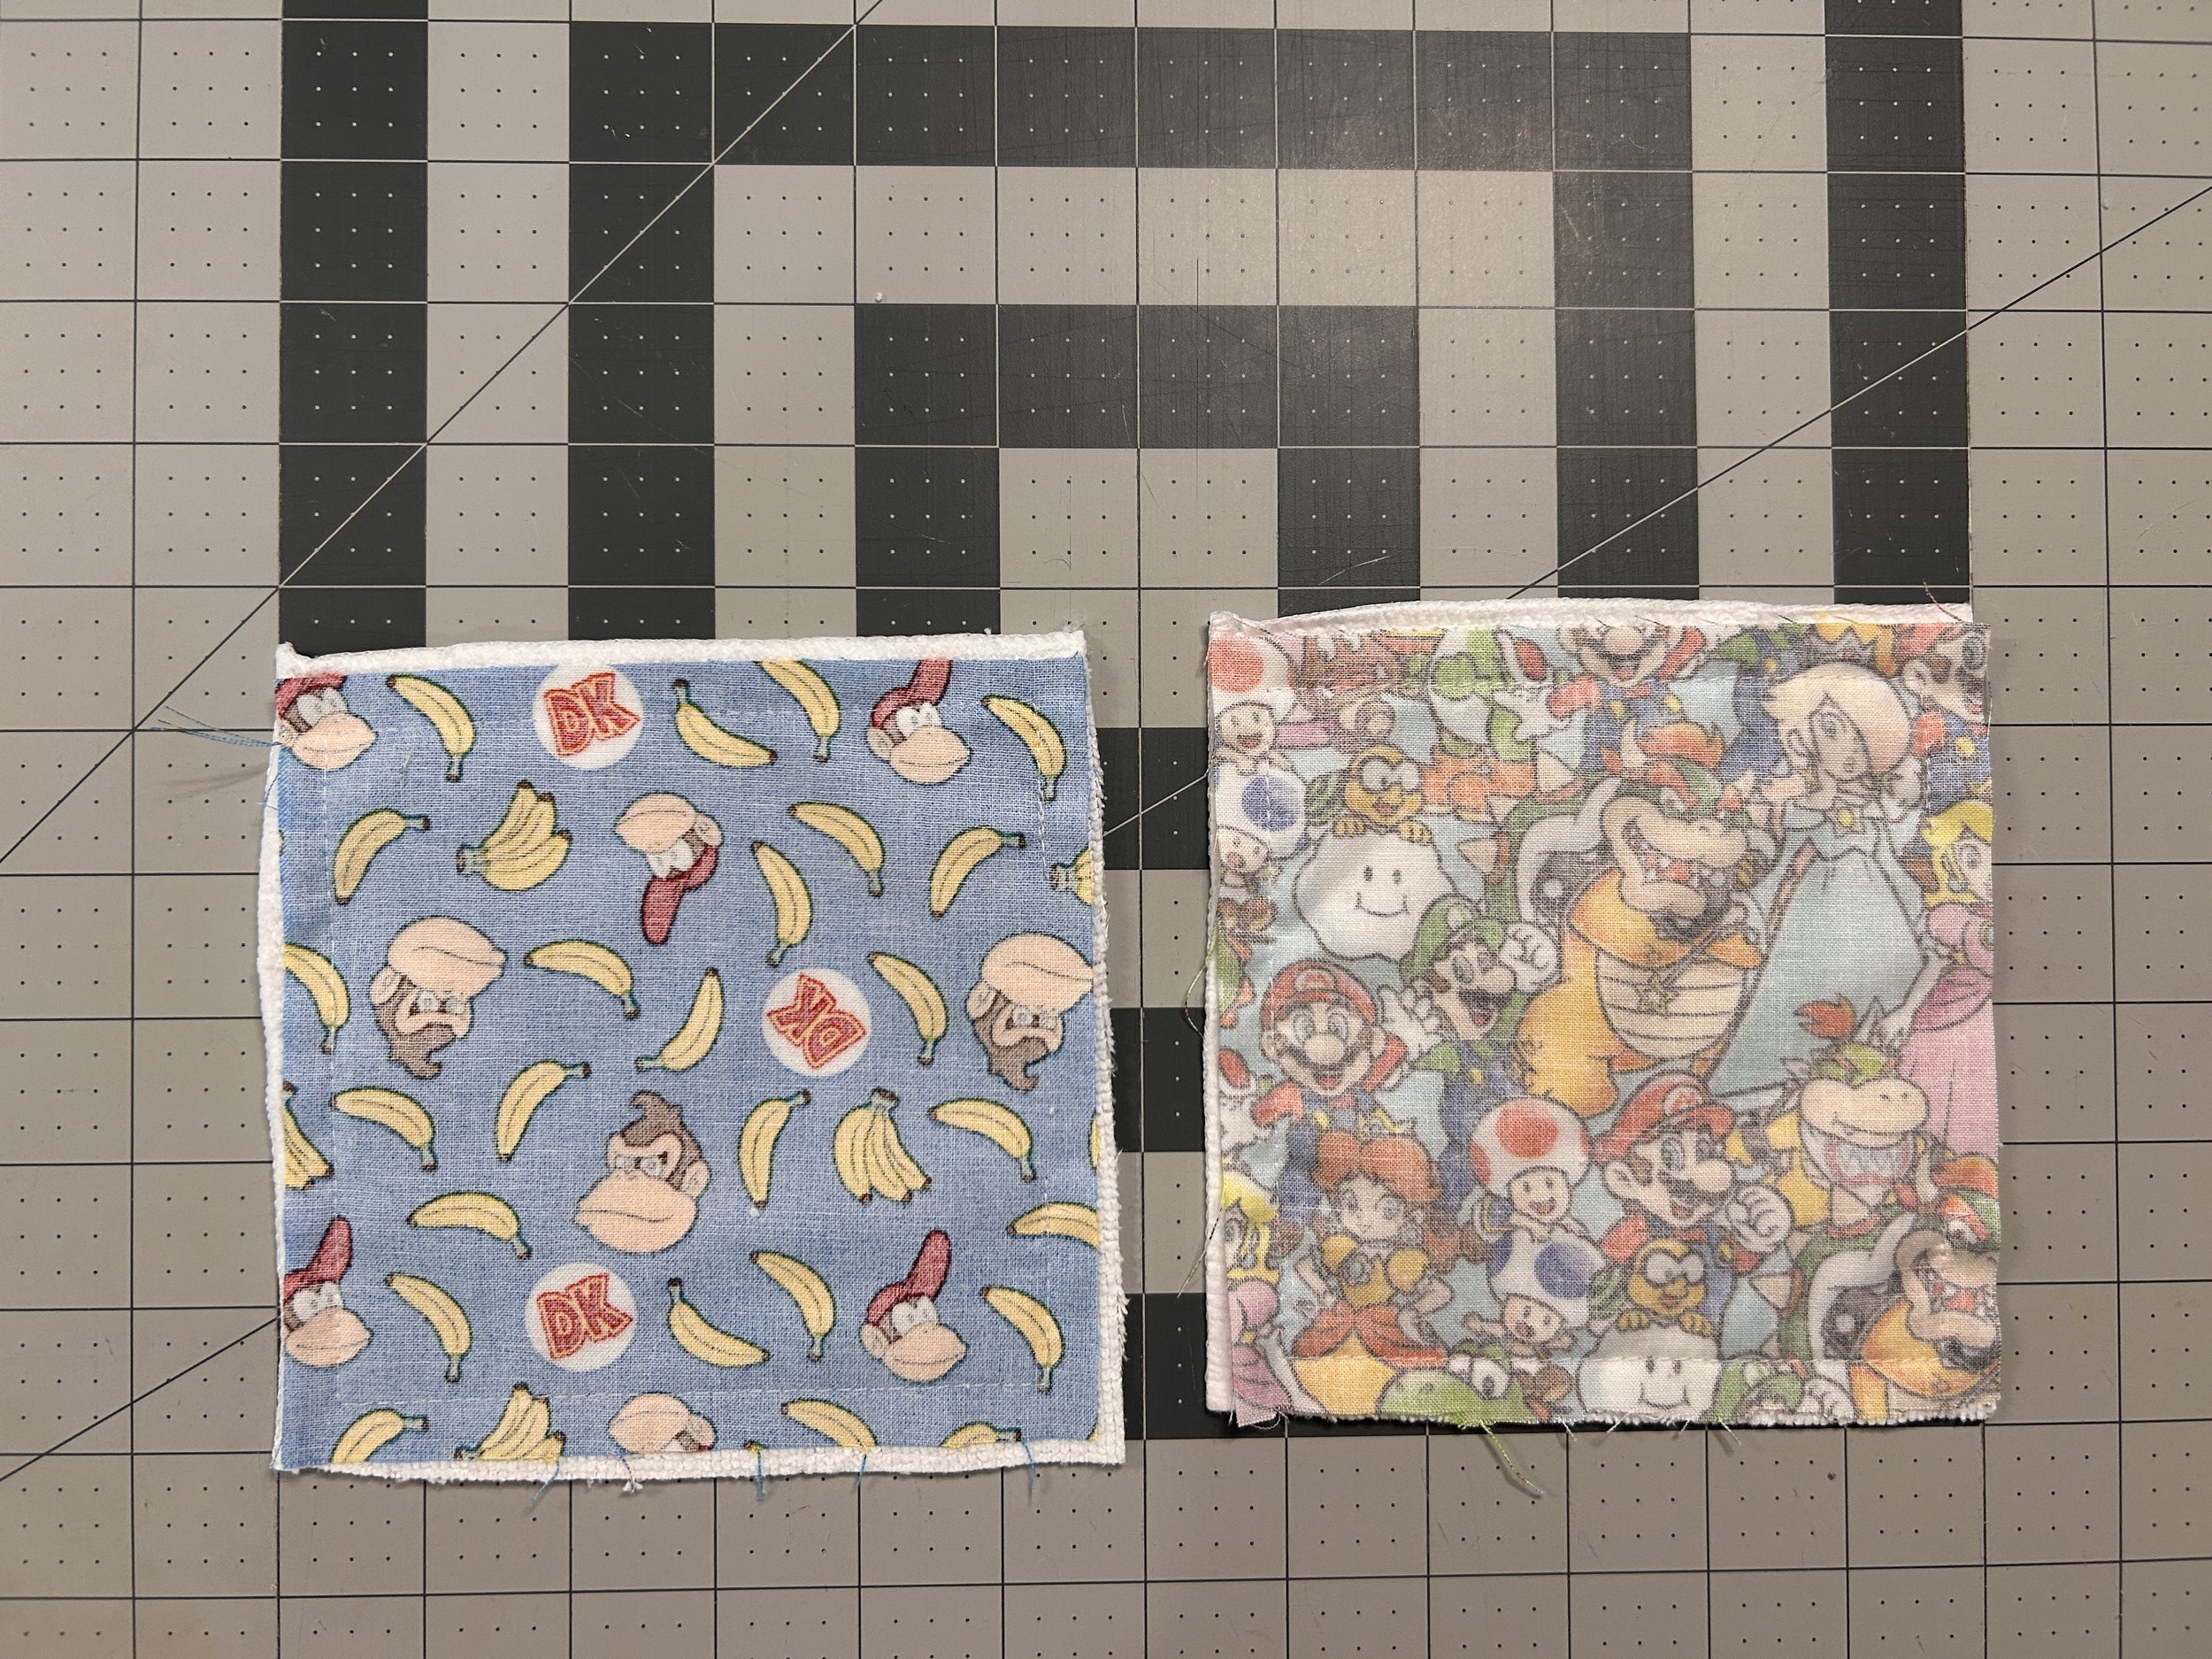
Totally optional, but I like to trim my edges. This helps get rid of the thick, already-serged edges from the original big wipe, and ensures that if I did some weird seam allowance as I sewed, it would be fixed during this step before I turned these out, and before pressing.
I trim them down to 1/4” (from the stitching to the edge of the fabric). I’ll manually cut along the side that has the opening so that I do NOT trim that down as it’s easier to fold the fabric inside if it’s a touch longer.
I also cut the corners to help make them a little sharper when I turn this out, but again, not mandatory!
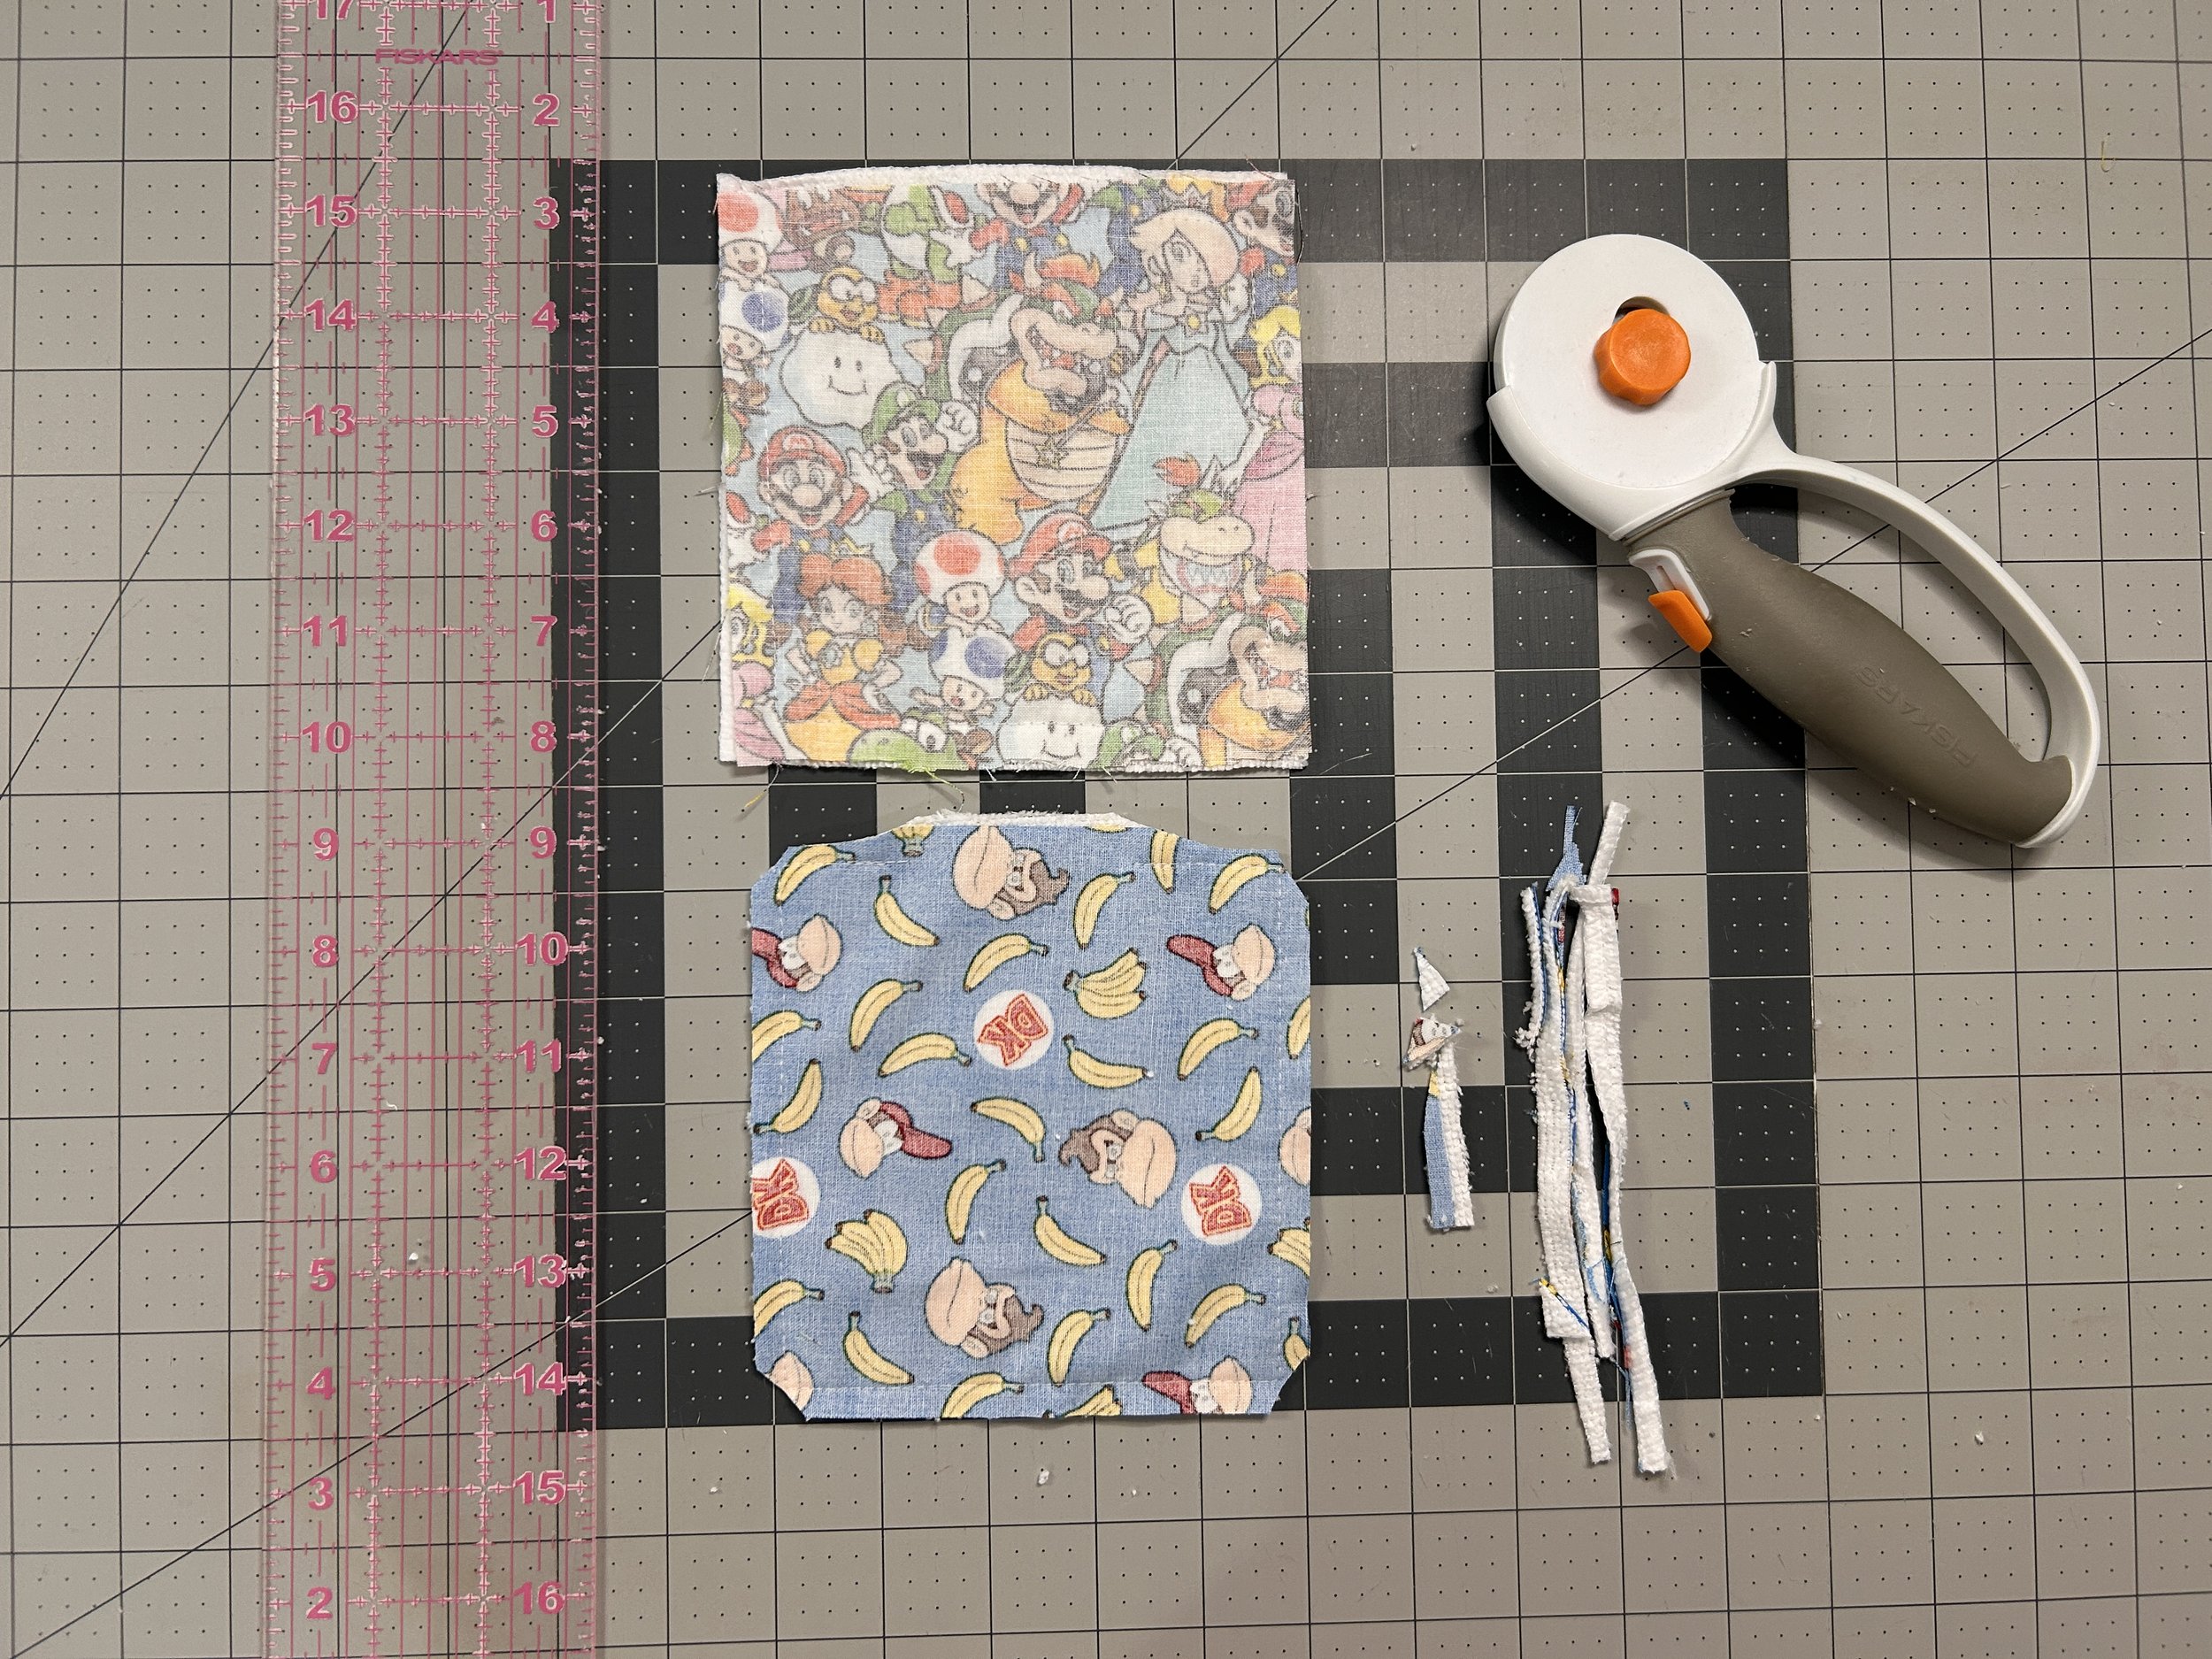
Step 7: turn them right-side out
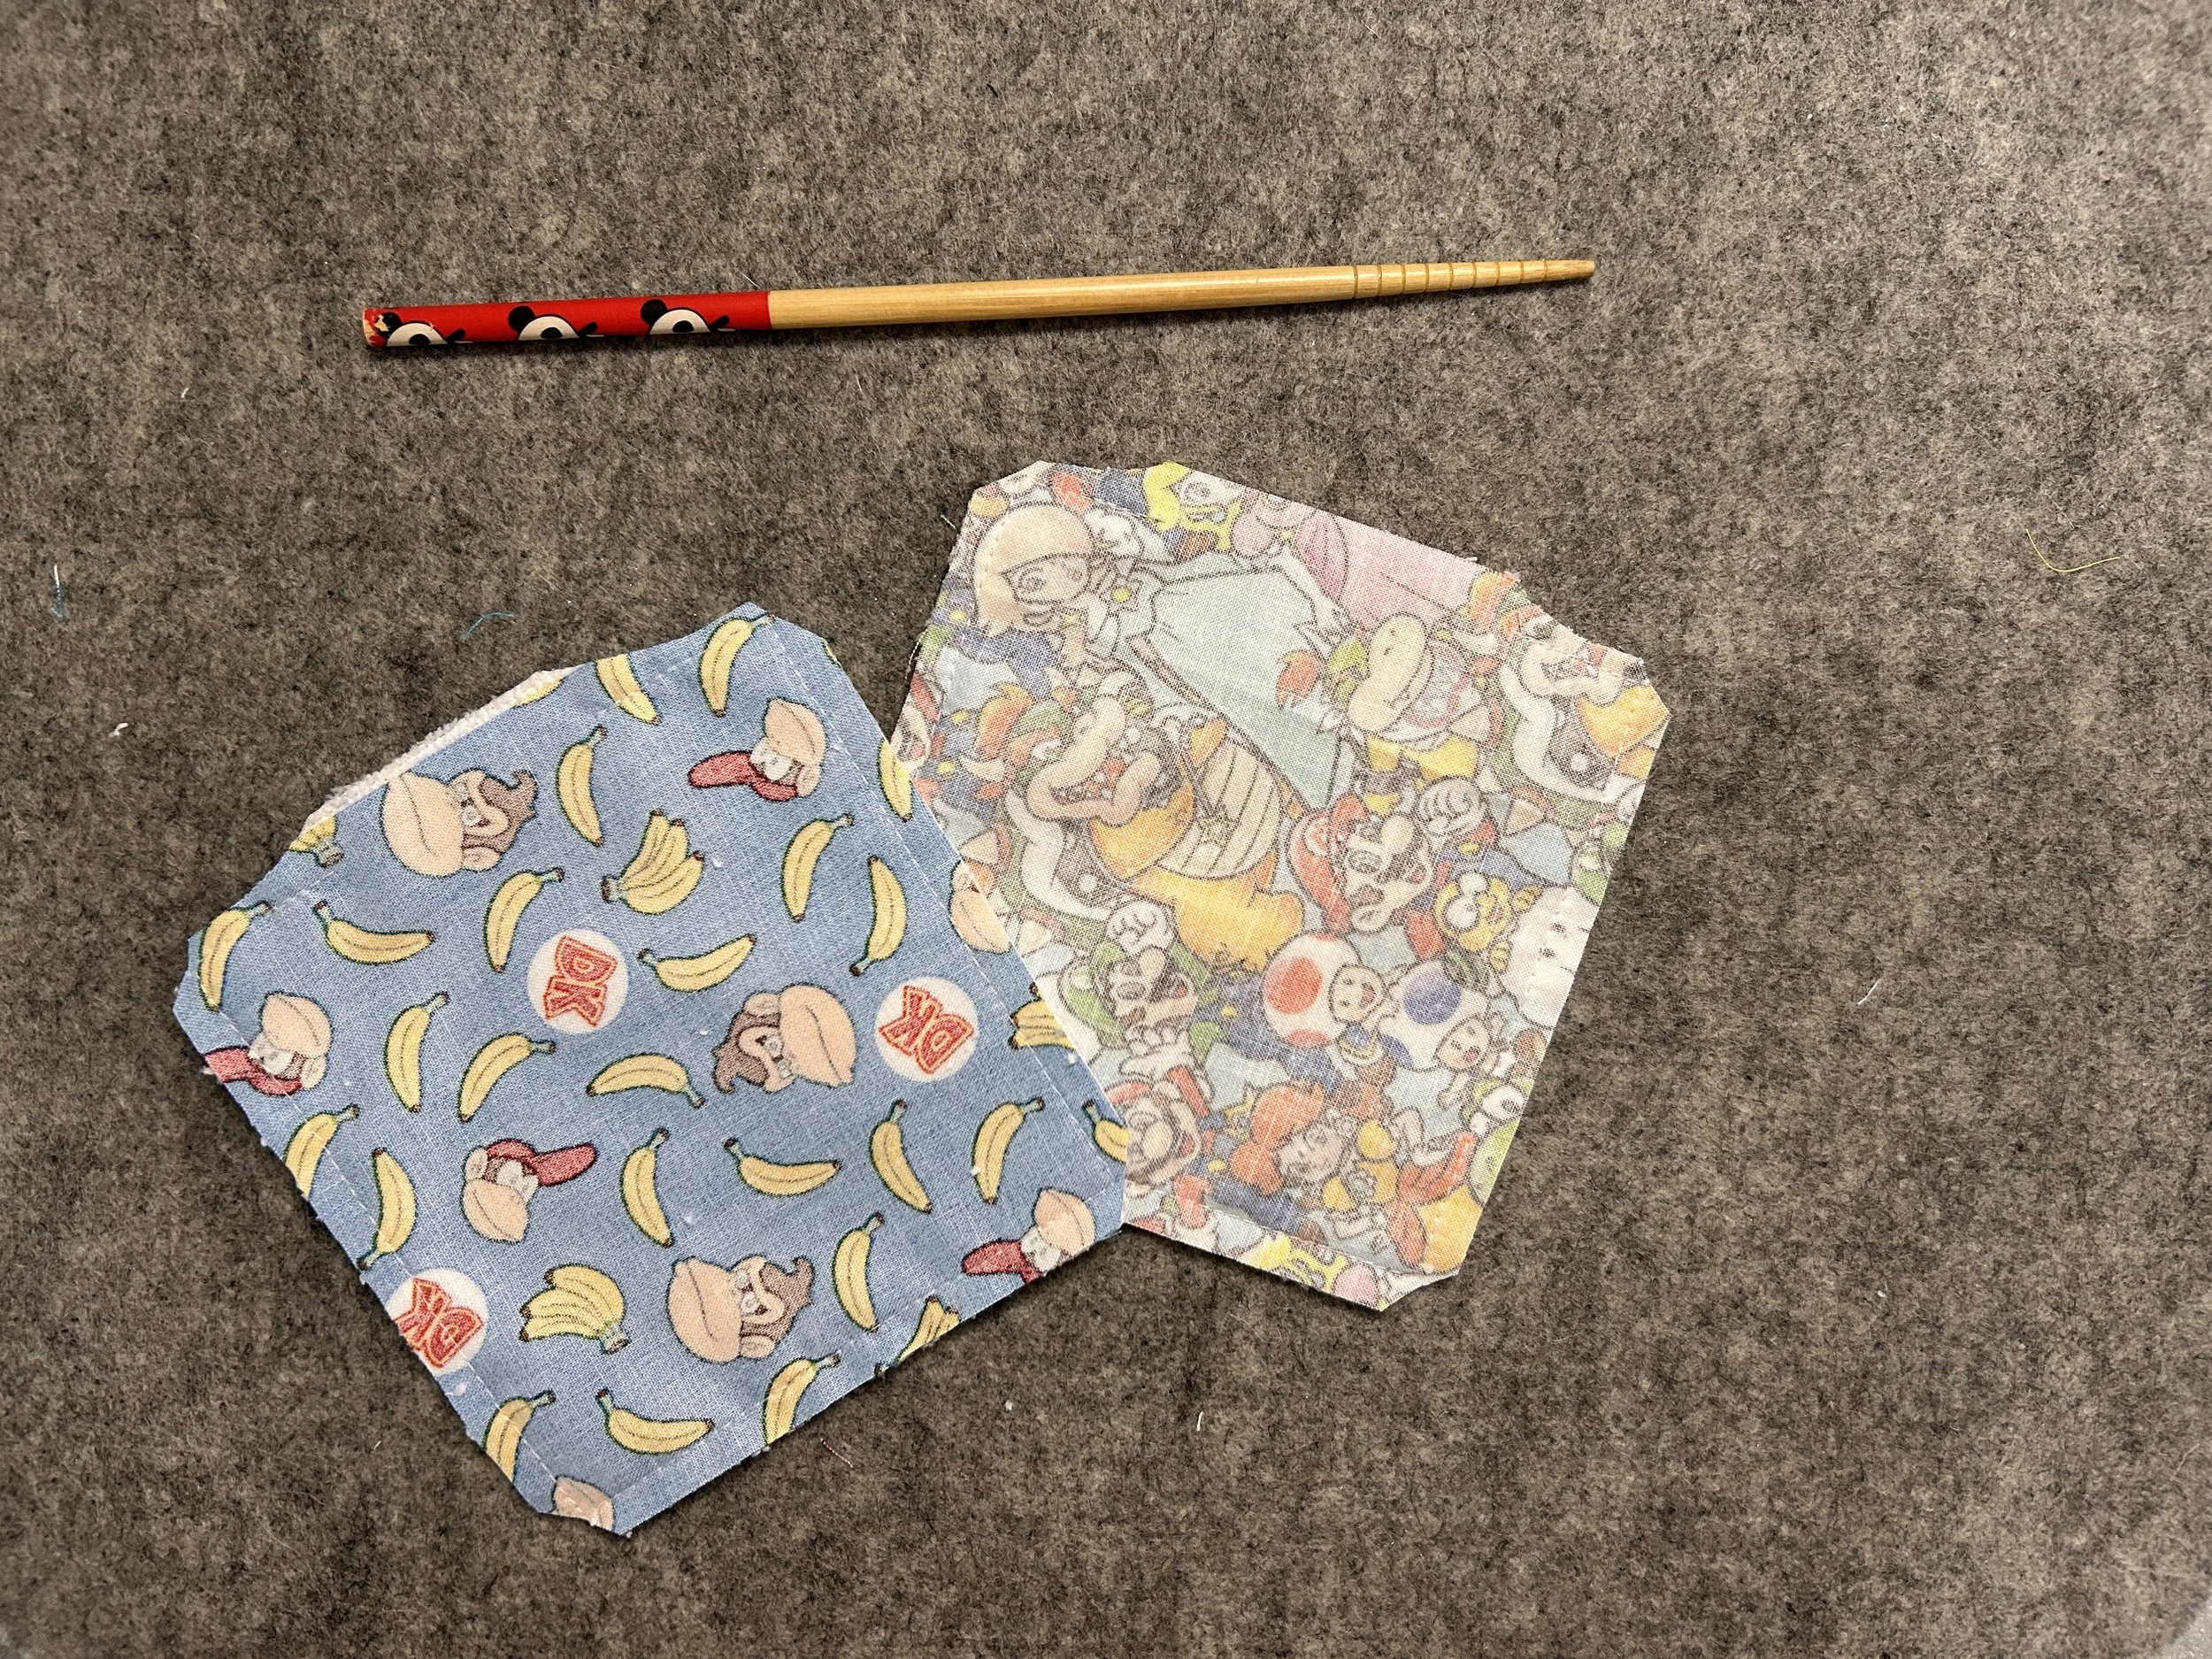
I use a chopstick to help me push out those corners, as well as run along the edges to ensure they are nice and pushed out before we press
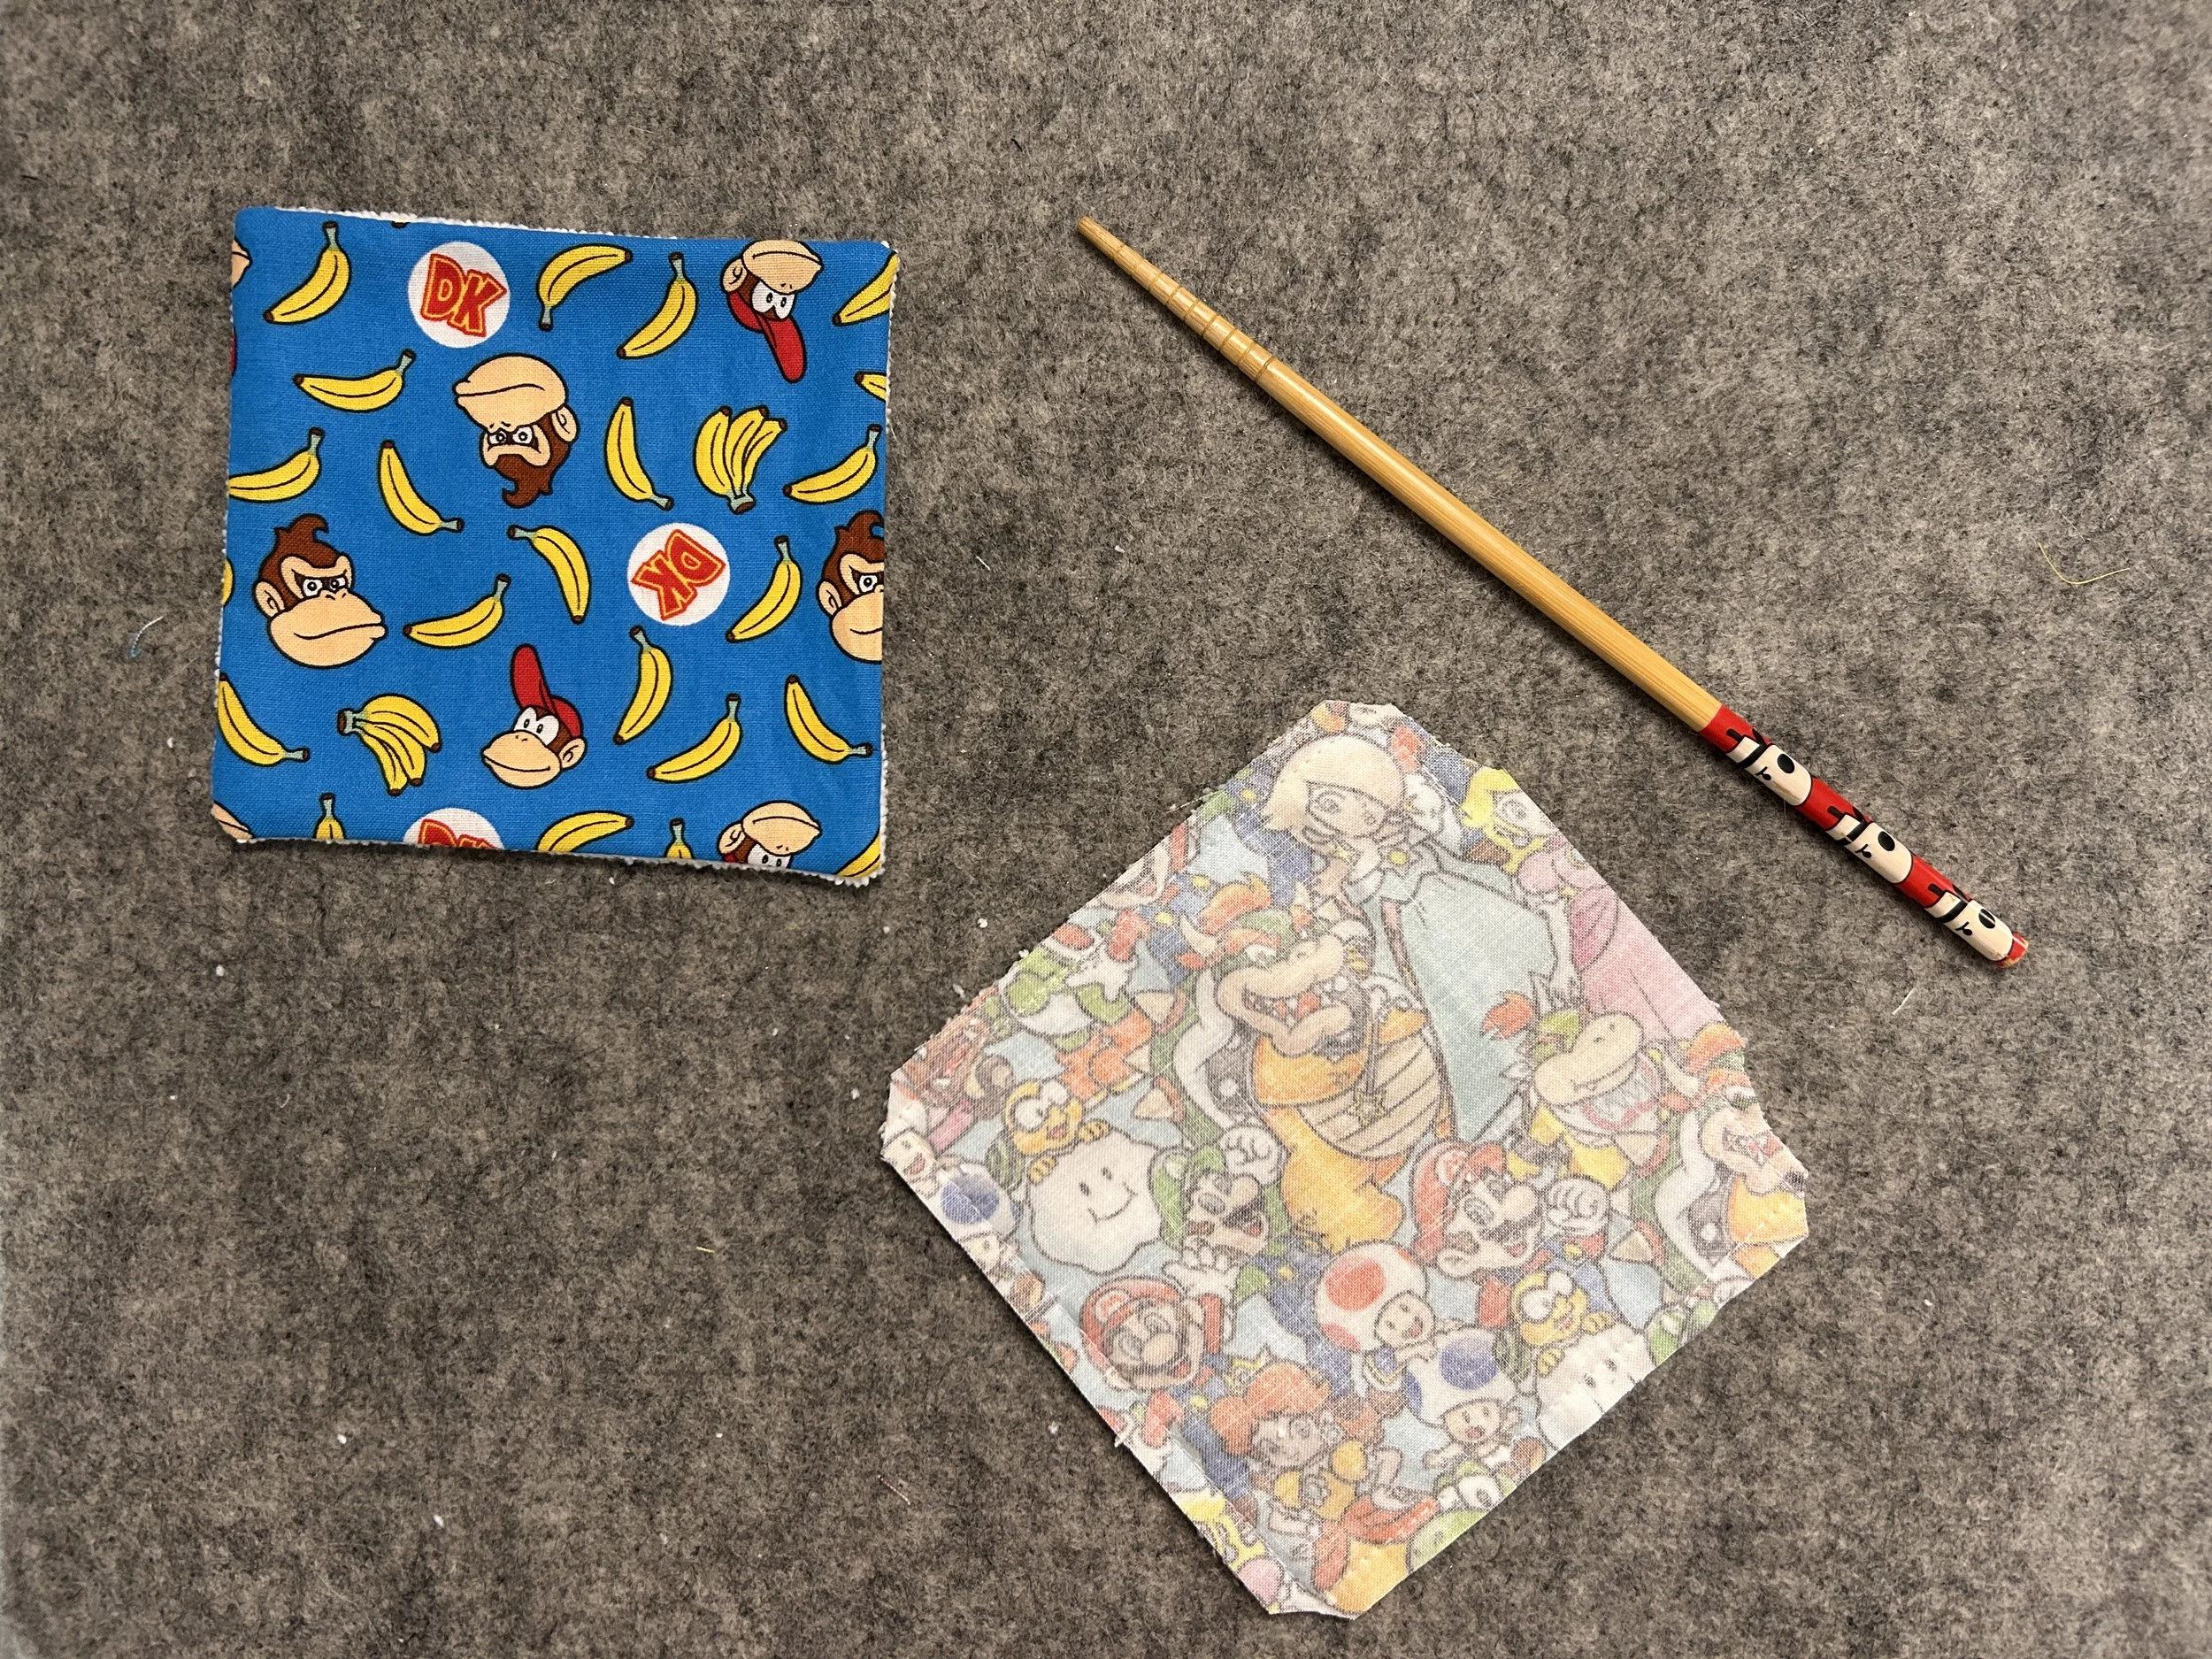
As you can see, the untrimmed fabric from the opening folded itself inside quite nicely when we turned these out, and is ready for pressing!
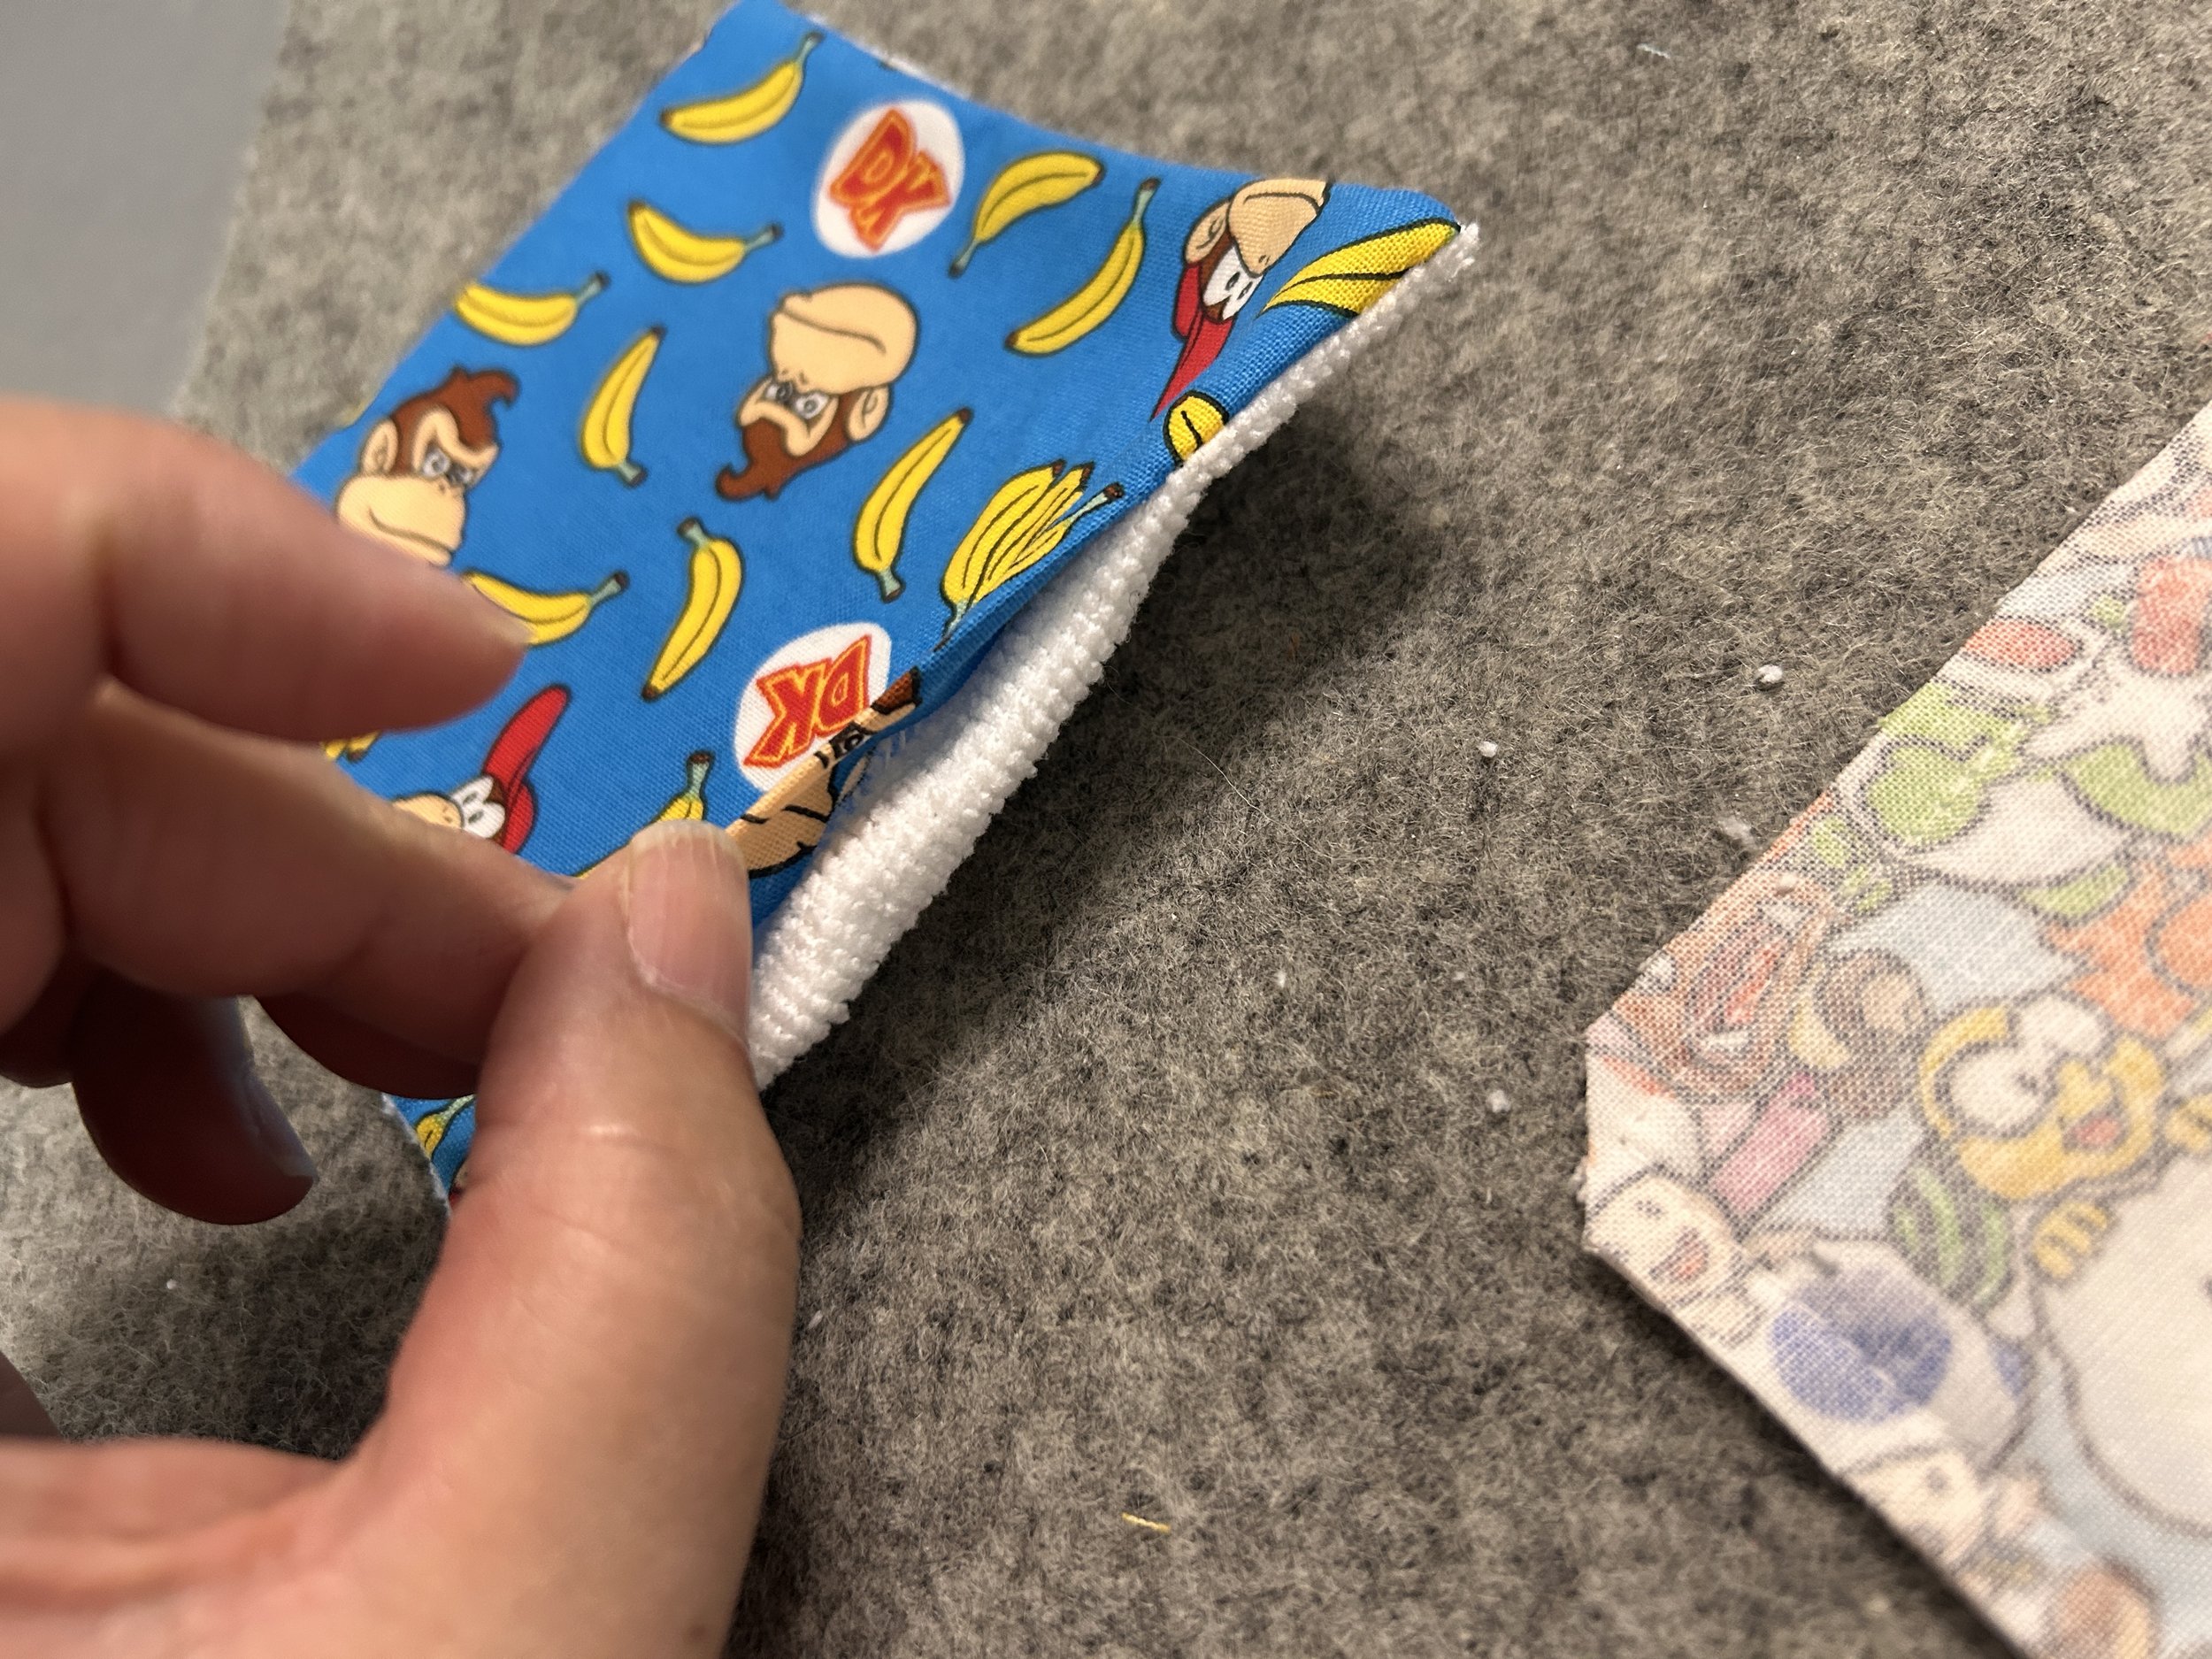
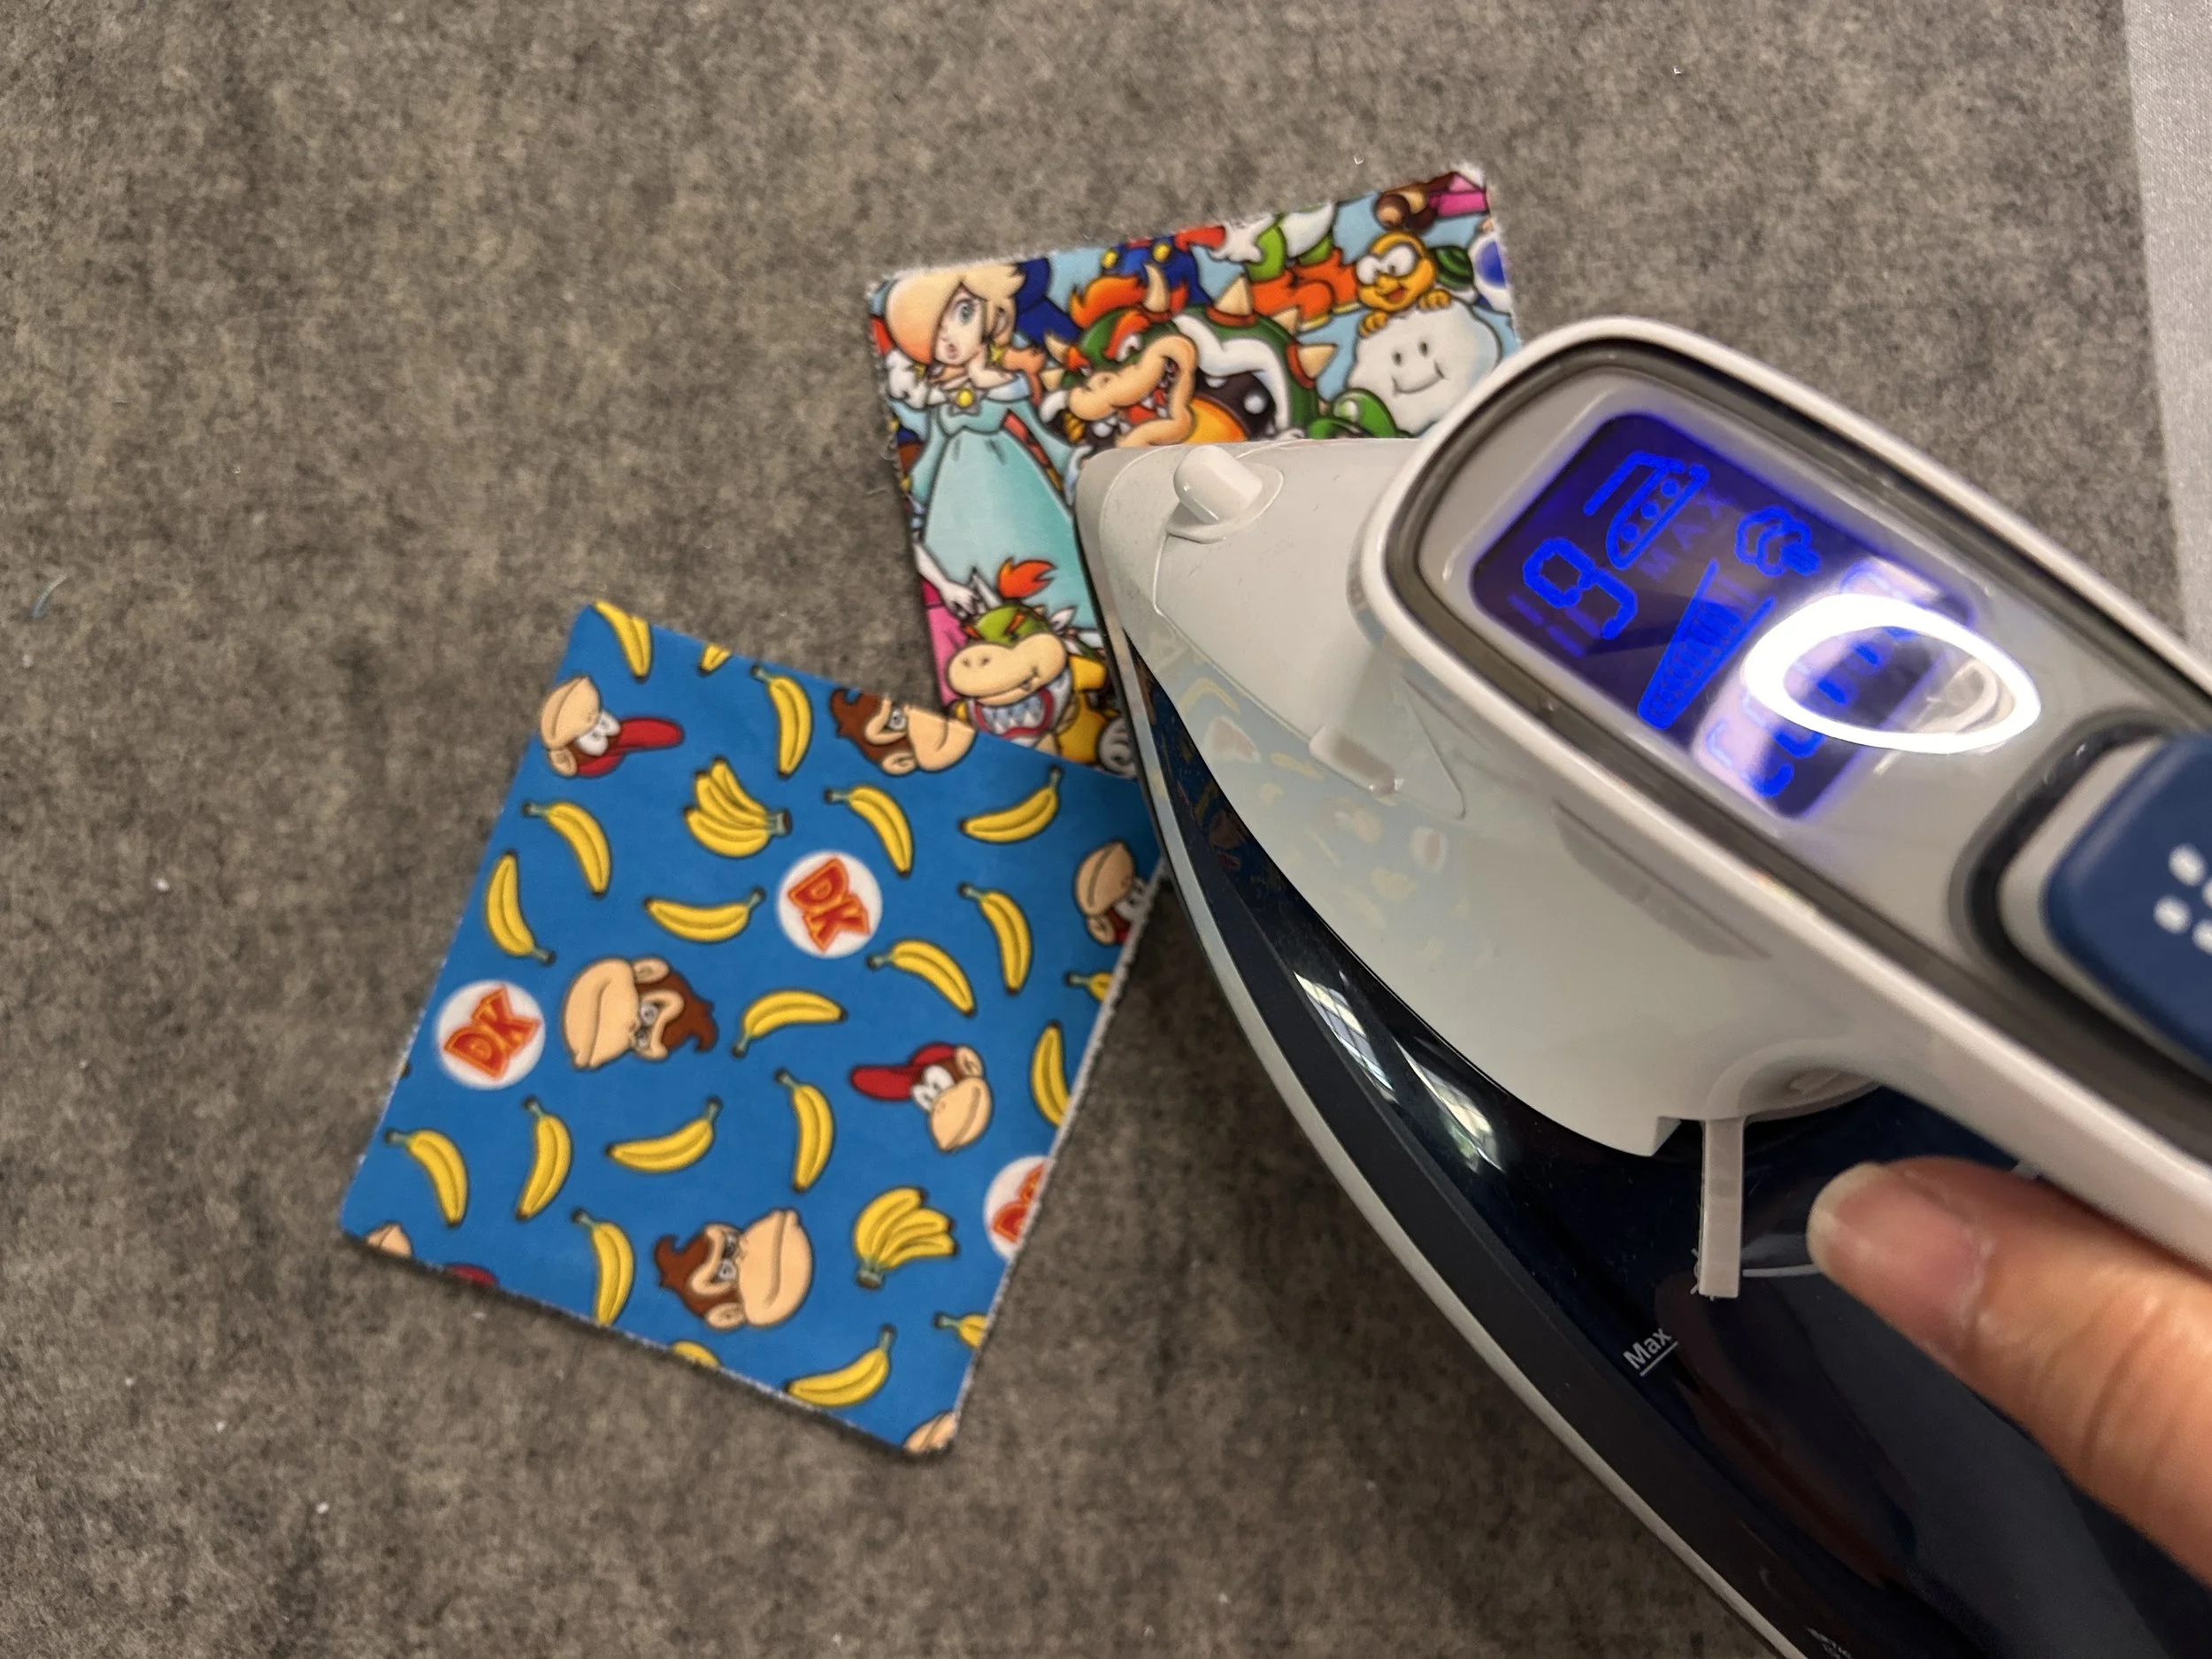
Step 8: give them a quick swipe with your iron to crisp up that opening for stitching, and get out any last wrinkles (it’s definitely easier to do this before you put the magnet inside!)
Step 9: topstitch the perimeter
I start in the upper-right corner because, once we get allllllll the way around, we are going to pivot on that same corner to make a diagonal
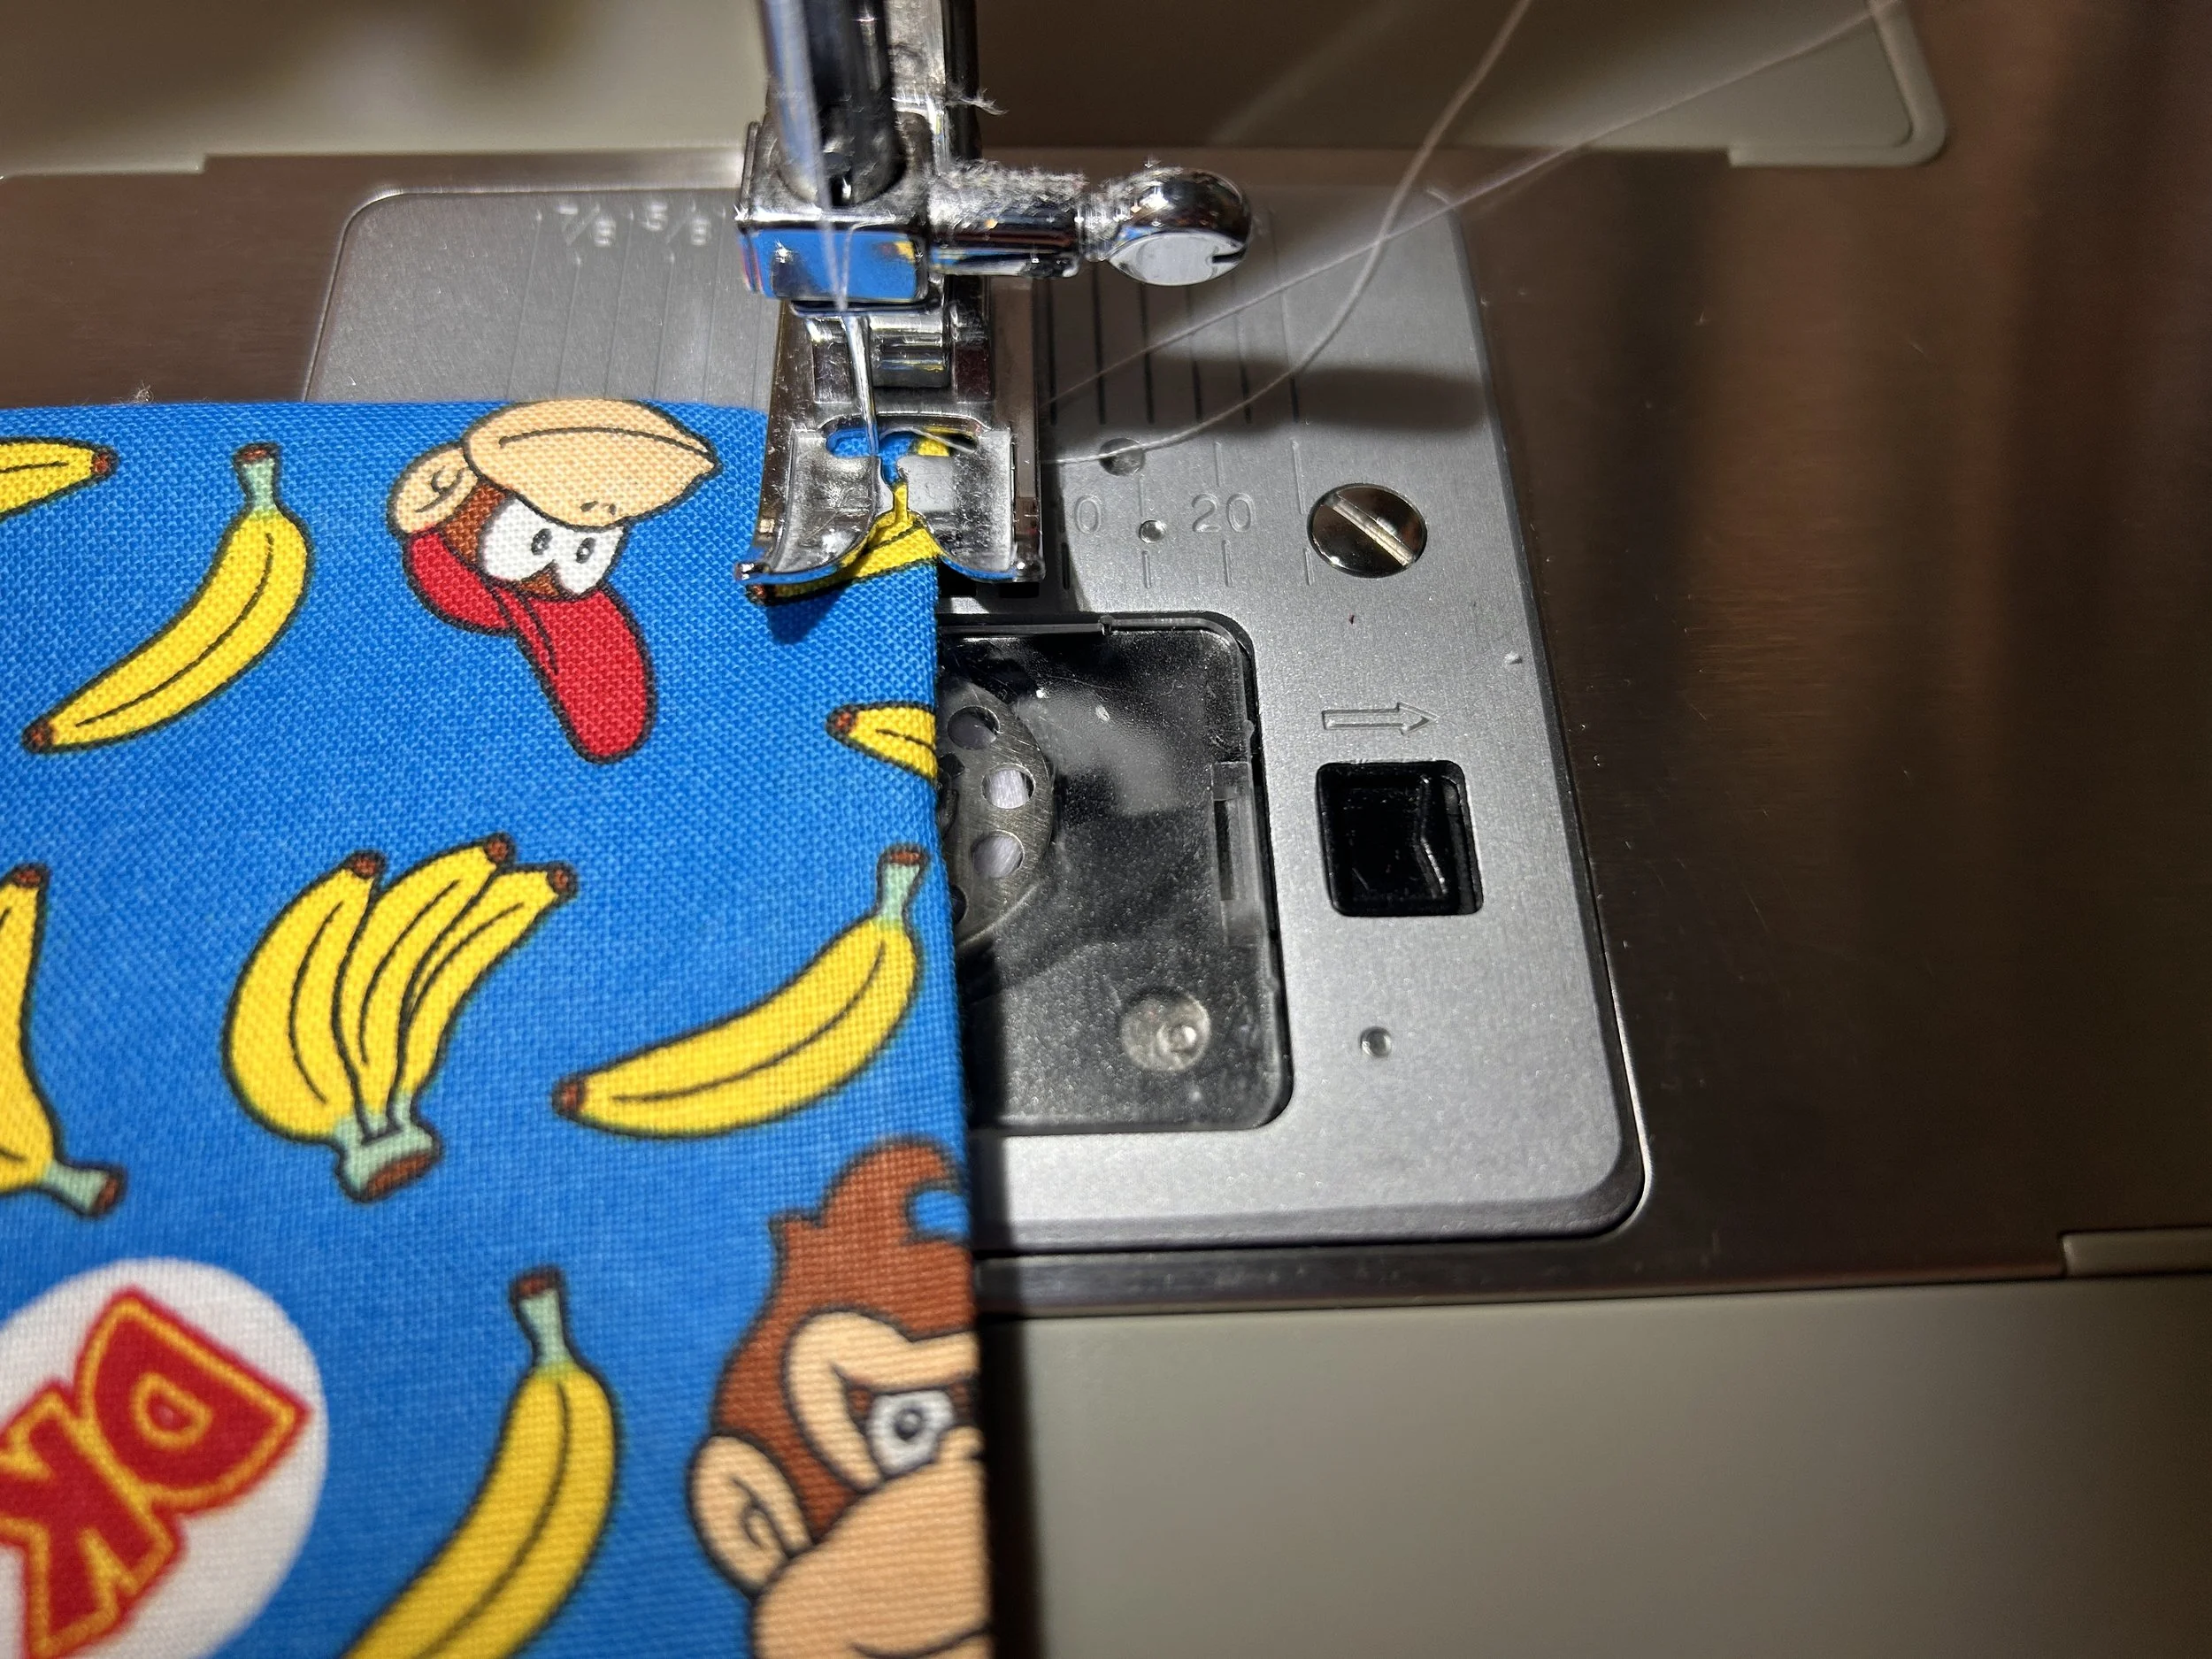
Like this:
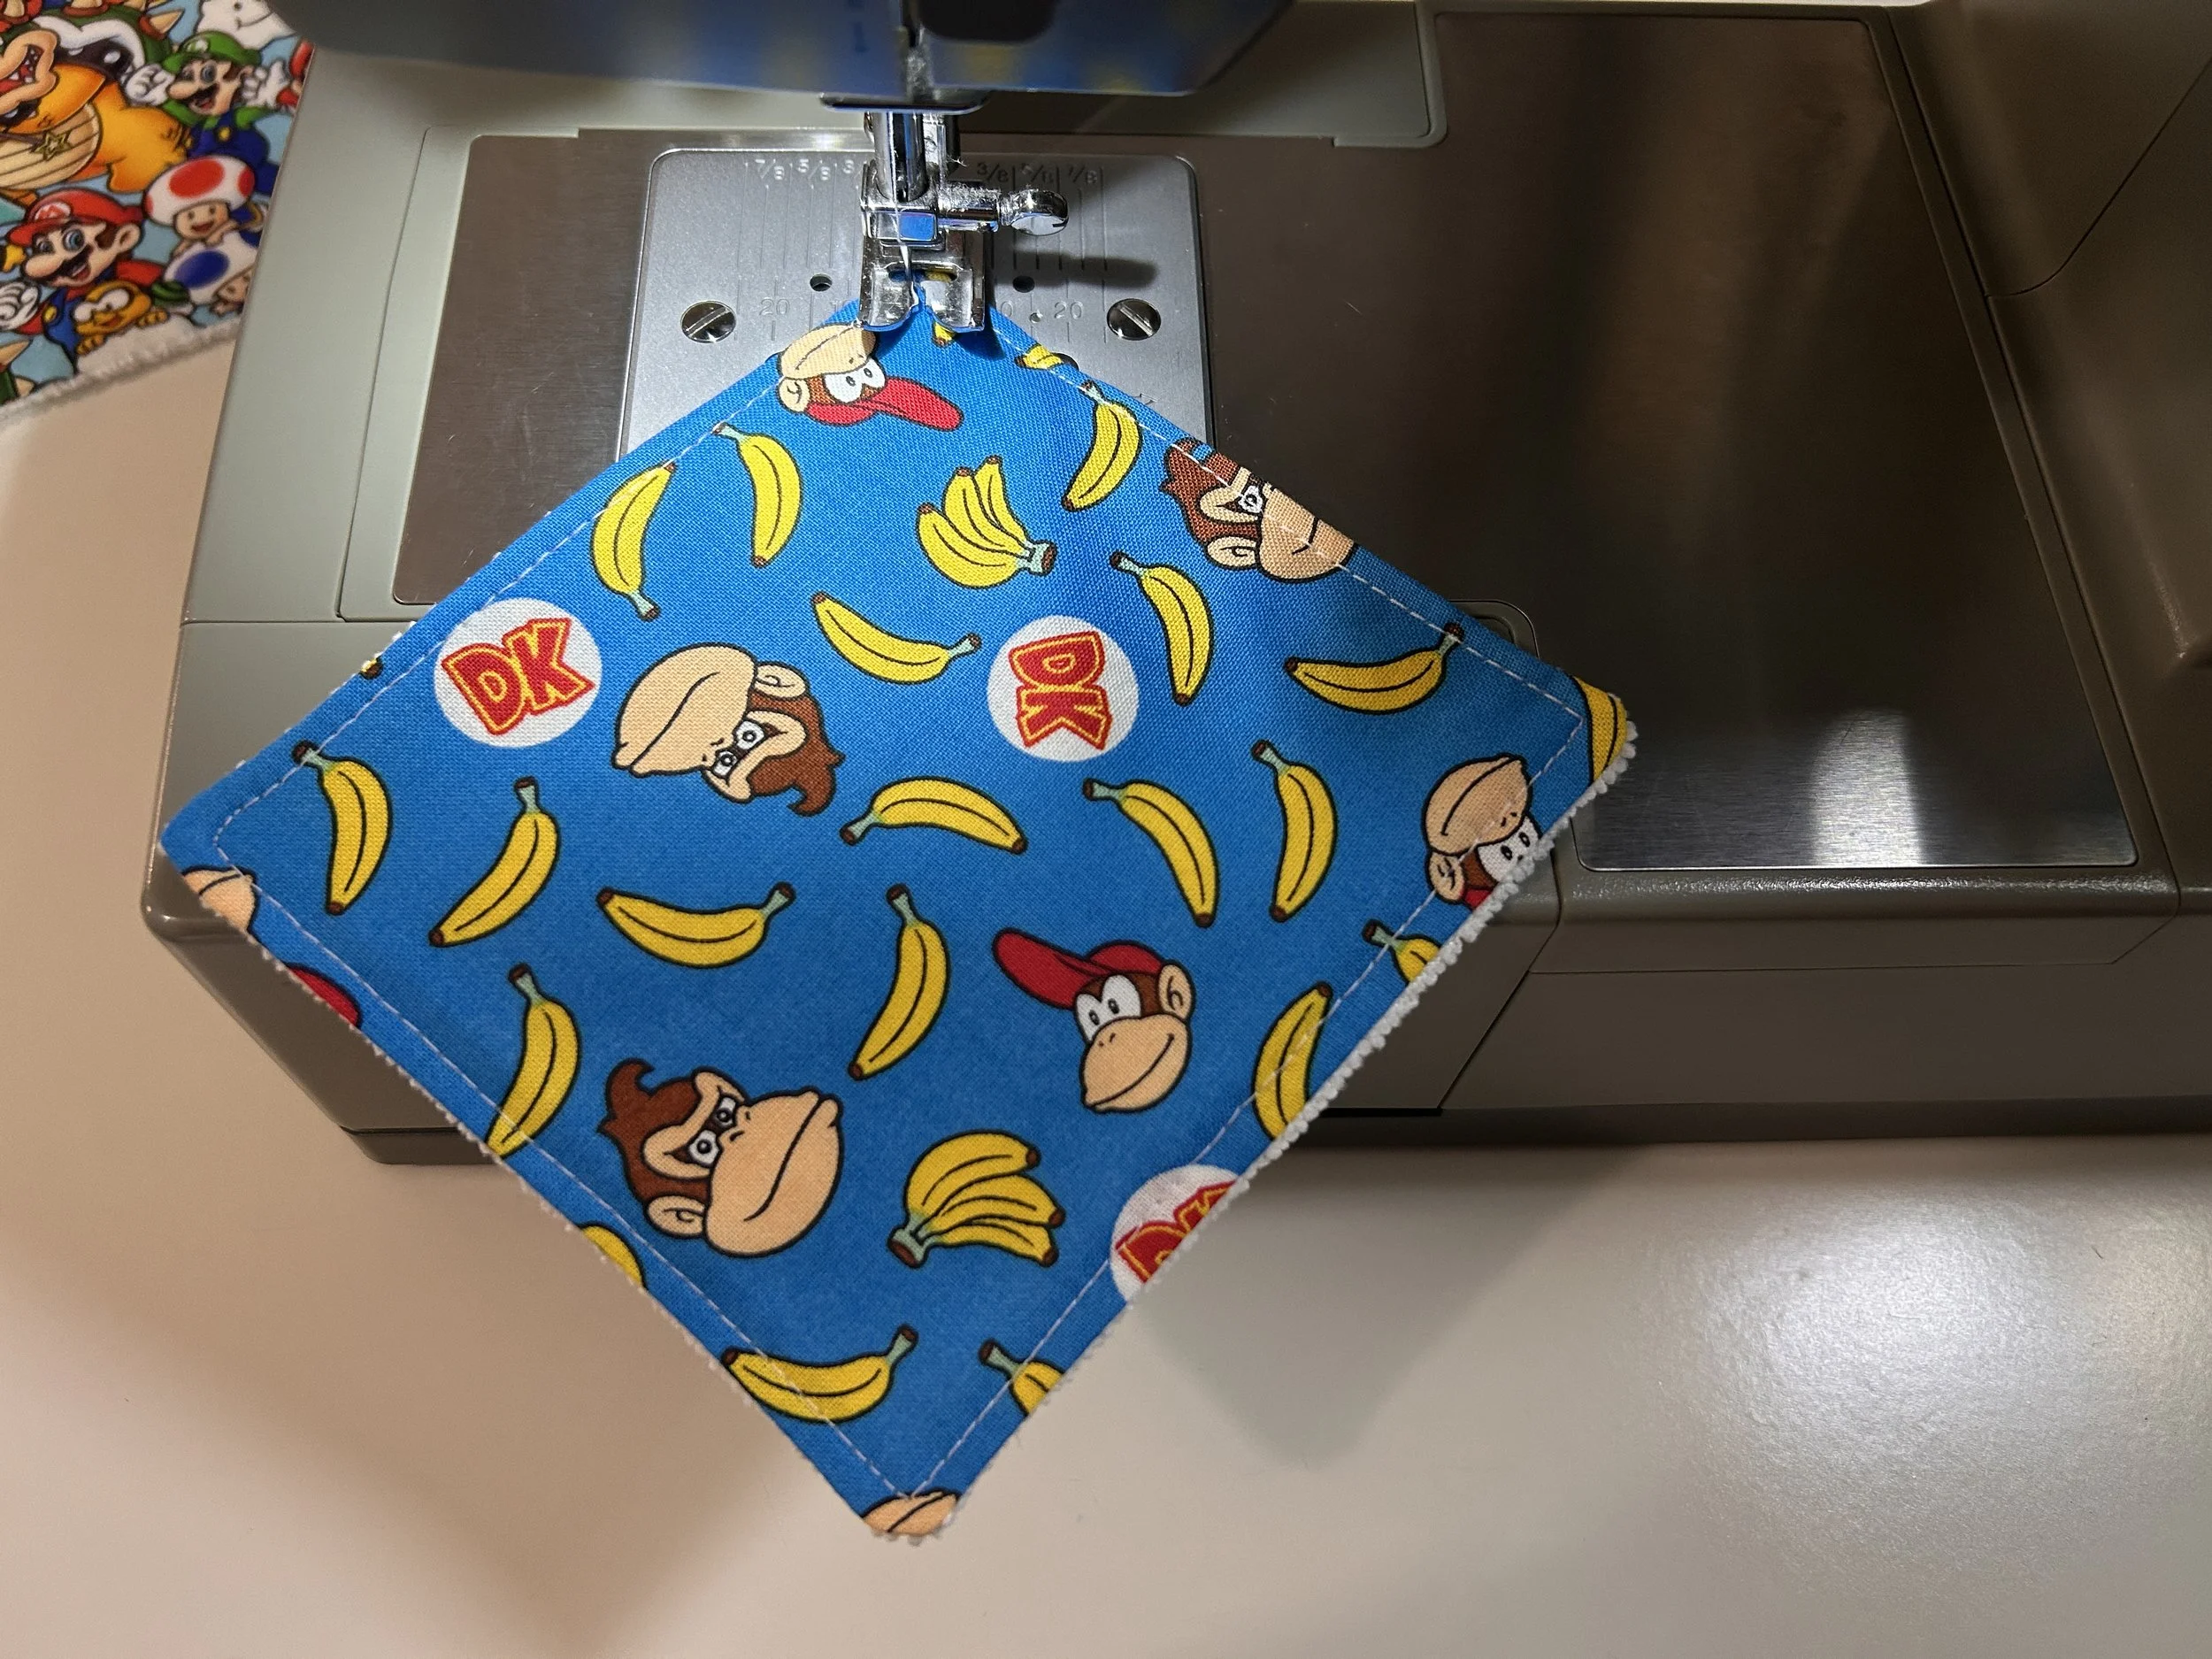
After you sew down diagonally from corner to far corner, you’re going to pull the square out, snip your threads (it gets wayyyyy too messy if you just leave all the loops hanging, but you can if you want!), then place it under your needle again, on the other corner.
Sew another diagonal across, completing your “X” to help the layers stay secured as you wipe things down (and especially if you toss this into the wash - we don’t want bunching and weird puffy layers after we pull it out of the dryer!)
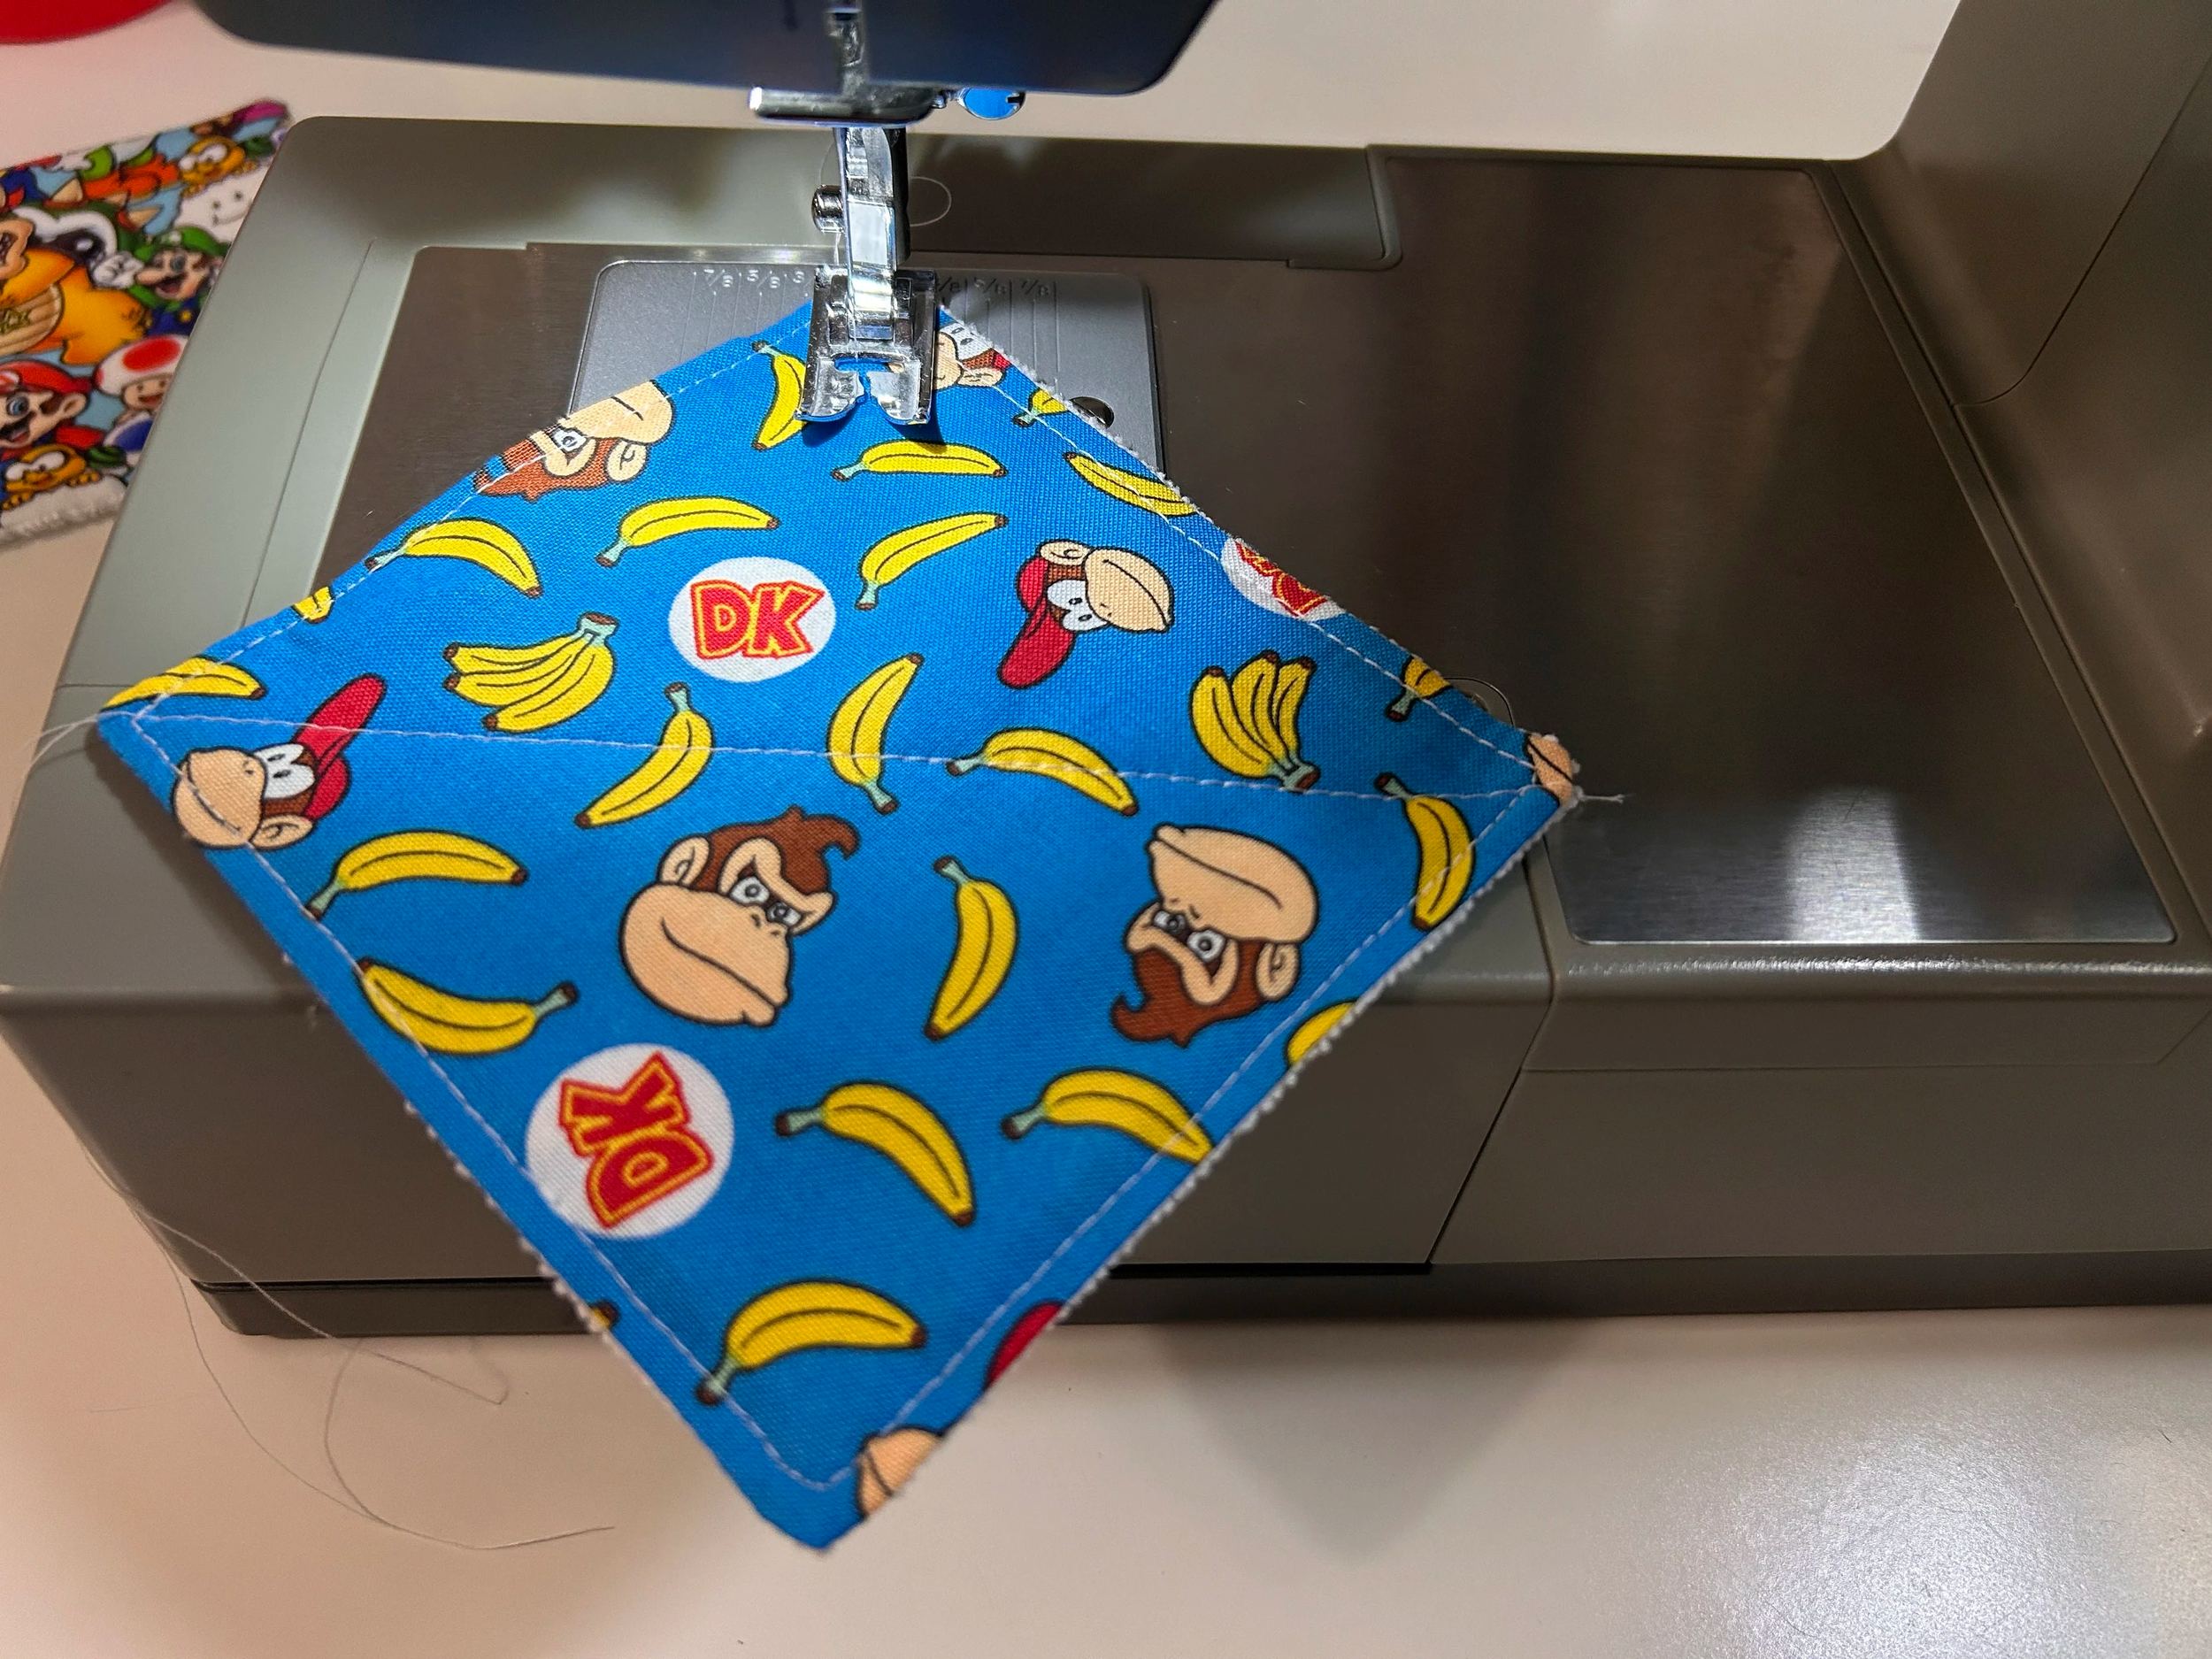
Step 10: time to add the magnet!
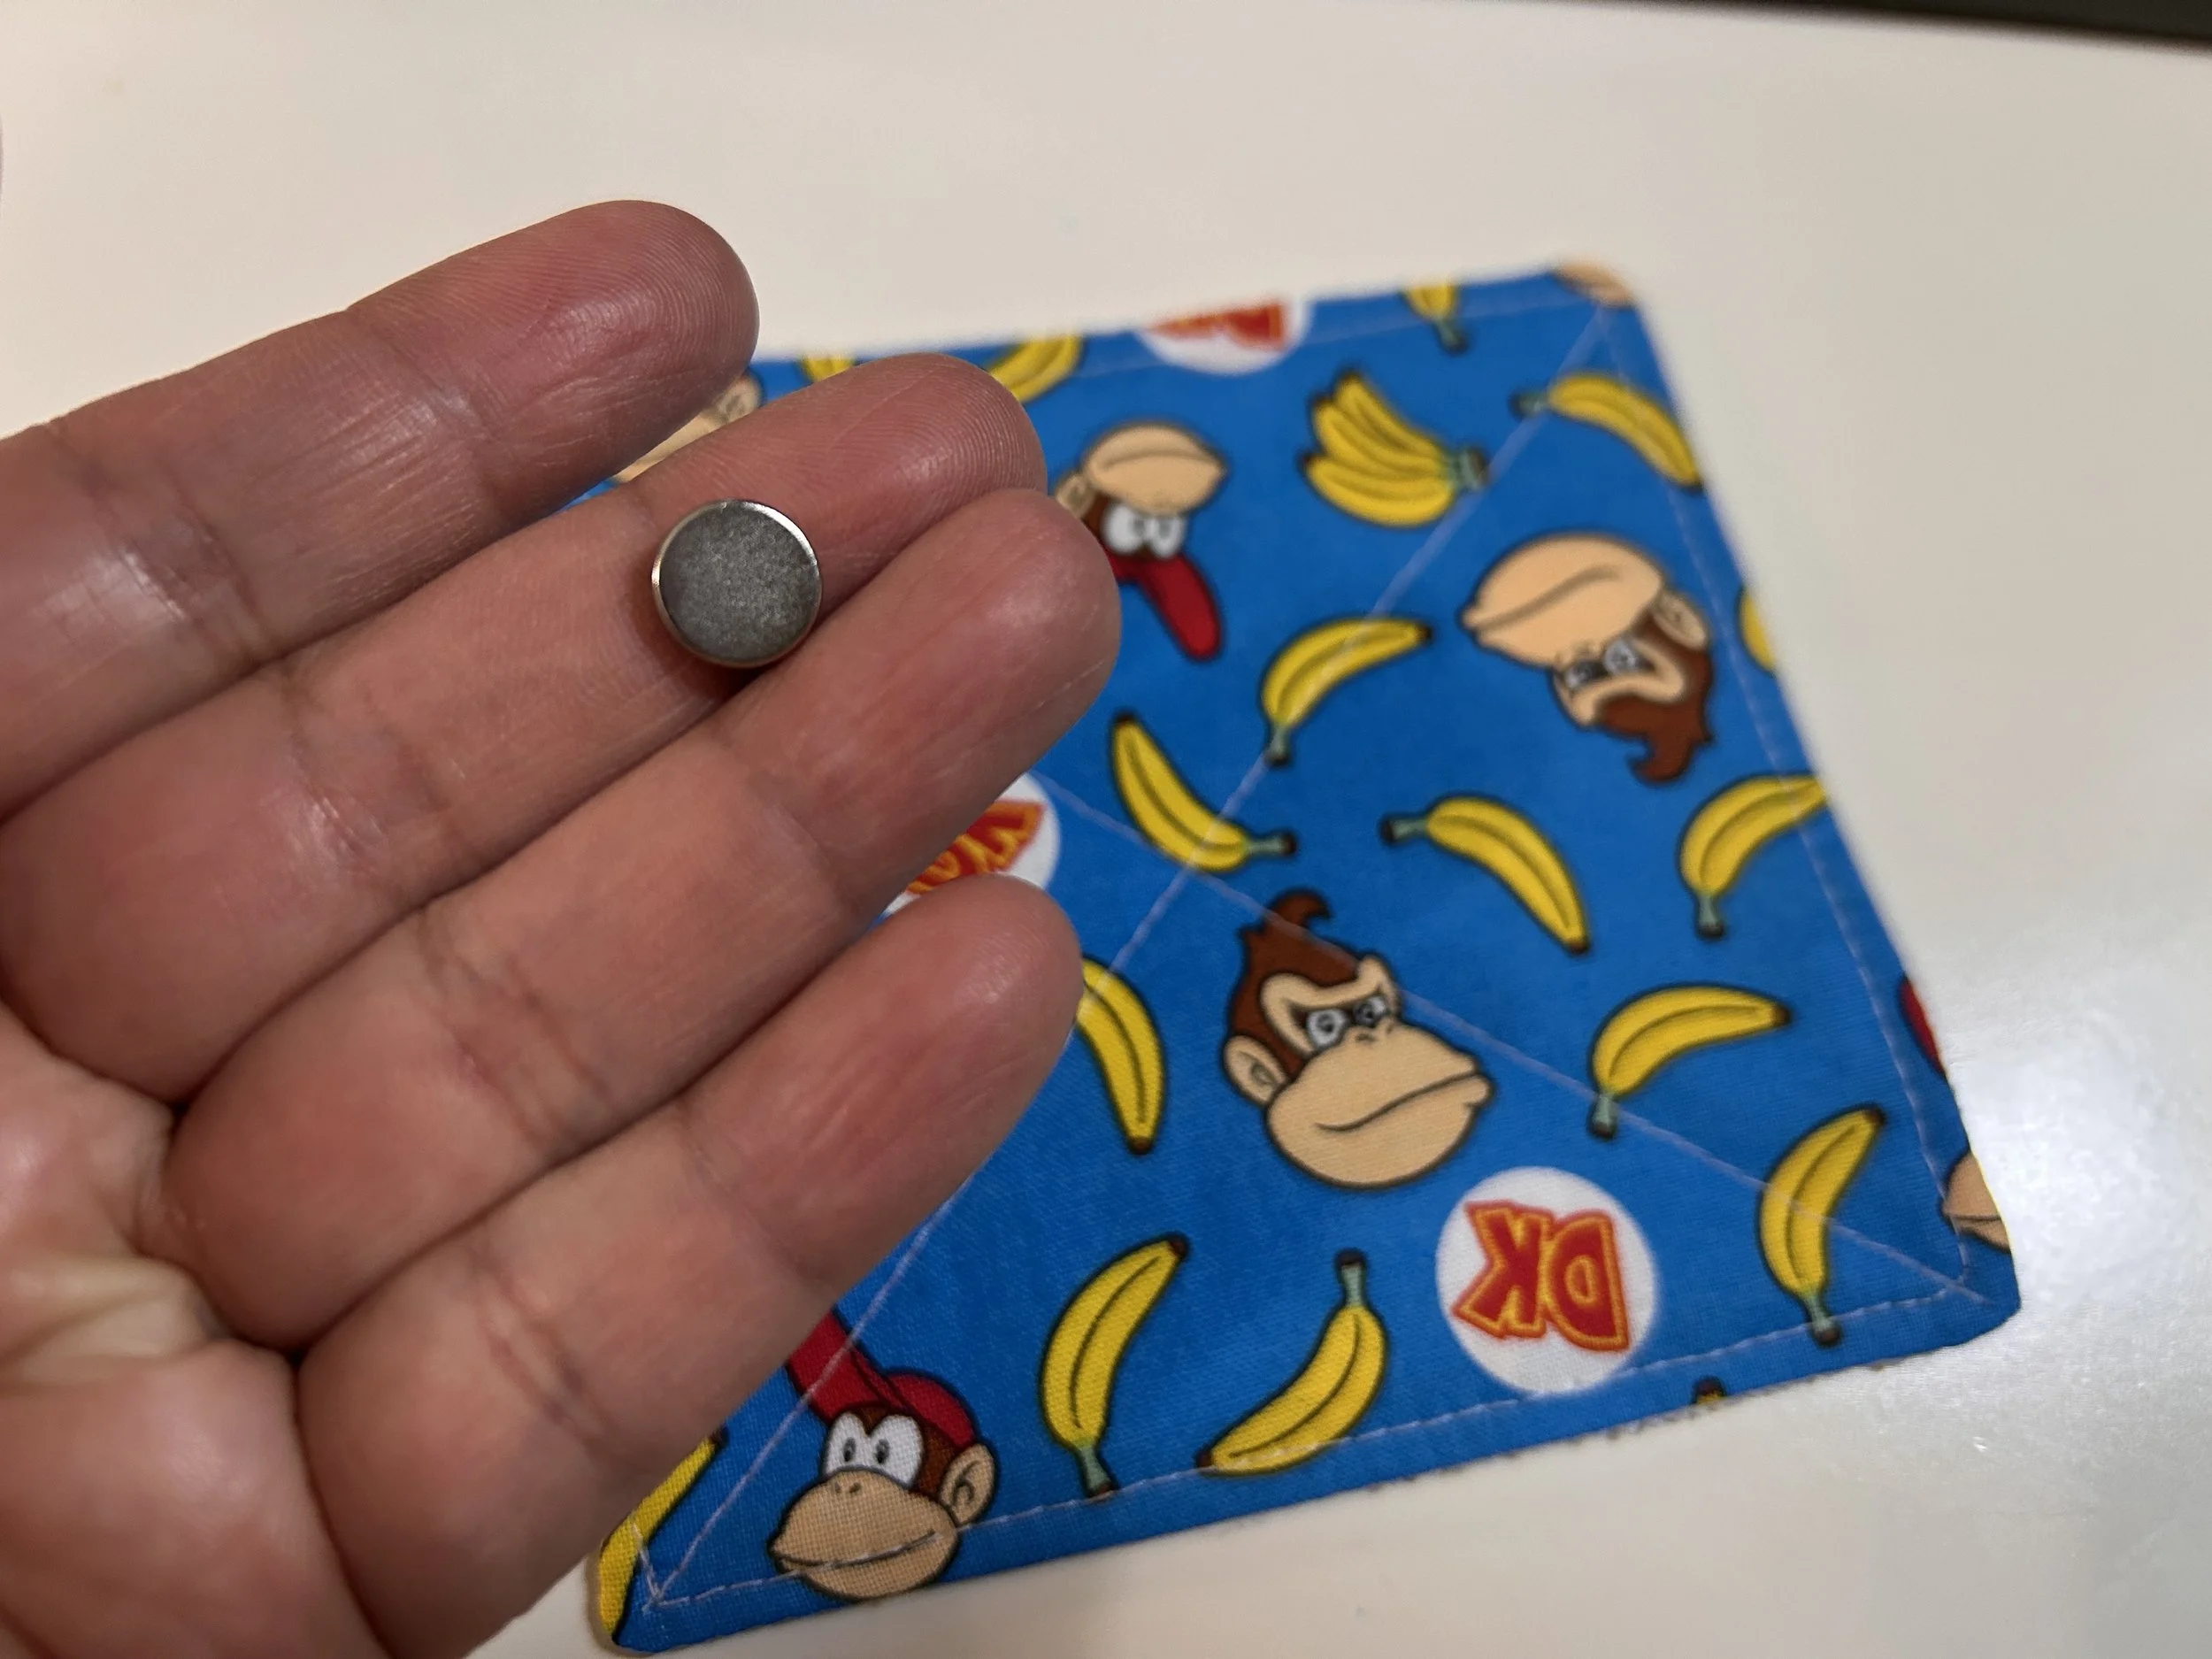
Optional: you can slip the magnet into the corner BEFORE you sew up the opening and topstitch the perimeter. That was a suggestion in my comments, and I do love that because you don’t get the “dog ear” look on the wipe and it’s nice and complete as it hangs on the board.
That said…
I kept thinking about it, and while I like that design from a “this looks a lot nicer” standpoint, productivity-wise, it doesn’t give my neurodivergent brain a go-to visual for where the magnet is located, and I can see myself getting frustrated trying to figure out exactly which corner it’s in so I know how to hang it on the board.
If you have littles who will be using these - and those littles (or bigs, let’s face it…lol) are prone to…ahem…frustrations? temper tantrums? meltdowns? - it might be wiser to keep the dogeared corner as a solid visual of “this is the magnet corner” which can then trigger the action: this is the corner we place on the board.
(I homeschooled my middle in first grade since he was struggling with traditional school, and was freshly diagnosed with ADHD/high-functioning autism/SPD. I can just see him HURLING these at the whiteboard if he couldn’t figure out exactly which corner RIGHT THIS SECOND to stick on the board, so anything I can do to make our lives easier - as weird as it may sound to most people - I would absolutely do. Ohhhhh how I wish they had curbside ordering or grocery delivery back then!! IYKYK…)
Another option? You can make a loop out of more fabric or even ribbon, then slip it into the opening before you stitch it closed during the topstitch step.
But, let’s get back to our dogeared magnet corner, shall we?
Place the magnet down in the corner:
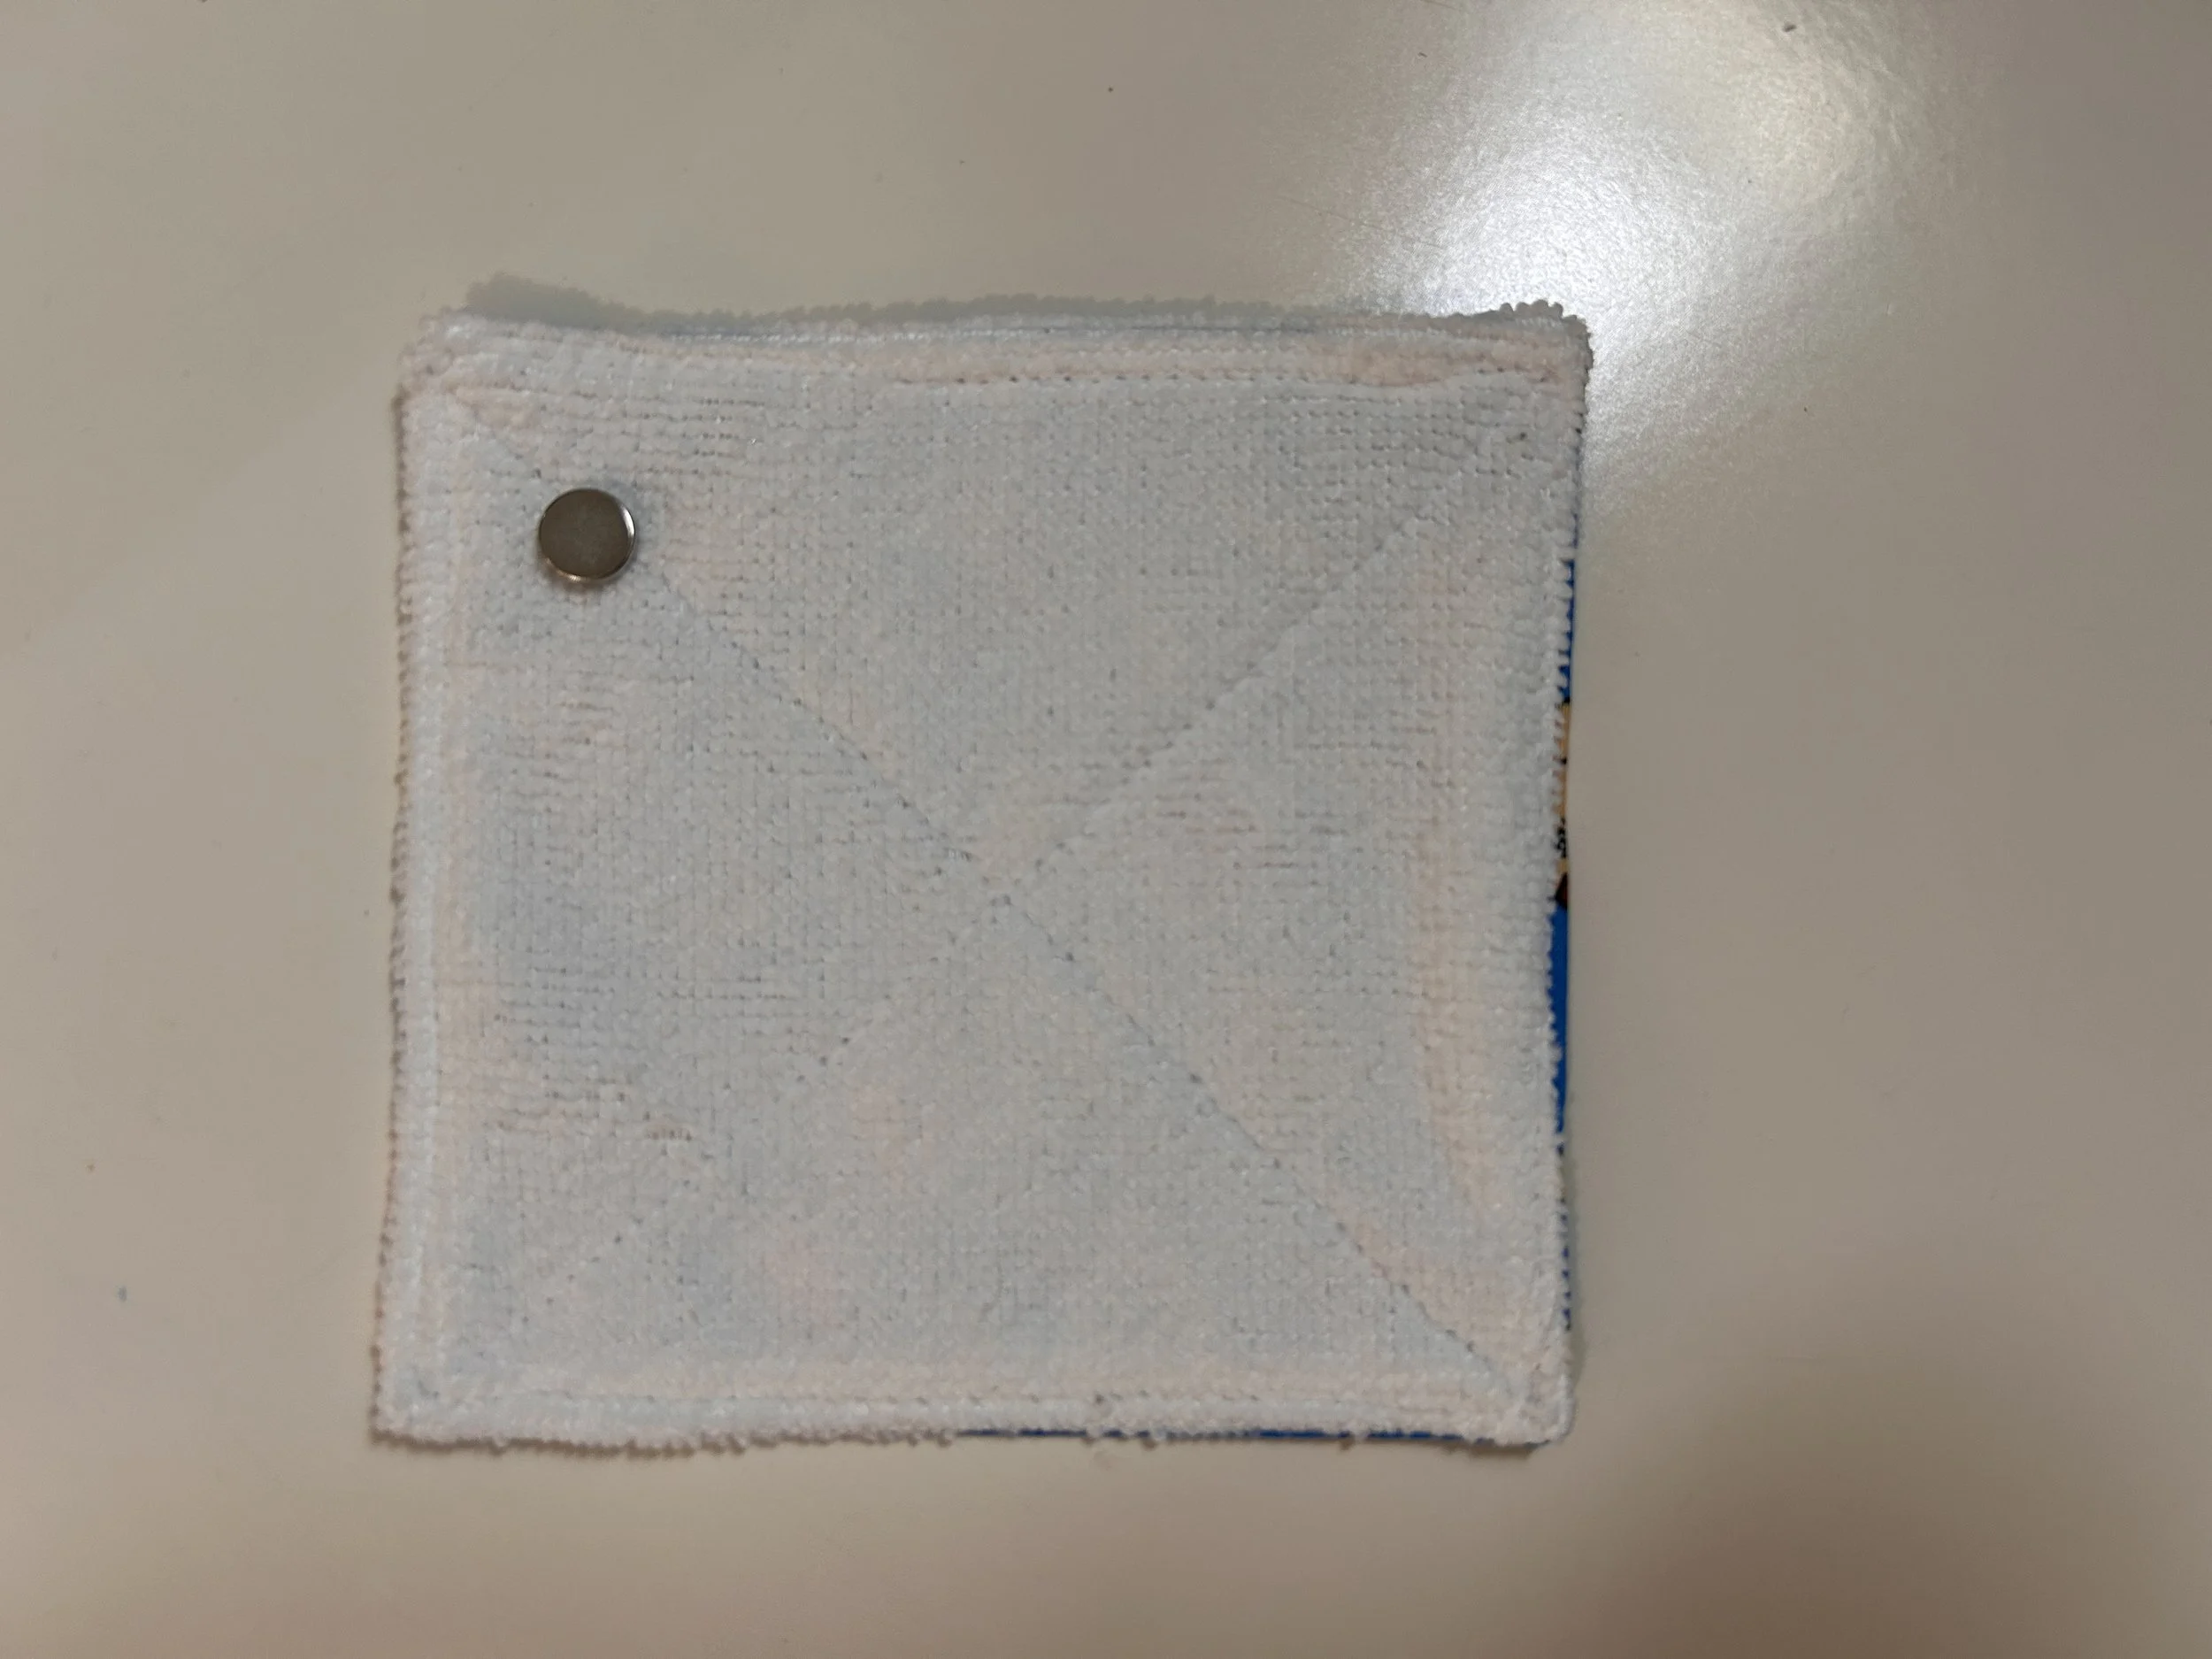
Fold down the corner to cover it, leaving enough room on each side for stitching:
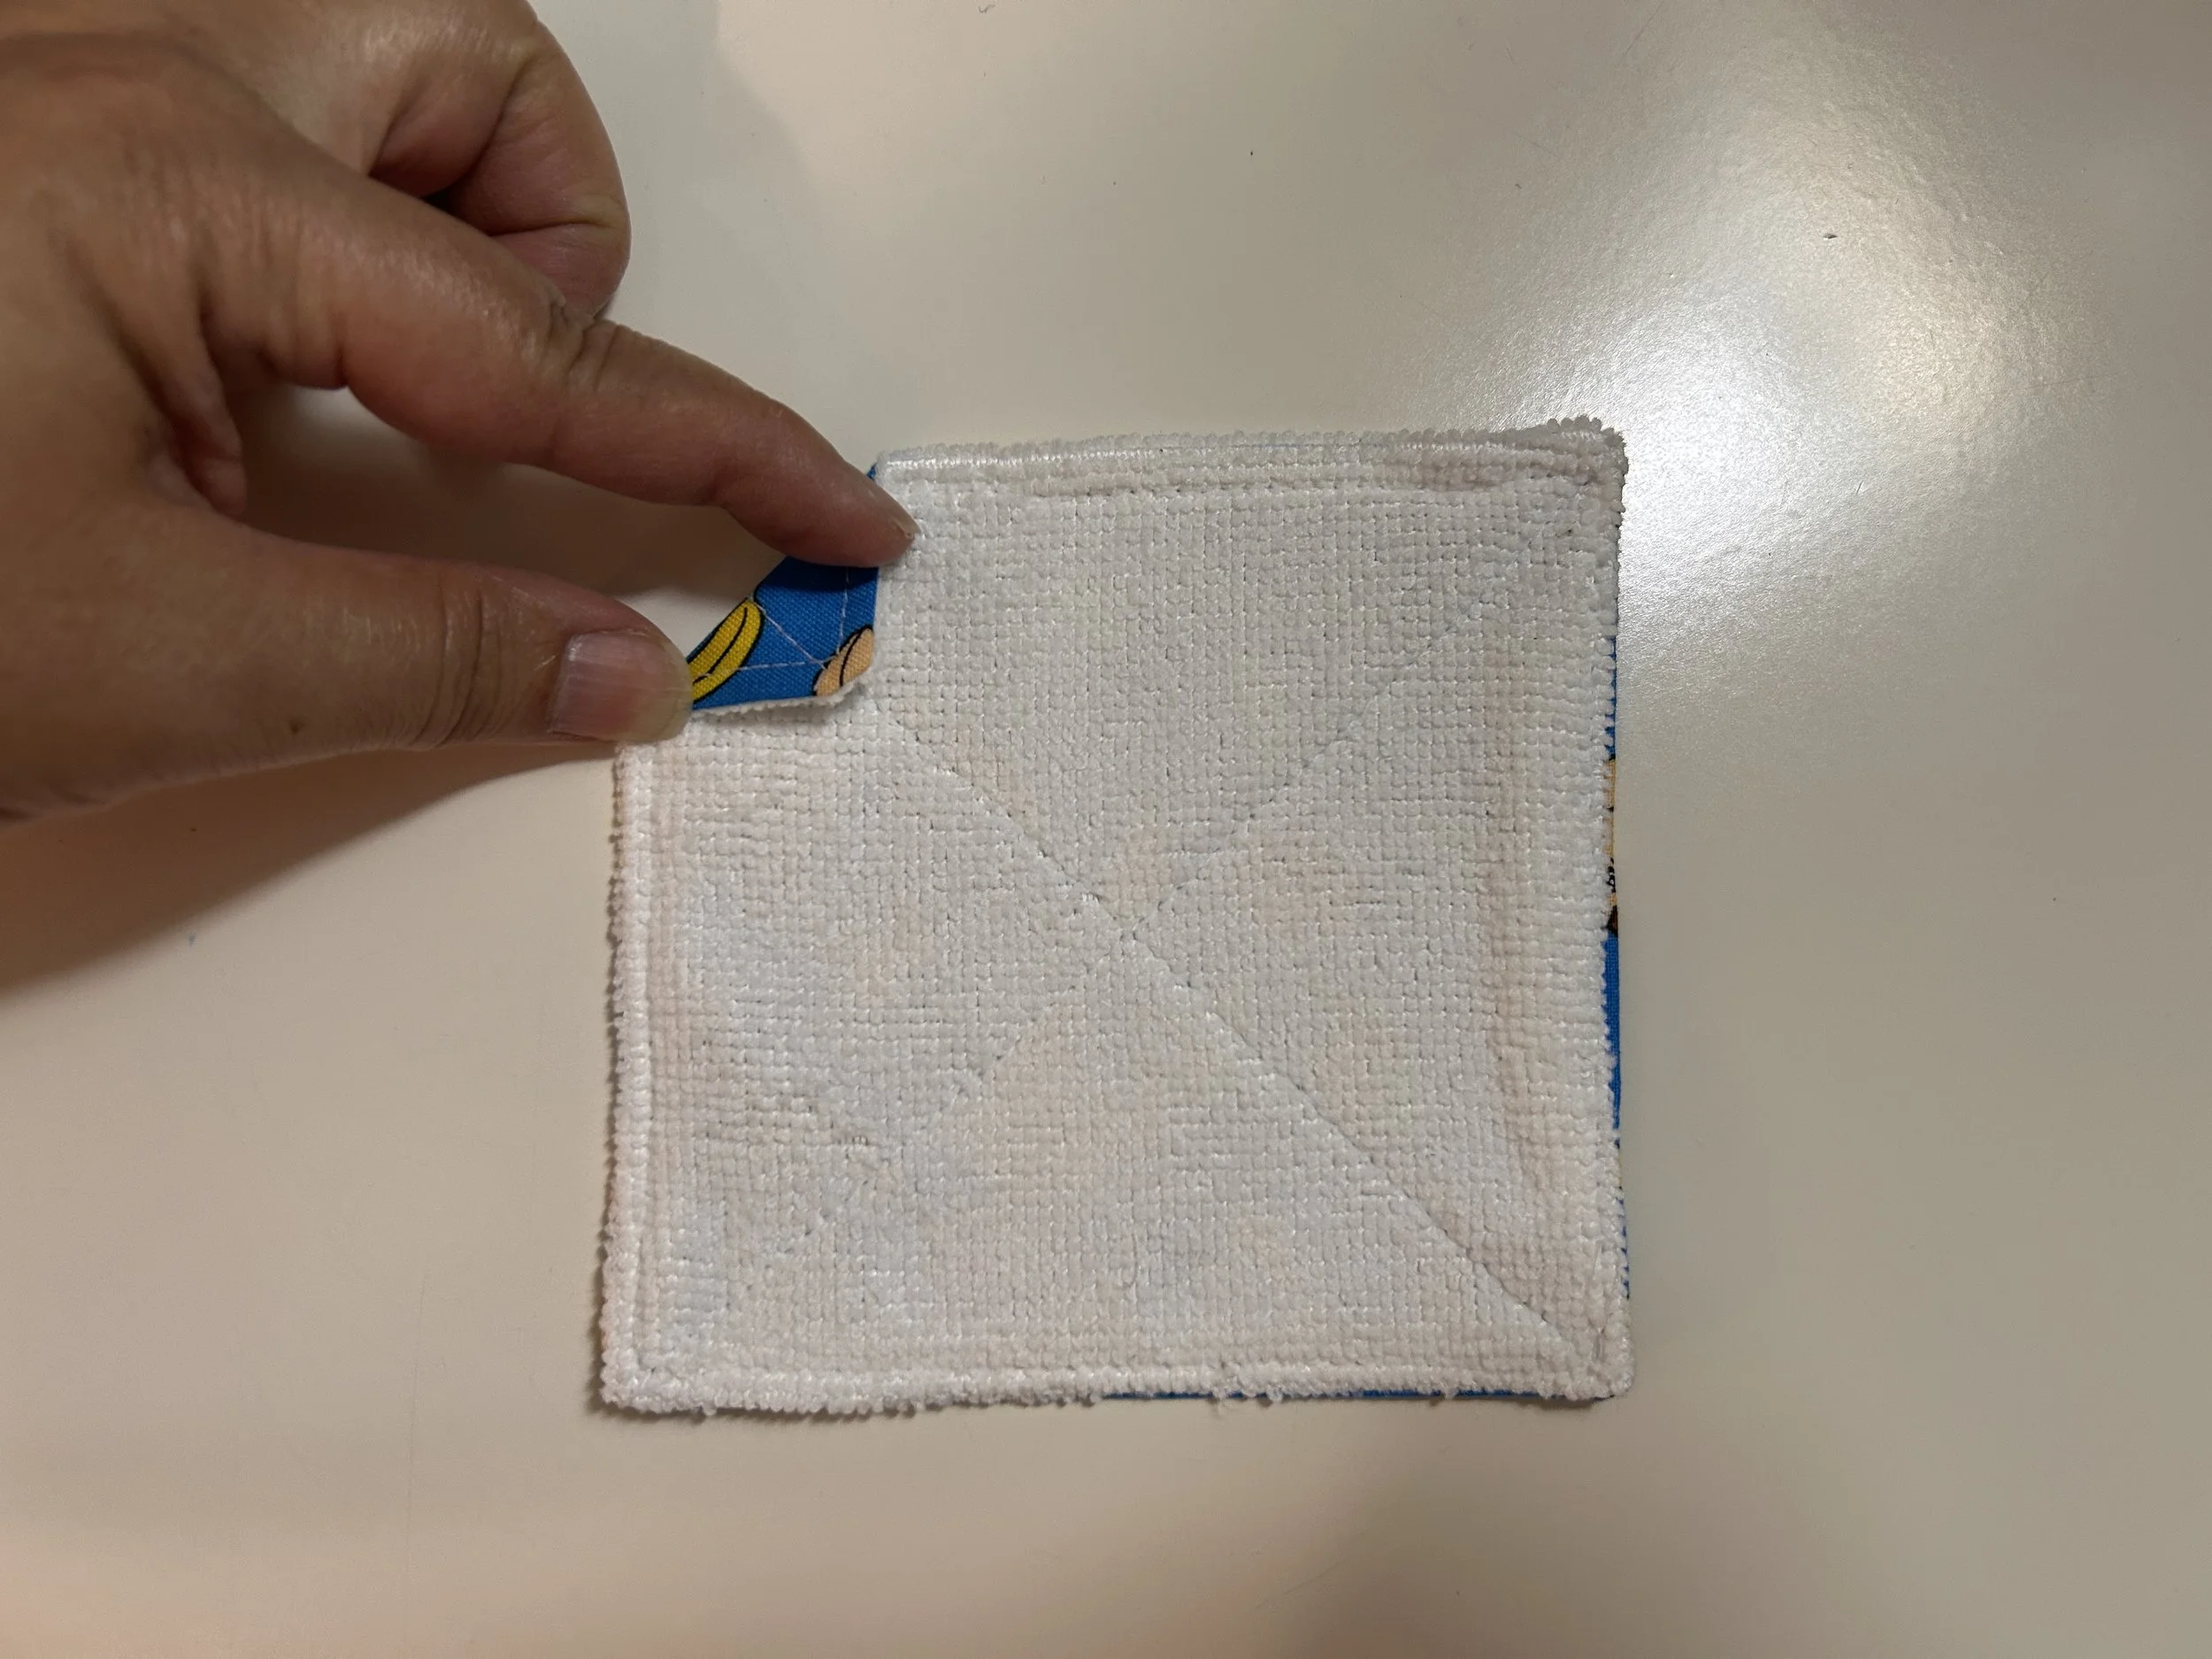
Stitch along the outsides of that triangle, as close to the edge as you can, to enclose the magnet:
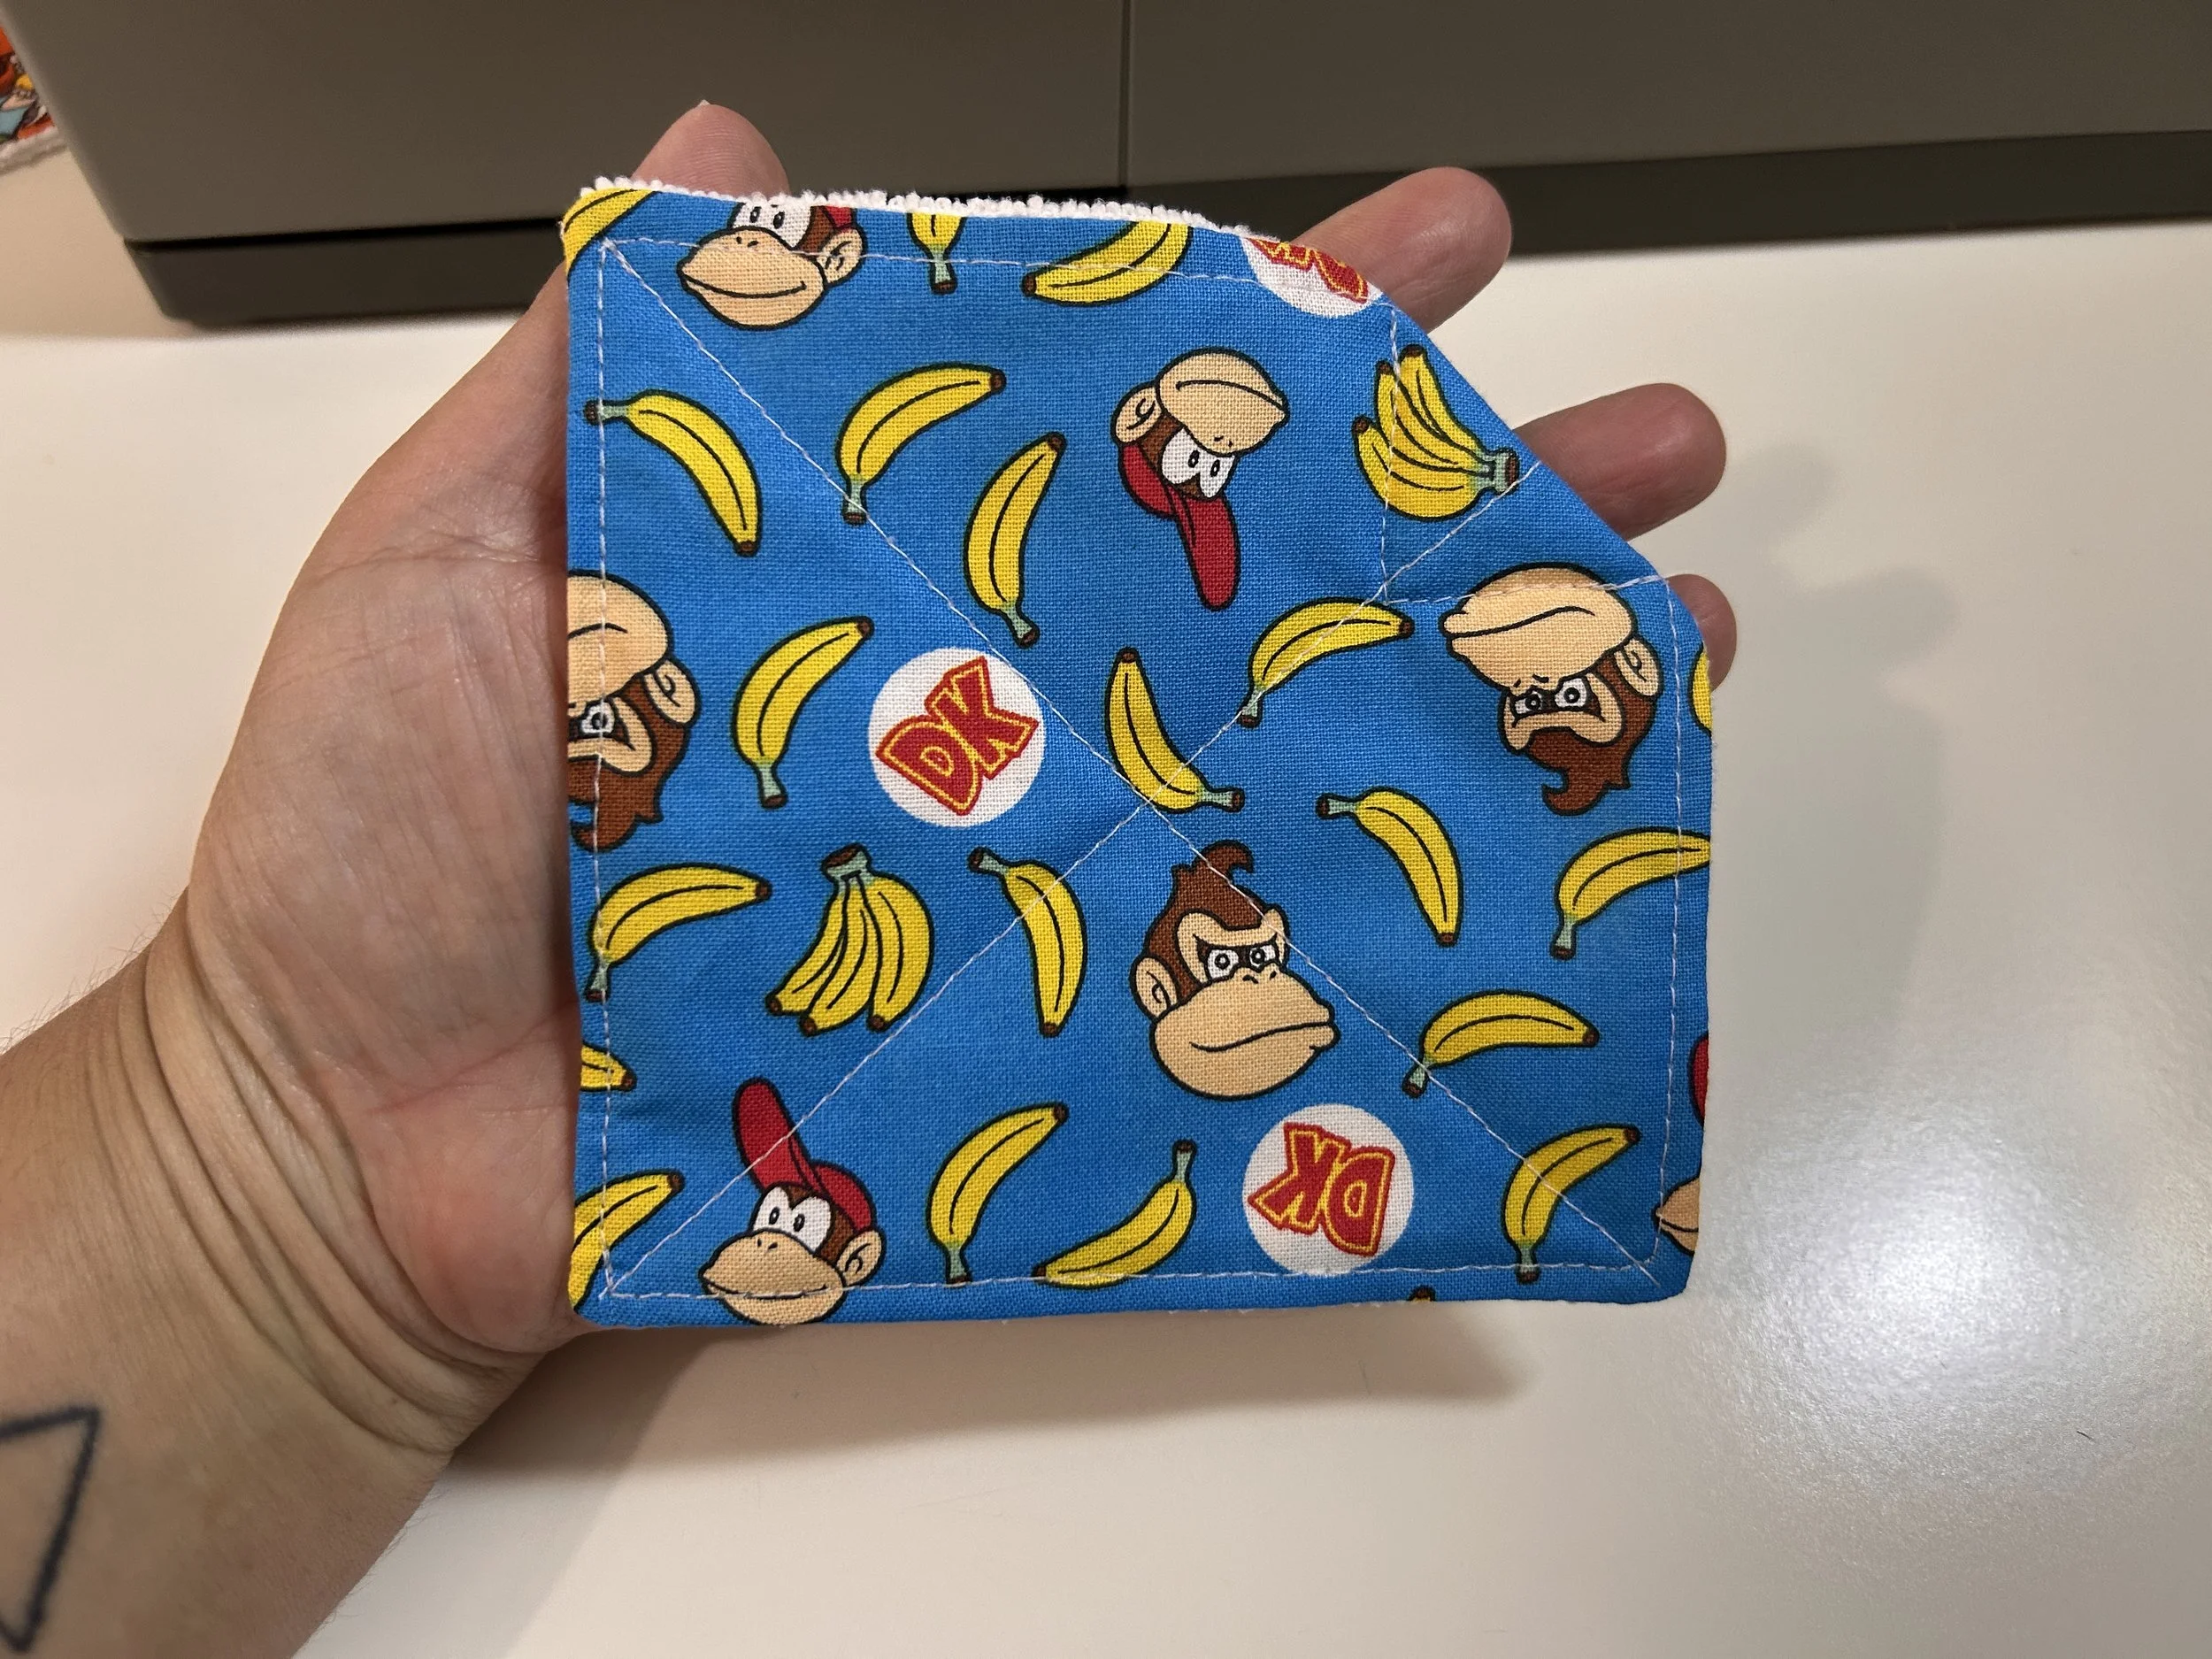
And lo and behold - you are done!
Hang that baby on your whiteboard proudly, and pat yourself on the back. Maybe even get yourself a little sweet treat. Or coffee.
(oooh…coffee sounds really good right now…)
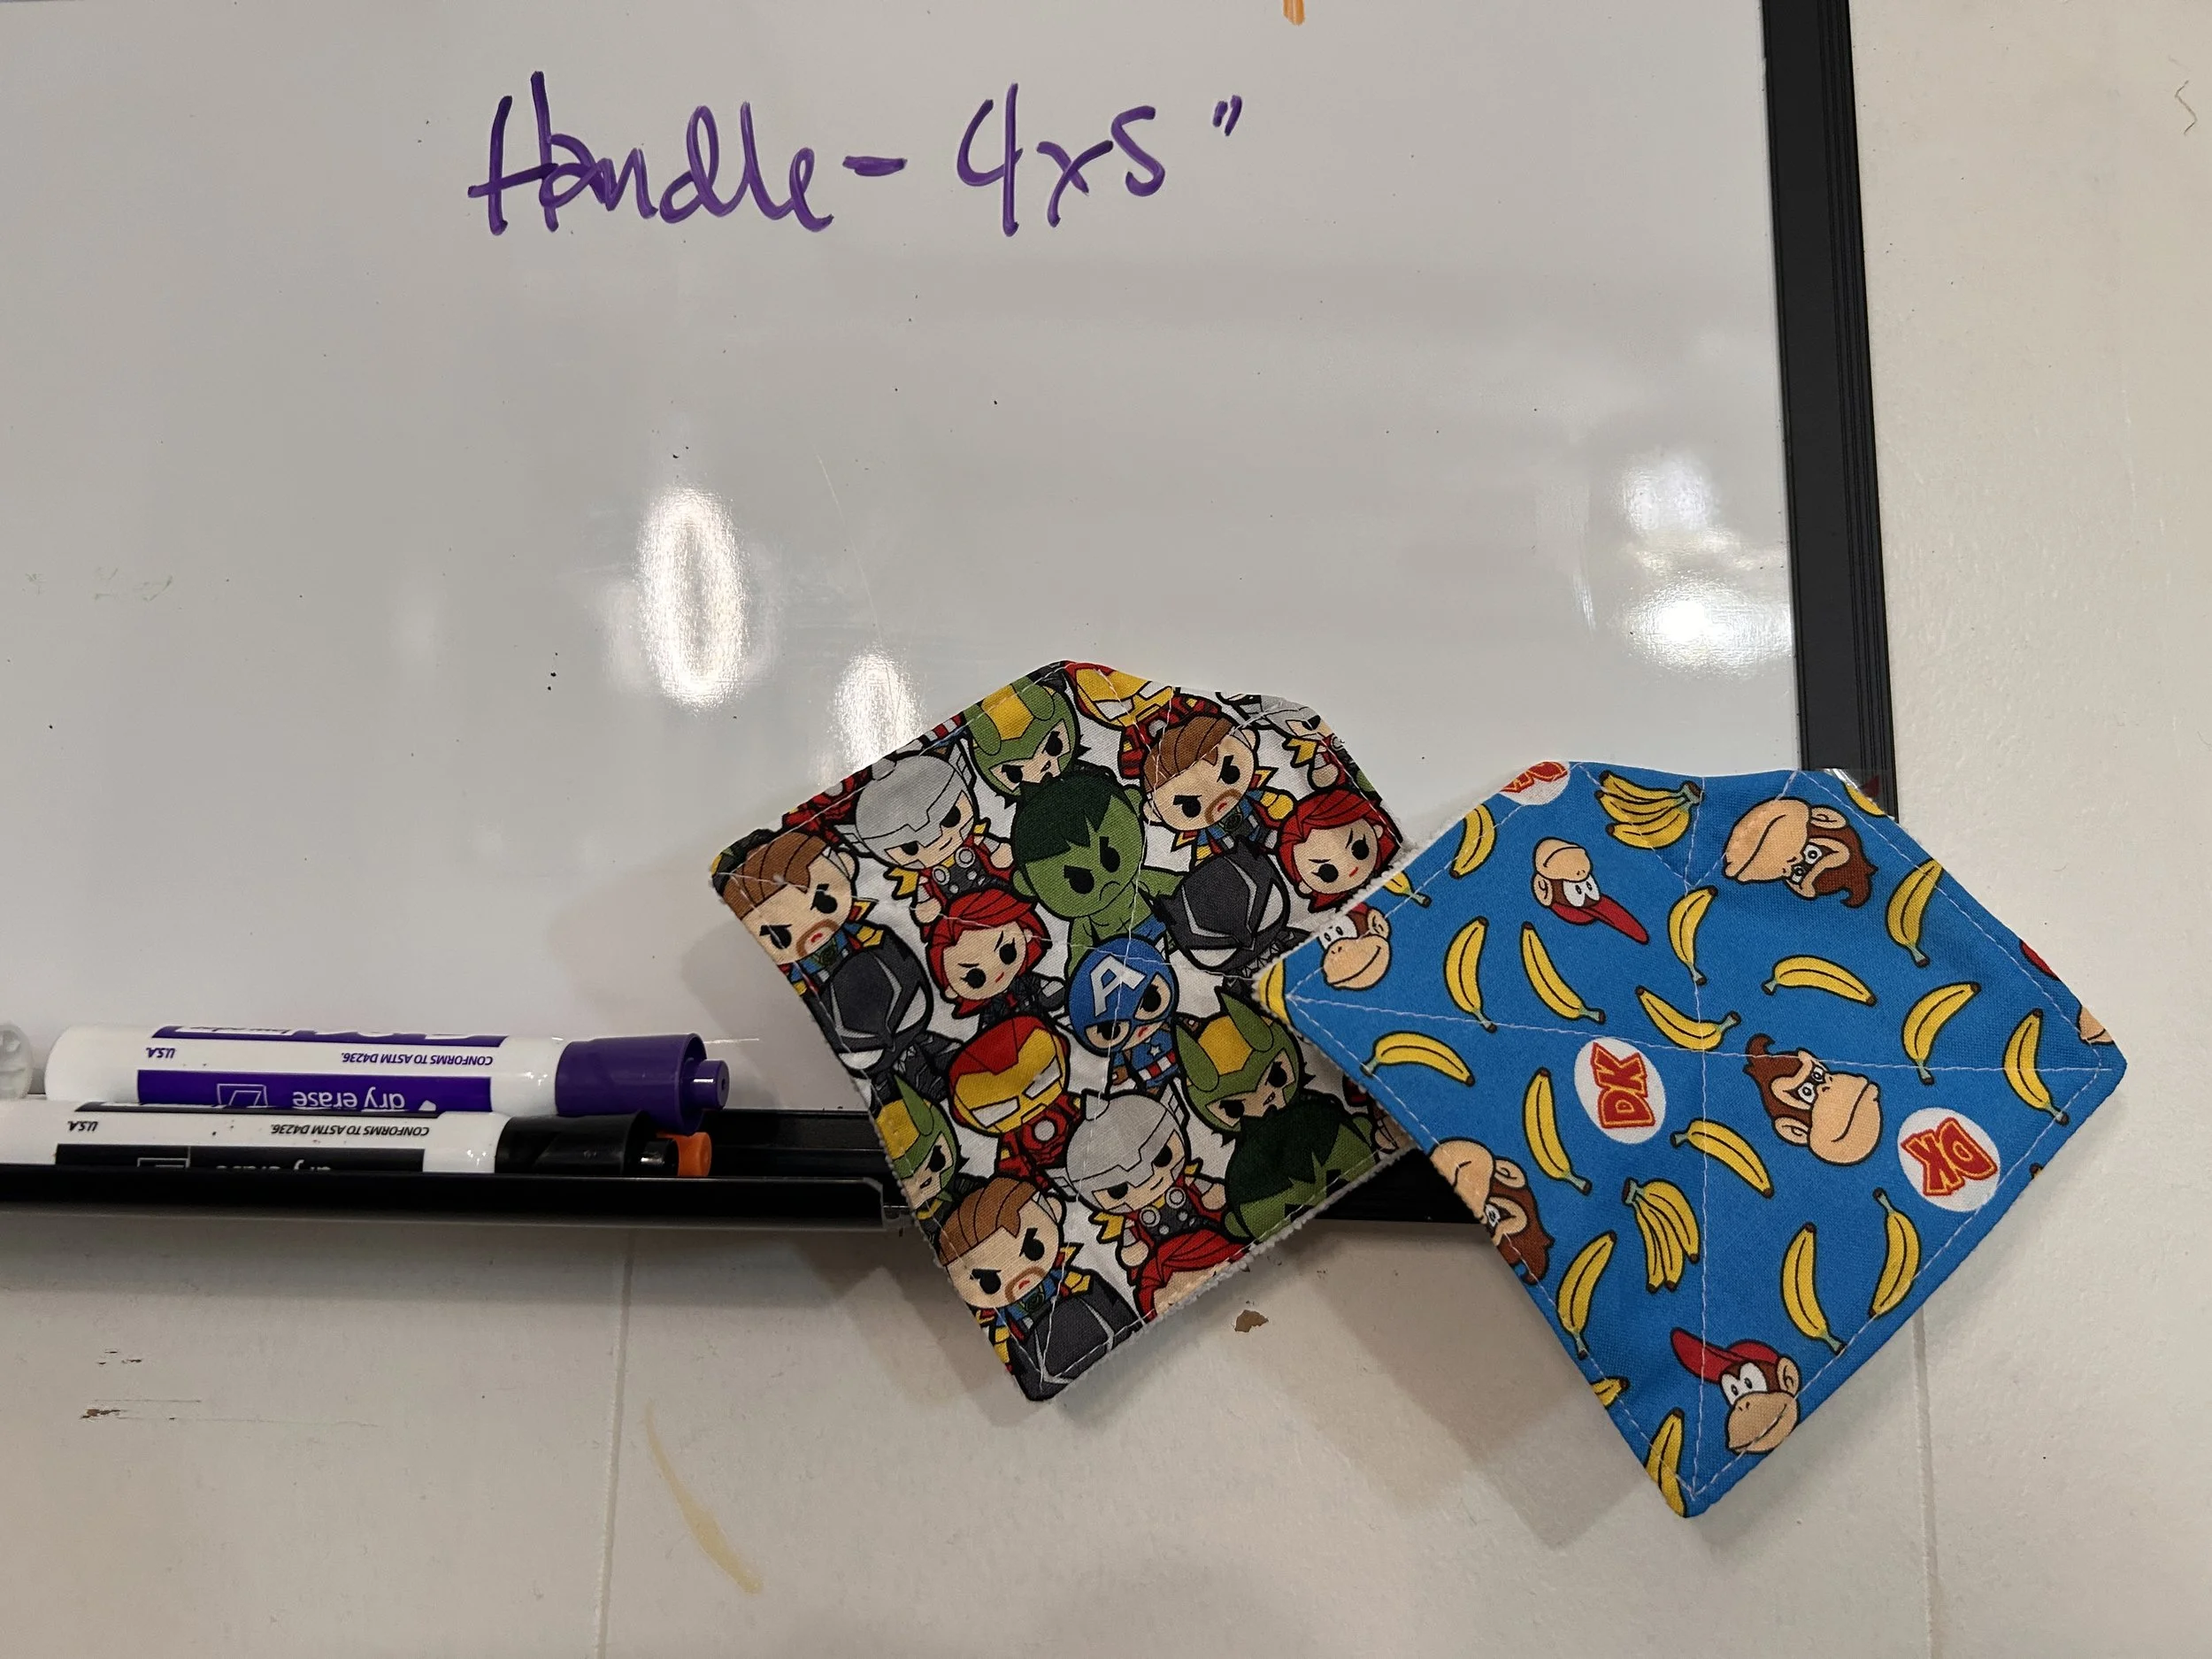
Thank you for reading, and I can’t wait to make more tutorials over time!
Again - if you prefer to have a downloadable, printable version of this, let me know by submitting an interest form so I can see if/when to add that onto my production schedule!
Happy Sewing!
- Stell 💖